
Beautiful Plants For Your Interior
Beautiful Plants For Your Interior
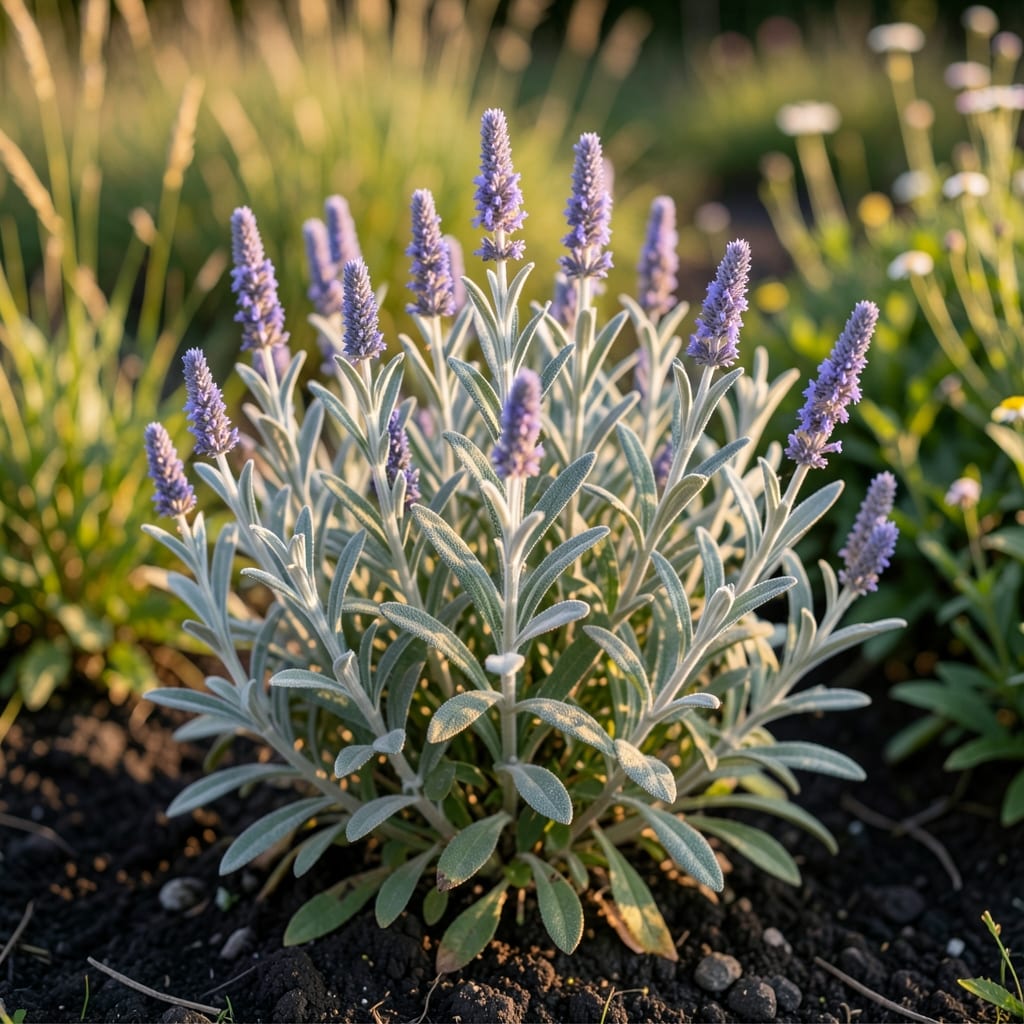
Russian sage brings silver-green leaves and lavender blooms that hum with bees all summer. I fell for this plant after seeing how it thrives in dry soil where others wilt.
With minimal care, you get fragrant foliage that stays lush through heat waves. Prune in early spring for bushier growth and more of those gorgeous leaves.
📚 In This Guide
Here’s my trusted approach for cultivating vibrant plants with robust foliage and strong growth.
Russian sage thrives in full sun, so pick a spot that gets at least 6-8 hours of direct sunlight daily. The more sun exposure, the denser the foliage will grow. I’ve found that even a little afternoon shade can lead to leggy stems and sparse leaves, so aim for unobstructed light.
Soil should be well-draining—this plant despises soggy roots. If your garden has heavy clay, amend the area with compost or plant in a raised bed. The ideal pH is slightly alkaline to neutral (6.5-7.5), but Russian sage is forgiving and adapts to most soils as long as they don’t stay wet.
Dig a hole twice as wide as the root ball but no deeper. Place the plant so the top of the root ball sits slightly above the surrounding soil—this prevents water from pooling around the stem. Backfill with native soil and press gently to remove air pockets, but don’t pack it down too tightly.
Space plants 2-3 feet apart. Crowding leads to poor air circulation, which invites powdery mildew and weakens leaf health. If you’re planting in containers, choose one at least 12 inches deep and wide with drainage holes. A single plant per container is ideal to avoid competition for resources.
Water deeply right after planting to help roots settle in. For the first 2-3 weeks, keep the soil evenly moist but not waterlogged. After establishment, Russian sage is drought-tolerant—water only when the top 2-3 inches of soil feel dry.
Overwatering is the quickest way to yellowing leaves and root rot. I check the soil with my finger before watering; if it feels damp, I wait. Once mature, these plants often survive on rainfall alone, but during extreme drought, a deep soak every 2-3 weeks keeps foliage lush and healthy.
In early spring, cut back the previous year’s growth to 6-12 inches above the ground. This encourages fresh, vigorous shoots and prevents the plant from becoming woody and sparse. Use clean, sharp pruners to make cuts just above a set of healthy buds.
Throughout the growing season, trim back any wayward or overly long stems to maintain shape and promote bushier growth. Deadhead spent blooms regularly to redirect energy into leaf and stem production. Real talk: skipping pruning leads to a tangled mess with fewer leaves and weaker structure.
Russian sage is low-maintenance, but keeping an eye on pests and diseases ensures healthy leaves. Spider mites and aphids occasionally appear, especially in hot, dry conditions. A strong blast of water or insecticidal soap spray usually takes care of them.
If leaves start to yellow or brown at the edges, it’s often a sign of overwatering or poor drainage. Adjust your watering schedule and check that the soil isn’t compacted. With the right care, your plants will reward you with silvery-green foliage that stays vibrant all season long.
Took me a few seasons to learn these, so here’s what works.
Sunlight Strategy: The 6-8 hours of direct sunlight mentioned in Step 1 is non-negotiable for vibrant foliage. I learned this the hard way when my first plants in partial shade produced sparse, dull leaves. Even if your garden has some shade, prioritize the sunniest spot available.
Drainage Test: That 1-2 hour drainage test in Step 1 will save you from root rot. I dig my test hole exactly 1 foot deep as specified, and if water hasn’t drained by hour two, I choose another location. Yellowing leaves are your first warning sign of poor drainage.
Pruning Precision: When Step 5 says to cut back to 6-8 inches in early spring, trust the process. My first year I hesitated and only trimmed to 12 inches – the result was woody stems with far fewer leaves. The drastic cut really does encourage that fresh, healthy leaf growth.
Watering Wisdom: The once every 10-14 days schedule after the first week works perfectly, but I always check soil moisture 2 inches down first. During extreme heat, I might water a day or two early, but I never exceed the 1-2 gallons per plant specified in Step 4.
No, Russian sage (Perovskia atriplicifolia) is not edible. It’s grown for ornamental and aromatic purposes, not consumption. Stick to culinary sages like Salvia officinalis for cooking.
Yellow leaves often signal overwatering or poor drainage. Russian sage thrives in dry, well-drained soil. Check soil moisture and adjust watering to keep roots healthy.
Prune in early spring before new growth starts. Remove dead or woody stems to encourage bushier growth and more vibrant foliage. Avoid heavy pruning in fall.
Try pineapple sage (Salvia elegans)! It has fragrant, edible leaves and bright red flowers, offering both beauty and culinary uses.