
Beautiful Plants For Your Interior
Beautiful Plants For Your Interior
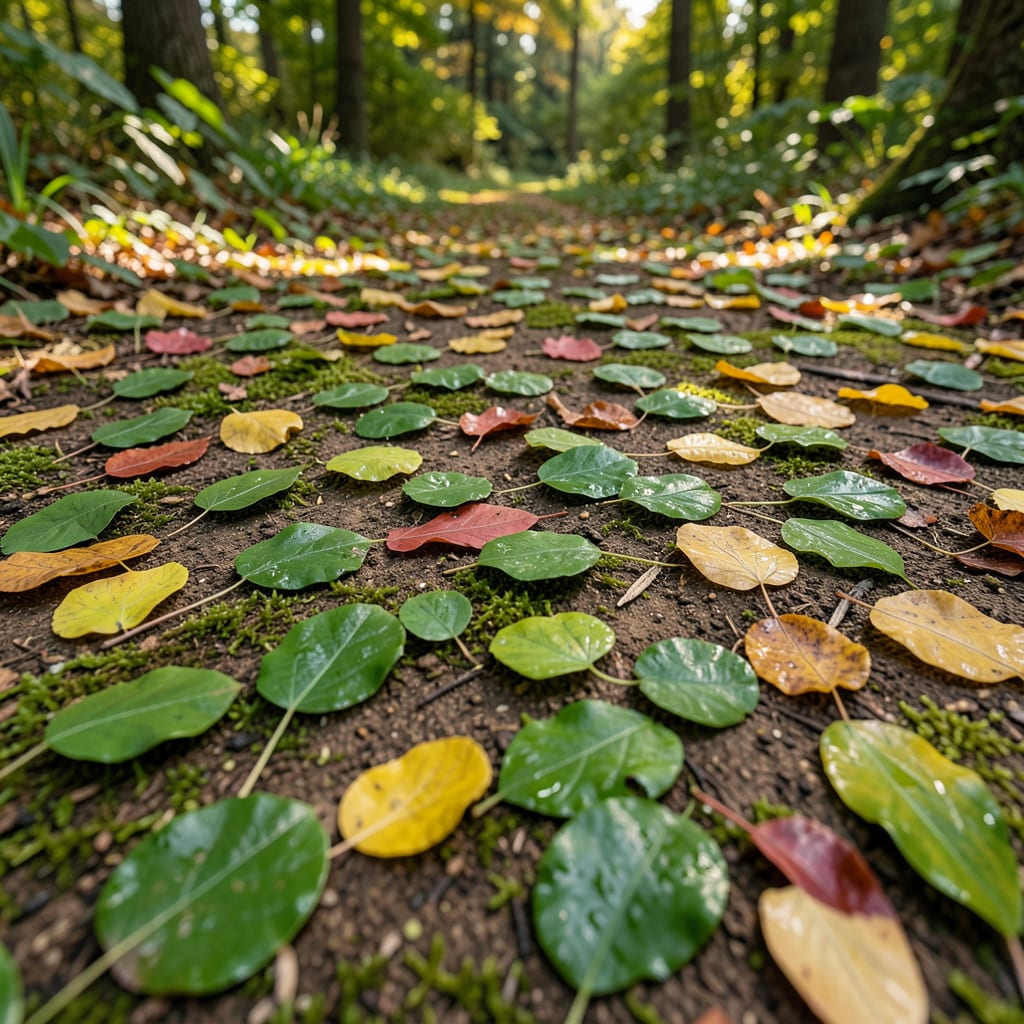
Green leaves on the ground can signal trouble before it’s obvious. I’ve seen entire gardens suffer because this early sign was ignored.
It’s often overwatering, pests, or stress, but the fix starts with checking the roots and leaves first. Catching it now saves weeks of recovery.
📚 In This Guide
Here’s how I diagnose and address green leaves on the ground before they signal bigger problems.
First, determine whether the leaves fell naturally or were stripped by wind, pests, or disease. Healthy leaves that drop in small numbers are normal, especially in windy conditions. If you see clusters of leaves on the ground, check the plant for signs of stress like wilting or discoloration.
Look closely at the leaves themselves. Are they intact, or do they show bite marks, holes, or unusual spots? Fresh green leaves on the ground often mean a pest like caterpillars or beetles is feeding overnight. A flashlight at dusk can reveal the culprits.
Turn over the leaves on the ground and examine both sides for insects or eggs. Aphids, slugs, and snails often hide underneath, and their presence means more leaves will follow. If you spot slimy trails, slugs or snails are likely the issue.
Check the remaining foliage on the plant for webbing, sticky residue (a sign of aphids), or white powdery spots (indicative of fungal disease). Early intervention with neem oil or insecticidal soap can stop pests before they defoliate your plants.
Green leaves on the ground can also signal environmental stress. Heavy rain or wind can knock leaves off even healthy plants. If the leaves appear healthy but detached, check if your garden was recently exposed to extreme weather.
Overwatering or poor drainage can cause leaves to yellow and drop prematurely. Press your finger 1-2 inches into the soil. If it feels soggy, reduce watering and improve drainage. Conversely, dry, crisp leaves suggest underwatering or heat stress.
If pests are the issue, remove them by hand or apply an organic treatment like diatomaceous earth around the base of the plant. For fungal problems, prune affected foliage and improve air circulation by thinning out dense growth.
For environmental stress, adjust your care routine. Move potted plants to a sheltered spot during storms, and water deeply but less frequently to encourage strong root growth. Mulching can help retain moisture and protect roots from temperature swings.
Finally, rake up the fallen leaves to prevent them from harboring pests or disease. Compost healthy leaves, but discard any that show signs of infestation or illness to avoid spreading the problem.
The details that separate a healthy garden from a struggling one.
The Inspection Technique: In Step 1, use a magnifying glass to examine leaves for tiny eggs or larvae—this catches pest problems before they spread. I always carry one in my garden tool belt for quick checks.
Soil Check Method: For Step 3, when pressing your finger 1-2 inches into the soil, do it in multiple spots around the plant. Soil moisture can vary dramatically even within a small area.
Prevention Strategy: In Step 4, don’t just rake up fallen leaves—inspect them first. Healthy leaves can go in your compost, but any showing disease signs should be bagged and discarded to prevent contamination.
Green leaves on the ground often indicate recent shedding due to stress, pests, or disease. Healthy leaves shouldn’t fall prematurely, so check for overwatering, pests like aphids, or fungal infections.
Yes, if left unchecked. Decaying leaves can harbor pests, fungi, or bacteria that may spread to healthy plants. Remove them promptly to prevent disease and maintain garden hygiene.
Act quickly—ideally within a day or two. The sooner you remove them, the lower the risk of pests or diseases spreading. Early morning is best for cleanup to avoid disrupting beneficial insects.
Don’t compost diseased leaves, as this can spread pathogens. Bag and dispose of them in the trash. If they’re healthy, they can be composted or used as mulch in non-garden areas.
