
Beautiful Plants For Your Interior
Beautiful Plants For Your Interior
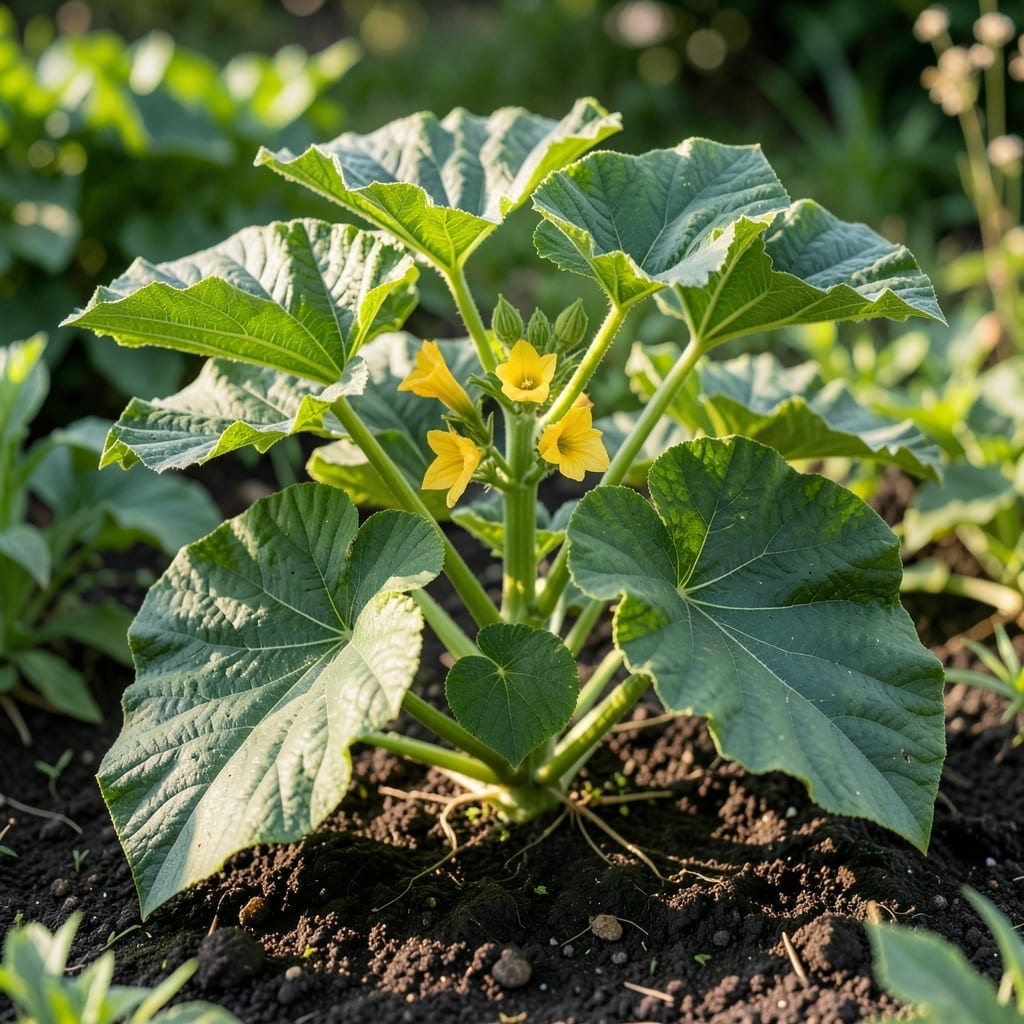
Those first squash leaves are your plant’s handshake with the world. I’ve watched them emerge dozens of times—broad, soft, and packed with promise for the harvest ahead.
Get the light, water, and warmth right now, and you’ll see them double in size almost overnight. Skip a day of checking, and pests or dampness can wipe out weeks of work in hours.
📚 In This Guide
Here’s how I nurture squash sprouts to develop strong, vibrant leaves every time.
Begin by selecting fresh, high-quality squash seeds from a trusted source. Old or poorly stored seeds often fail to sprout or produce weak seedlings. I always check the expiration date on the packet before planting.
Use a well-draining seed-starting mix to prevent waterlogging, which can rot seeds before they germinate. Fill small pots or seed trays with the mix, leaving about ½ inch of space at the top. Lightly moisten the soil before planting—it should feel damp but not soggy.
Sow squash seeds 1 inch deep and space them 2-3 inches apart if planting in a tray. If using individual pots, plant 1-2 seeds per pot to avoid overcrowding. Cover the seeds with soil and press down gently to ensure good contact.
Place the pots in a warm location, ideally between 70-85°F. Squash seeds germinate best in warm soil, and cooler temperatures can delay sprouting. I use a seedling heat mat to maintain consistent warmth, especially in early spring when indoor temps fluctuate.
Once sprouts emerge, move them to a location with 12-14 hours of bright light daily. A south-facing window works, but a full-spectrum grow light is even better for consistent growth. Position the light 2-4 inches above the seedlings and raise it as they grow.
Without enough light, squash seedlings become leggy, with weak stems and pale leaves. You’ll notice the difference quickly—healthy sprouts have thick, green stems and broad, sturdy leaves. If the leaves start looking thin or yellow, it’s a sign they need more light or nutrients.
Keep the soil evenly moist but not waterlogged. Water at the base of the plants to avoid wetting the leaves, which can lead to fungal diseases. I use a spray bottle for gentle watering, especially when the seedlings are young and delicate.
Check the soil daily—if the top ½ inch feels dry, it’s time to water. Squash sprouts are thirsty, but overwatering can suffocate the roots. You’ll see the leaves start to droop slightly if they’re underwatered, but they’ll perk up quickly after a drink.
Once the sprouts develop their first true leaves (not just the initial seed leaves), thin them to the strongest plant per pot. Use clean scissors to snip the weaker seedlings at soil level—pulling them out can disturb the roots of the remaining plants.
This step ensures the remaining squash plant has enough space to grow strong roots and large, healthy leaves. I know it feels harsh to remove some seedlings, but it’s necessary for the best results. The remaining plant will thank you with vigorous growth and abundant leaves.
Small adjustments at each stage make a surprising difference in seedling strength.
Temperature Matters: Keeping seeds between 70-85°F is crucial for germination within 5-10 days. I place my tray on the fridge when the room feels chilly—I’ve noticed sprouts emerge nearly twice as fast with consistent warmth. Just remember, direct heat sources can dry out soil quickly.
Light Positioning: In Step 2, maintain that 2-4 inch gap between grow light and seedlings. I learned this the hard way after watching my first batch stretch into pale, leggy stems. The closer light prevents this while still allowing healthy growth without burning delicate leaves.
Watering Wisdom: For Step 3, the finger test never fails. Stick your finger an inch into the soil—if it feels dry at your fingertip, it’s time to water. I’ve ruined more seedlings with overwatering than underwatering. Soggy roots are a death sentence for young squash.
Thinning Technique: When seedlings hit 2-3 inches tall in Step 5, use clean scissors to snip at soil level. Pulling up unwanted sprouts disturbs the roots of the keeper. I lost an entire batch once by pulling instead of cutting—lesson learned!
Yes! Squash sprout leaves are edible and packed with nutrients like vitamins A and C. Just ensure they’re young, tender, and free from pesticides. Avoid leaves from mature plants, as they can be tough or bitter.
Harvest leaves when they’re 2–4 inches long, typically 2–3 weeks after germination. Early morning is ideal for maximum freshness. Avoid taking more than a third of the leaves to keep the plant healthy.
Yellow leaves often signal overwatering, nutrient deficiency, or poor drainage. Check soil moisture and ensure proper fertilization. If the issue persists, inspect for pests or fungal diseases.
Try pumpkin leaves, zucchini leaves, or spinach as substitutes. They offer similar textures and nutrients. Always choose young, tender leaves for the best flavor and digestibility.