
Beautiful Plants For Your Interior
Beautiful Plants For Your Interior
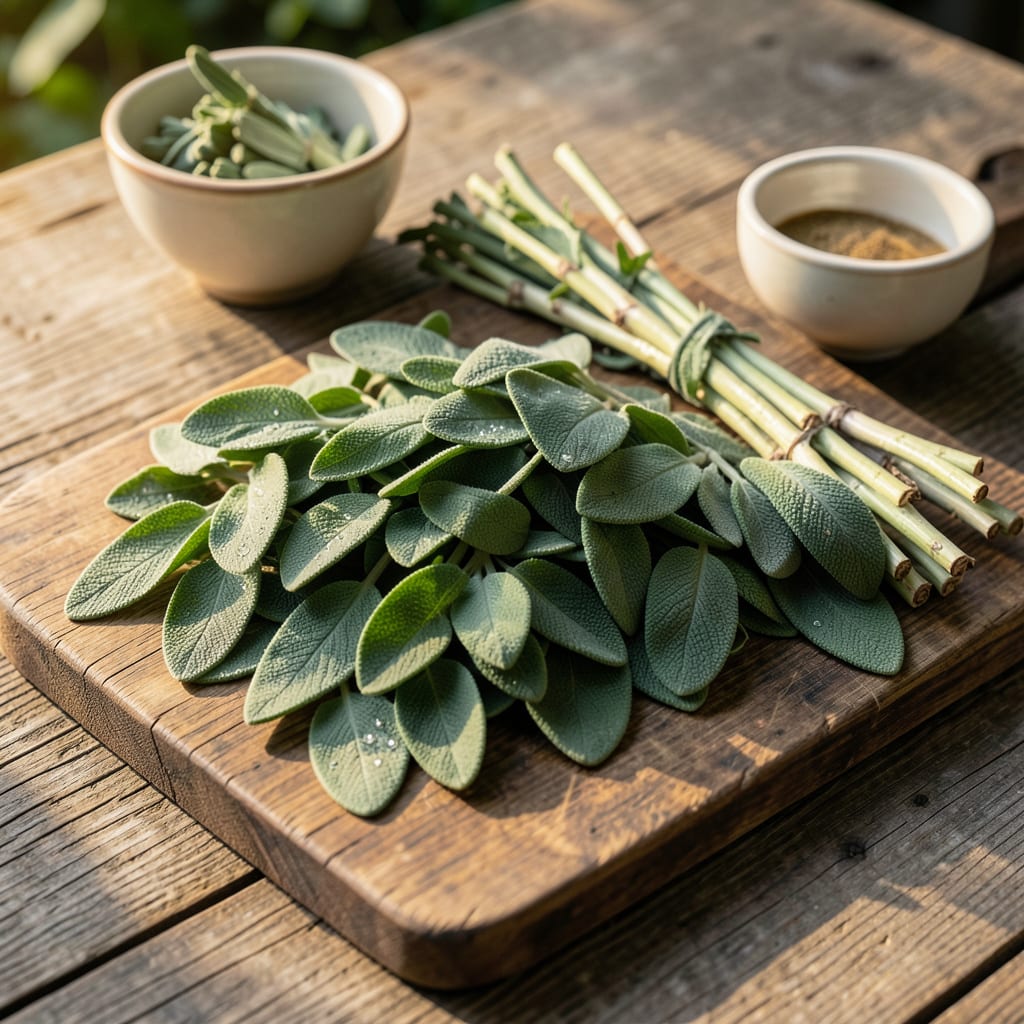
Last summer’s sage harvest changed how I preserve herbs forever. The right drying method keeps the aroma and flavor locked in for months, not days.
Air-drying works best for most gardeners—just bundle and hang in a dry spot. For faster results, a dehydrator or oven on low heat does the trick without losing potency.
📚 In This Guide
This is the simplest method I’ve found to lock in flavor and fragrance without losing quality.
Pick sage stems in the morning after dew has dried but before the sun gets too hot. This is when the oils are most concentrated, giving you the strongest aroma. I use clean, sharp scissors to cut 4-6 inch sections just above a leaf node to encourage regrowth.
Choose healthy, mature leaves—avoid any that are yellowed, damaged, or covered in pests. A quick inspection now prevents problems later. You’ll need enough stems to fill your drying space, but don’t overcrowd them.
Rinse only if absolutely necessary (dust or debris), and pat completely dry with a clean towel if you do. Excess moisture is the enemy of even drying.
Gently strip the leaves from the stems by running your fingers down the stem from top to bottom. Sage leaves come off easily when fresh, so there’s no need to force it. Discard any stems that are woody or tough—they won’t dry well.
Spread the leaves in a single layer on a clean, dry surface. A mesh screen or paper towel works perfectly. Space them out so they’re not touching—this ensures even air circulation and prevents mold.
I always check for hidden moisture by pressing a leaf between my fingers. If it feels damp, give it more time to air-dry before moving to the next step.
Place the leaves in a spot with good airflow but out of direct sunlight. A warm kitchen or pantry works well, as long as it’s not humid. Sunlight can bleach the leaves and degrade their flavor, so keep them in the shade.
Let them dry for 1-2 weeks, depending on humidity levels. You’ll know they’re ready when the leaves are crisp and crumble easily between your fingers. If they bend instead of snap, they need more time.
I like to stir the leaves gently every 2-3 days to ensure even drying. This also helps you spot any leaves that might be retaining moisture.
Once fully dry, transfer the leaves to an airtight container. I prefer glass jars with tight-fitting lids, but any sealed container will work. Store in a cool, dark place like a pantry or cupboard to protect them from light and heat.
Label the container with the date so you can track freshness. Sage retains its best flavor for 6-12 months, but it’s still usable beyond that. Crumble the leaves just before use to release the maximum aroma.
If you notice any condensation inside the container, the leaves weren’t fully dry. Remove them, spread them out, and let them dry for another 24-48 hours before storing again.
Here’s what I’ve learned the hard way about drying sage perfectly every time.
Timing Secret: That 1-2 week drying period in Step 3 is non-negotiable for maximum flavor. In humid climates, you’ll need the full 2 weeks, while drier environments might finish closer to 1 week. Test a leaf by crushing it—if it crumbles like cornflakes, it’s ready.
Airflow is Everything: In Step 2, don’t skimp on spacing those leaves. If they touch, trapped moisture creates mold. I once packed them too tightly and lost a whole batch. A mesh screen works better than paper towels for circulation.
Storage Wisdom: The 24-48 hour re-drying in Step 4 saved me from ruined sage more times than I can count. If you see even a drop of condensation in your jar, pull everything out immediately and start that clock over. No shortcuts here.
What to Watch For: Direct sunlight during Step 3 turns leaves bitter. I keep mine on a shelf in my pantry with the door cracked for airflow. A dark closet with a small fan also works if your kitchen is too humid.
Air-drying sage leaves typically takes 1-2 weeks in a warm, dark, and well-ventilated area. Using a food dehydrator or oven (low heat) can speed this up to 2-4 hours.
Yes! Place leaves between paper towels and microwave in 30-second intervals on low power until brittle. Watch closely to avoid burning.
Fully dried sage leaves crumble easily when rubbed between your fingers and have no moisture left. They should look brittle and feel paper-like.
Store in an airtight container away from light, heat, and humidity. Glass jars or sealed bags work best to preserve flavor for up to a year.
Overheating or slow drying can degrade essential oils. Ensure quick, even drying and store properly to retain aroma and taste.
