
Beautiful Plants For Your Interior
Beautiful Plants For Your Interior
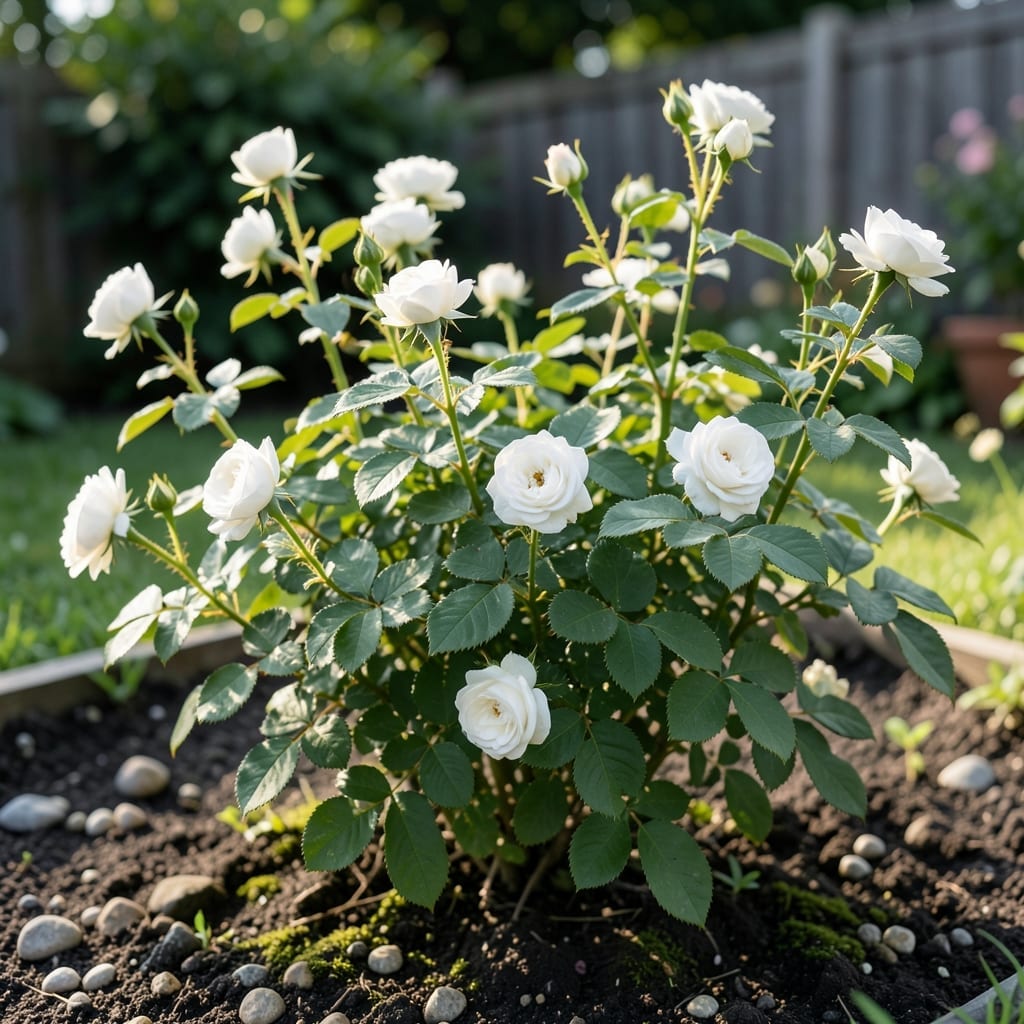
I started growing miniature white roses on a whim, and they became the easiest showstoppers in my garden. Perfect for small spaces or containers, these tiny blooms pack a huge visual punch.
They thrive with basic care: well-draining soil, consistent watering, and a sunny spot. Prune lightly to encourage bushier growth, and you’ll get months of pristine white flowers with minimal effort.
📚 In This Guide
Here’s my proven approach to cultivating healthy, blooming plants with minimal fuss.
Choose a spot receiving 6-8 hours of direct sunlight daily, as these plants thrive in full sun conditions. Morning sun with afternoon shade works best in hotter climates to prevent petal scorch. Ensure the location has good air circulation to reduce fungal disease risk.
Test your soil drainage by digging a 12-inch deep hole and filling it with water. If it drains completely within 2-3 hours, the location is suitable. Poor drainage causes root rot, which is fatal to these delicate specimens.
Work the soil to a depth of 18 inches, removing rocks and breaking up clumps. These plants prefer slightly acidic to neutral soil with a pH between 6.0-7.0. A soil test kit provides precise readings – adjust with lime or sulfur if needed.
Incorporate 2-3 inches of organic compost into the planting area to improve fertility and drainage. Avoid fresh manure, which can burn tender roots. The soil should feel loose and crumbly, not compacted or waterlogged.
Dig a hole slightly larger than the root ball, placing the plant so the bud union sits 1-2 inches above soil level. This prevents suffocation and encourages strong cane development. Space multiple plants 18-24 inches apart to allow for air circulation.
Backfill with native soil, gently firming it around the base. Create a 3-inch high water ring around the plant to help direct moisture to the roots. Water thoroughly after planting, ensuring the soil settles completely around the roots.
Water deeply 2-3 times weekly during the first growing season, providing 1-2 gallons per plant each time. The goal is to keep soil consistently moist but never soggy. Check soil moisture by inserting your finger 2 inches deep – if it feels dry, it’s time to water.
Use a soaker hose or drip irrigation to keep foliage dry, which prevents fungal diseases. Morning watering allows excess moisture to evaporate during the day. Reduce frequency once established, but maintain consistency during bloom periods.
Begin pruning in early spring before new growth appears. Remove all dead, diseased, or crossing canes first. Then shape the plant by cutting back 1/3 of the oldest canes to encourage new, vigorous growth. Always make cuts at a 45-degree angle just above an outward-facing bud.
Deadhead spent blooms regularly by cutting just above the first 5-leaflet leaf below the flower. This encourages continuous blooming throughout the season. Sterilize pruning tools with rubbing alcohol between cuts to prevent disease spread.
These practical insights will help you avoid common pitfalls when growing miniature white roses.
Sunlight and Drainage: The 6-8 hours of direct sunlight requirement is non-negotiable for healthy blooms. In Step 1, test your soil drainage by digging that 12-inch deep hole—if it doesn’t drain within 2-3 hours, consider raised beds or amending the soil. Poor drainage is the number one killer of these delicate plants.
Soil Preparation: In Step 2, working the soil to 18 inches deep ensures roots have room to spread. The pH range of 6.0-7.0 is ideal, so invest in a soil test kit. Skipping compost or using fresh manure will stunt growth—stick to 2-3 inches of well-aged organic compost for best results.
Planting Depth: Step 3’s instruction to place the bud union 1-2 inches above soil level prevents suffocation. Planting too deep suffocates the plant, while too shallow exposes roots. The 3-inch high water ring is a simple but critical trick to direct moisture efficiently.
Watering Technique: In Step 4, the 2-3 times weekly schedule with 1-2 gallons per plant ensures deep root growth. Morning watering is essential to prevent fungal diseases, and checking moisture 2 inches deep with your finger is more reliable than surface checks.
Water them deeply 2-3 times a week, ensuring the soil stays moist but not soggy. Morning watering helps prevent fungal diseases.
Plant in early spring or fall for optimal root establishment. Avoid extreme heat or frost, as these can stress the plants.
Yes! Use well-draining containers and potting mix. Ensure pots have drainage holes to prevent root rot.
Yellowing leaves often signal overwatering, nutrient deficiency, or pests. Check soil moisture and inspect for aphids or black spots.
Yes, look for varieties like ‘Iceberg’ or ‘Sweet Drift’—they’re bred for better resistance to common diseases like powdery mildew.