
Beautiful Plants For Your Interior
Beautiful Plants For Your Interior
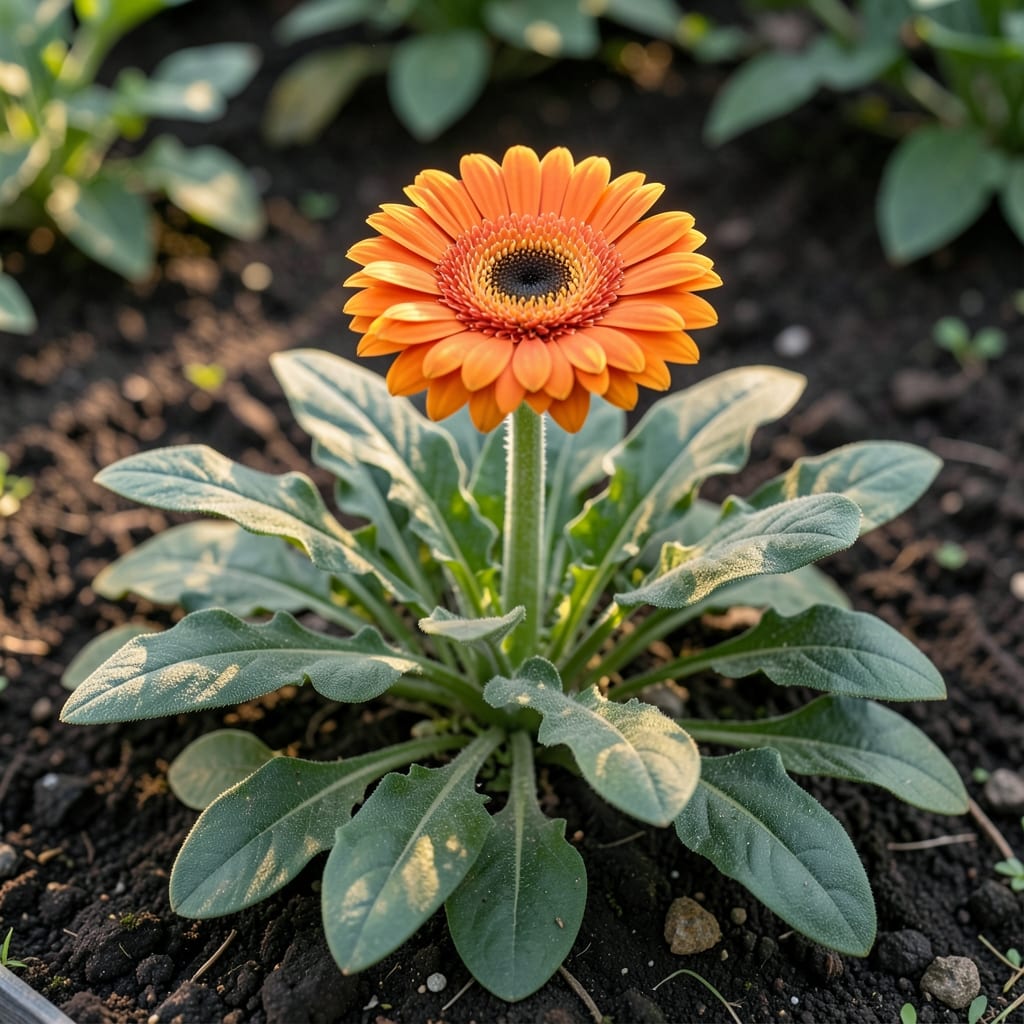
Those brown spots on your gerber daisy leaves aren’t just ugly—they’re a cry for help. I’ve seen this same pattern ruin perfectly healthy plants in just a few days when ignored.
Good news: with the right treatment, your daisies can bounce back fast. The fix usually comes down to adjusting water, light, or airflow before the problem spreads to the blooms.
📚 In This Guide
Here’s the method I trust to revive your plants without harsh chemicals or guesswork.
Start by examining the brown spots closely. Note their size, color, and location on the leaf. If spots appear dry and papery with a yellow halo, you’re likely dealing with a fungal issue. If they’re soft and mushy, it could be bacterial. Check both the upper and lower leaf surfaces for additional clues.
I always remove the most severely affected leaves first—this prevents the problem from spreading to healthy foliage. Use clean scissors and cut at the base of the leaf stem. Never tug leaves off, as this can damage the plant stem and create entry points for more disease.
Gerber daisies need good air circulation to prevent fungal growth. If your plants are crowded, thin them out immediately. Space individual plants at least 12-18 inches apart to allow air to flow freely between them. This simple step often stops the spread of brown spots without any additional treatment.
Ensure they’re receiving 6-8 hours of direct sunlight daily. Leggy growth with widely spaced leaves is a sign they’re not getting enough light. Move potted plants to a sunnier location or adjust your garden layout to provide better exposure. Morning sun is particularly beneficial as it helps dry dew from leaves quickly.
Overhead watering is a common culprit for brown spots. Switch to watering at the base of the plant using a soaker hose or drip irrigation. If you must use a watering can, direct the flow to the soil, not the leaves. Water in the early morning so foliage has time to dry before evening.
Check your soil moisture before watering. Stick your finger 1 inch into the soil—if it feels dry, it’s time to water. If it’s moist, wait another day. Gerber daisies prefer consistently moist but not soggy soil. The top sign of overwatering is yellowing leaves with brown edges, which often appear before the characteristic spots.
For fungal issues, apply a copper-based fungicide according to package instructions. I’ve found this works well for most leaf spot diseases. Apply in the early morning or late evening to prevent leaf burn. Reapply every 7-10 days until the problem is resolved, usually after 2-3 applications.
If you suspect a bacterial problem, remove all affected leaves and treat with a bactericide containing Bacillus subtilis. This is a natural soil bacterium that helps control harmful bacteria. Always treat the entire plant, not just the visibly affected areas, as bacteria can spread before symptoms appear.
Healthy plants resist disease better. Apply a balanced fertilizer every 4-6 weeks during the growing season to keep your daisies vigorous. Avoid high-nitrogen fertilizers, which can produce lush growth that’s more susceptible to disease. I use a 10-10-10 formula with good results.
Remove spent blooms and yellowing leaves regularly to improve air circulation and reduce disease pressure. At the end of the season, clean up all plant debris from the garden, as many fungal and bacterial pathogens overwinter in dead plant material. This simple habit prevents many problems from recurring next year.
Here are the key insights I’ve gathered that make treating brown spots simpler.
Diagnosis Tip: In Step 1, pay close attention to the texture of the brown spots. Dry, papery spots with yellow halos almost always mean fungus, while soft, mushy spots suggest bacteria. This distinction is crucial because it determines your entire treatment approach.
Prevention Strategy: Step 2’s spacing requirement of 12-18 inches isn’t just about air flow—it also ensures each plant gets its share of the 6-8 hours of direct sunlight needed daily. I learned the hard way that crowded plants not only spread disease but also compete for light, creating weak growth that’s more susceptible to problems.
Watering Wisdom: The early morning watering in Step 3 serves two purposes: it gives foliage time to dry before evening, and it aligns with the plant’s natural moisture uptake cycle. If you must water in the evening, do it at least 4 hours before sunset to allow proper drying.
Treatment Timing: For the fungicide in Step 4, the 7-10 day reapplication schedule is non-negotiable. I’ve seen cases where people stop after one application when spots seem to disappear, only to have the problem return worse than before. Consistency is key to breaking the disease cycle.
Brown spots often appear due to fungal infections like leaf spot, overwatering, or poor air circulation. Ensure proper drainage and avoid wetting the foliage to prevent this issue.
Remove affected leaves, apply a fungicide, and improve airflow. Water at the base to keep leaves dry, and avoid overhead watering to stop the spread.
Water in the early morning to allow foliage to dry quickly. This reduces humidity and minimizes the risk of fungal diseases that cause brown spots.
Yes! Try neem oil or a baking soda solution (1 tsp baking soda + 1 quart water + a drop of soap) as natural remedies to control fungal growth.
Yellowing leaves with brown spots may indicate nutrient deficiencies, overwatering, or pests. Check soil moisture, test pH levels, and inspect for insects.