
Beautiful Plants For Your Interior
Beautiful Plants For Your Interior
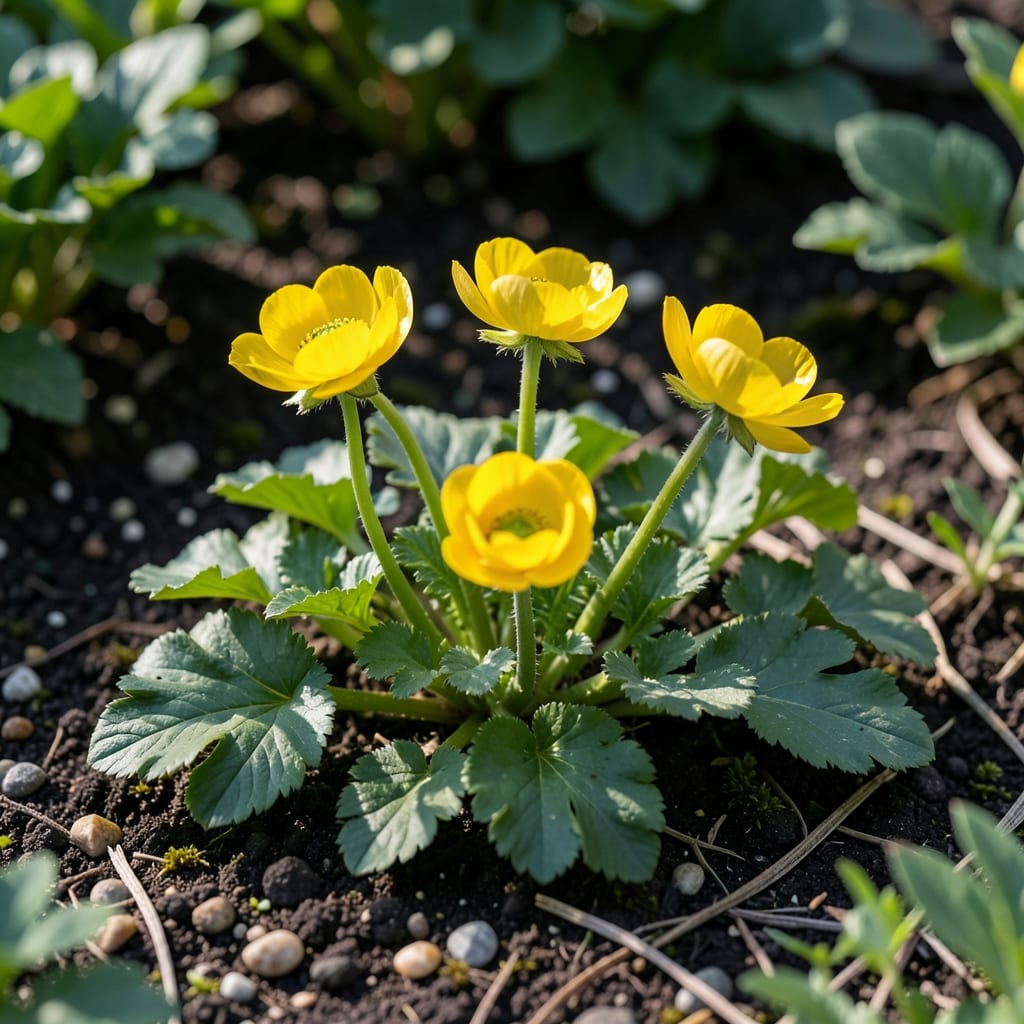
This cheerful yellow flower spreads faster than you can say “invasive.” I learned the hard way that its bright blooms come with a takeover habit—one season of neglect and it’s everywhere.
Control starts with understanding its growth pattern. Pull it early, dig deep, and never let it seed. The key is persistence, not perfection—this plant doesn’t give up without a fight.
📚 In This Guide
Here’s the reliable method I use to reclaim garden space from this persistent invader.
Start by pulling up every visible plant, roots and all. I use a hand trowel to dig deep beneath the soil surface, ensuring I extract the entire root system. This plant spreads via runners, so even a small piece left behind can regrow.
Check the area thoroughly for yellow flowers or distinctive three-lobed leaves. You’ll often find new shoots emerging from nodes along the runners. Collect all plant material in a sealed bag for disposal—never compost it, as this can spread the problem.
After removal, cover the affected area with thick black plastic sheeting or cardboard. This blocks sunlight and prevents regrowth. I weigh down the edges with bricks or stones to keep it secure.
Leave the covering in place for at least 4-6 weeks during the growing season. Without light, any remaining root fragments will exhaust their energy reserves and die. In cooler weather, extend this period to 8-10 weeks for complete effectiveness.
After removing the covering, inspect the area for new growth. I always find a few persistent sprouts that need attention. Pull these immediately before they establish.
Repeat the smothering process if you notice significant regrowth. This plant is tenacious, and multiple treatments are often necessary for full control. I’ve found that consistency is key—don’t let it get a foothold again.
Once the area is clear, plant dense, competitive ground covers like clover or creeping thyme. These crowd out potential invaders by occupying the space. I maintain a thick layer of mulch in garden beds to suppress new growth.
Regularly inspect your garden for early signs of this plant. Catching it early makes removal much easier. I walk my garden weekly during the growing season, pulling any suspicious plants before they spread.
These practical insights will help you tackle this persistent plant more effectively.
The Removal Technique: In Step 1, use a hand trowel to dig at least 6 inches deep beneath each plant. Creeping yellow buttercup has an extensive root system, and shallow pulling often leaves behind fragments that will regrow. I learned this the hard way after multiple failed attempts.
Smothering Strategy: For Step 2, ensure your black plastic sheeting or cardboard is completely opaque. Even small gaps can allow light through, giving remaining roots the energy they need to survive. Weigh down all edges thoroughly—wind or animals can shift unsecured coverings.
Monitoring Schedule: In Step 3, check the area every 3-4 days after removing the covering. New growth often appears quickly, and catching it early prevents re-establishment. I always find at least a few sprouts that need immediate attention.
Prevention Mindset: For Step 4, the thick mulch layer should be at least 2-3 inches deep. Anything thinner may not effectively suppress new growth. I’ve found that combining mulch with regular inspections creates the best defense against reinfestation.
Look for bright yellow, glossy flowers with five petals and deeply lobed, dark green leaves. It spreads via runners and thrives in moist, poorly drained soil.
Early spring or fall is ideal, as the plant is actively growing. Remove it before it flowers to prevent seed spread and new growth.
Hand-pulling, mulching, or smothering with cardboard can work. For larger areas, solarization (covering with clear plastic) effectively kills the plant and its roots.
It regrows from left root fragments or seeds. Ensure you remove all roots and monitor the area for new sprouts. Persistence is key!
Yes, it contains protoanemonin, which can cause skin irritation or gastrointestinal issues if ingested. Keep pets and livestock away from infested areas.