
Beautiful Plants For Your Interior
Beautiful Plants For Your Interior
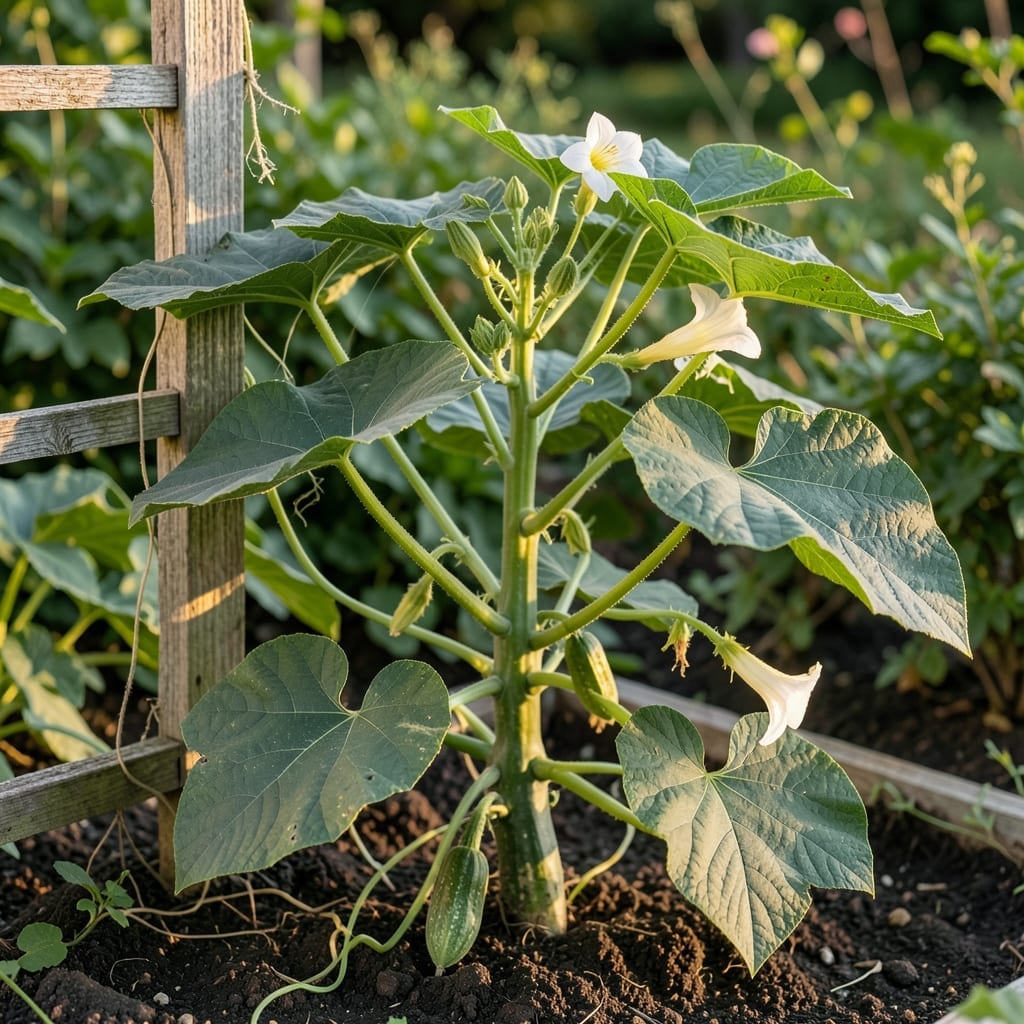
Those broad, vibrant bottle gourd leaves are the powerhouse behind your harvest. I learned the hard way that neglecting them means stunted vines and fewer fruits.
Keep foliage healthy with consistent water, full sun, and watchful eyes for pests. The payoff is vigorous plants that produce abundantly all season long.
📚 In This Guide
Here’s my time-tested approach for growing bottle gourd plants with lush, vigorous foliage.
Choose a spot with full sun exposure—this plant thrives on 6-8 hours of direct sunlight daily. The soil should be well-draining and rich in organic matter. I always test the drainage by digging a 1-foot hole and filling it with water; if it drains within 30 minutes, you’re good to go.
If your soil is heavy clay, amend it with compost or aged manure to improve texture. Avoid low-lying areas where water pools after rain, as this will rot the roots and stress the plant. You’ll see healthier leaves almost immediately in a well-prepared site.
Sow seeds or transplant seedlings after the last frost when soil temperatures reach at least 60°F. Plant seeds 1 inch deep and space them 3-4 feet apart—bottle gourds are vigorous vines that need room to spread. If using transplants, bury them slightly deeper than their original container.
Water thoroughly after planting to settle the soil around the roots. Real talk: crowding plants leads to weak stems and sparse foliage, so resist the urge to pack them in. You’ll notice stronger growth within 2 weeks when given proper space.
Keep the soil consistently moist but not waterlogged, especially during the first 4-6 weeks of growth. I water deeply 2-3 times per week, depending on rainfall, ensuring the top 1-2 inches of soil stay damp. Drip irrigation works best to keep leaves dry and prevent fungal issues.
If leaves start to wilt in the afternoon, it’s a sign of thirst—water immediately. However, if wilting persists into the morning, you might be overwatering. This is the moment that matters: finding that balance keeps leaves lush and green.
Feed the plants with a balanced 10-10-10 fertilizer every 3-4 weeks during the growing season. I switch to a high-nitrogen formula if the leaves look pale or yellow, as nitrogen promotes leafy growth. Always water after fertilizing to prevent root burn.
You’ll see a surge in leaf production after the first feeding. Don’t skip this—I learned the hard way that under-fertilized plants produce thin, sparse foliage. A light layer of compost around the base also provides slow-release nutrients.
Check plants regularly for signs of pests like aphids or spider mites, which love to target tender leaves. Spray with water or insecticidal soap at the first sign of trouble. Remove any yellowed or damaged leaves immediately to encourage new growth.
Prune back leggy vines to redirect energy toward leaf production. You’ll notice fuller foliage within 1-2 weeks of pruning. Here’s the thing—consistent care prevents problems before they start, keeping your plants healthy and productive.
Small adjustments make a big difference when growing bottle gourds for healthy foliage.
Sunlight Essentials: The 6-8 hours of daily sunlight in Step 1 isn’t just a suggestion—it’s critical. I’ve noticed plants getting only 4-5 hours produce weak, yellowing leaves. If your garden has partial shade, consider container growing so you can move plants to follow the sun.
Soil Test Shortcut: That 1-foot hole drainage test in Step 1 saves more trouble than you’d think. Between us, I skipped this once and lost three plants to root rot. If water doesn’t drain within 30 minutes, mix in compost or sand before planting—your leaves will thank you.
Spacing Strategy: The 3-4 feet apart spacing in Step 2 prevents more than just crowding. I learned the hard way that closer spacing leads to poor air circulation, which invites fungal diseases. That extra space also makes pruning easier when you reach Step 5.
Watering Wisdom: During those first 4-6 weeks in Step 3, stick to deep watering 2-3 times per week rather than daily light watering. This encourages roots to grow deep, making your plants more drought-resistant. The top 1-2 inches of soil should feel like a wrung-out sponge—not soggy, not dry.
Yes, young bottle gourd leaves can be eaten raw in salads or smoothies. However, mature leaves may taste bitter or fibrous, so cooking (steaming, sautéing) is recommended for better texture and digestibility. Always wash them thoroughly to remove dirt or pests.
Water deeply 2-3 times a week, ensuring the soil stays moist but not soggy. Overwatering can lead to yellowing leaves or root rot. Adjust frequency based on climate—hotter days may require more frequent watering.
Yellow leaves often signal overwatering, nutrient deficiency (nitrogen or magnesium), or pests like aphids. Check soil moisture, fertilize if needed, and inspect leaves for bugs. Prune affected leaves to encourage new growth.
Spinach, Swiss chard, or pumpkin leaves make great substitutes due to their similar mild flavor and texture. For soups or stir-fries, try kale or collard greens for a heartier bite.
Spray affected leaves with a mix of 1 tsp baking soda + 1 quart water + a few drops of dish soap. Improve air circulation, avoid overhead watering, and remove severely infected leaves. Neem oil is another organic option.