
Beautiful Plants For Your Interior
Beautiful Plants For Your Interior
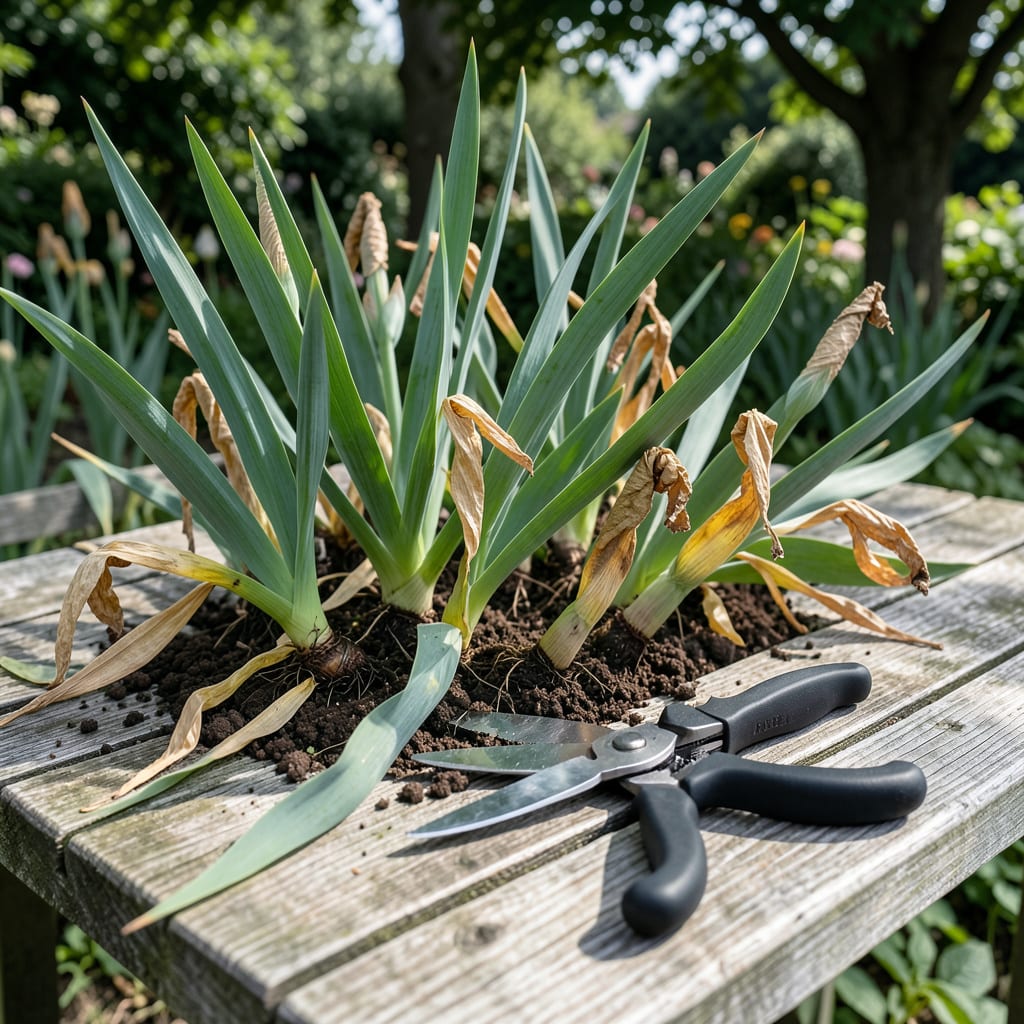
Dead iris leaves ruin the look and steal energy from next year’s blooms. I learned this the hard way after skipping cleanup one fall and watching my plants struggle the following spring.
This maintenance takes 10 minutes with basic pruners and keeps your irises healthy. Remove the brown, remove the risk, and let the green growth shine through.
📚 In This Guide
Here’s the simple method I use to keep iris plants healthy and ready for vibrant blooms.
Start by examining your iris plants closely. Look for leaves that are completely brown, yellowed, or mushy to the touch. These are the ones that need removal. I check each clump carefully, running my fingers along the blades to feel for dry, crispy texture or soft rot.
Don’t remove leaves that are still partially green—those are still supporting the plant. Focus only on foliage that’s clearly past its prime. This step ensures you don’t accidentally strip healthy growth that’s still contributing to the plant’s energy.
Grab a pair of sharp, clean scissors or pruning shears. I always wipe my blades with rubbing alcohol before starting to prevent spreading any potential diseases between plants. This is one of those small steps that makes a big difference in plant health.
Cut the dead leaf at its base, as close to the rhizome as possible without damaging it. A clean cut prevents ragged edges that could invite disease. I angle my cuts slightly away from the center to avoid accidentally nicking emerging growth.
After cutting, gather all the dead foliage and dispose of it properly. I never leave it around the base of the plant. Decaying leaves can harbor pests and diseases that might affect the healthy parts of your iris.
For a quick cleanup, I use a small hand rake to gently pull away any loose debris. This also helps me spot any additional dead growth I might have missed during the initial inspection. The area should look tidy when you’re finished.
While you have clear access to the base of the plants, take a moment to check for signs of trouble. Look for small holes in the leaves, sticky residue, or unusual spots. These could indicate pest activity or fungal issues.
If you spot anything concerning, address it immediately. I’ve found that catching problems early prevents them from spreading to other iris plants in the garden. Healthy plants start with vigilant care.
Give your iris a light watering after cleanup, focusing at the base rather than the remaining leaves. This helps the plant recover from the stress of pruning. I use a watering can with a narrow spout to direct water precisely where it’s needed.
Over the next 7-10 days, keep an eye on the plant for any signs of stress or new growth. You should see fresh, healthy leaves emerging from the center. This new growth confirms your plant is responding well to the care.
These small but important details will help you care for your iris plants effectively.
The Identification Step: In Step 1, when examining your plants, pay special attention to leaves that are brown or yellowed all the way through. Partially green leaves still provide energy to the plant, so leave those intact. I learned this the hard way after accidentally removing healthy foliage that was still supporting new growth.
Tool Preparation: For Step 2, always clean your scissors or shears with rubbing alcohol before starting. This prevents disease transfer between plants, which is especially important if you’re working with multiple iris clumps. A quick wipe takes seconds but protects your entire garden.
Cleanup Matters: Step 3 about removing debris isn’t just about aesthetics. Decaying leaves left around the base can attract pests and spread disease. I use a small hand rake to gently clear the area, which also helps me spot any additional dead growth I might have missed earlier.
Monitoring Period: During the 7-10 days mentioned in Step 5, watch for new growth emerging from the center. This is your plant’s way of showing it’s recovering well. If you don’t see new leaves within this timeframe, it might indicate stress that needs addressing.
The ideal time is late winter or early spring before new growth starts. This helps prevent disease and allows the plant to focus energy on fresh blooms. Avoid pruning in fall, as the leaves provide winter protection.
Yes, but sharp bypass pruners or garden shears are better for clean cuts. Regular scissors can crush stems, increasing disease risk. Always sanitize tools with rubbing alcohol before and after use.
Only remove completely brown, crispy leaves. Partially green leaves still support the plant. If in doubt, wait until the leaf is fully dead to avoid stressing the iris.
Dispose of them in the trash or compost (if disease-free). Avoid leaving them near the plant, as they can harbor pests or fungi. Never use diseased leaves for mulch.
Yellowing may indicate overwatering, poor drainage, or a fungal issue like iris leaf spot. Check soil moisture and remove affected leaves promptly to prevent spread.
