
Beautiful Plants For Your Interior
Beautiful Plants For Your Interior
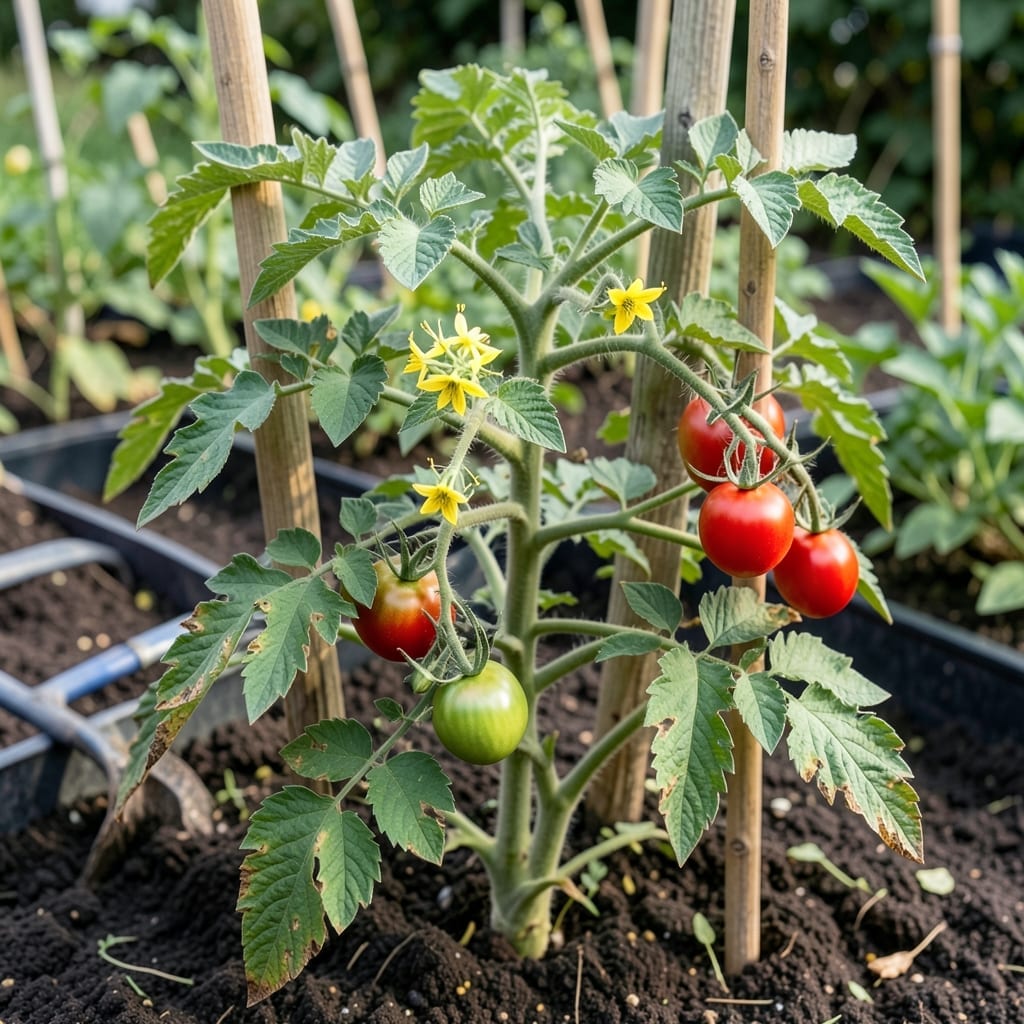
Dry leaves on tomato plants always send my blood pressure up. 🌱 I’ve learned the hard way that crispy edges or brown patches are your plants’ way of waving a white flag—something’s off with water, nutrients, or their environment.
Early diagnosis saves the harvest. Underwatering leaves them dry and brittle, while overwatering turns tips brown but leaves the soil soggy. Then there’s the sneaky pests and fungi that mimic the same symptoms—confusing at first glance.
Organic fixes work fast when you know the root cause. A little observation plus targeted care brings them back stronger. I’ve rescued dozens of plants this way, and you can too.
This guide helps you spot the signs, match them to the problem, and act before it spreads. No guesswork, just results.
Understanding why your tomato plants develop dry leaves is the first step to fixing the problem. Here are the most common causes, explained in simple terms:
Tomatoes thrive in warm conditions, but excessive heat (above 90°F/32°C) can cause leaf scorch. High temperatures accelerate moisture loss through transpiration, leading to dry, crispy edges—especially if the soil is dry. Inconsistent watering (too much or too little) also stresses the plant, disrupting nutrient uptake and causing leaves to wilt and dry out.
While drought is a clear culprit, overwatering can be just as harmful. Soggy roots suffocate, preventing the plant from absorbing water and nutrients. This triggers leaf yellowing, wilting, and eventual drying. Poor drainage in pots or heavy clay soil worsens the issue, creating a breeding ground for root rot.
Diseases like early blight (Alternaria solani) or septoria leaf spot start as small brown spots that expand, dry out, and kill leaf tissue. These fungi thrive in humid, wet conditions. Infected leaves lose their ability to photosynthesize, turning brittle and dry as the disease progresses.
A lack of potassium or magnesium can cause leaf edges to dry and curl. Potassium deficiency often appears as yellowing between leaf veins, followed by necrosis (dead, dry tissue). Magnesium deficiency, on the other hand, creates interveinal chlorosis (yellowing) in older leaves, which then turn crispy.
Sap-sucking pests like spider mites and aphids pierce leaf cells, draining fluids and weakening the plant. Severe infestations lead to stippling (tiny dry spots), curling, and eventual leaf death. Whiteflies and thrips can also cause similar dry, silvery patches.
Don’t let dry, crispy leaves ruin your tomato harvest! Here’s how to fix the most common causes and keep your plants thriving. 🌱✨
If the soil is bone-dry, give your tomatoes a slow, deep soak at the base—1–2 inches per week (more in extreme heat). Use a drip system or soaker hose to avoid wetting the leaves, which can invite disease. Prevention tip: Mulch with straw or wood chips to retain moisture and reduce evaporation. 💡
Soggy roots suffocate plants. If the soil stays waterlogged, check your drainage: amend heavy clay with compost or sand, or move potted tomatoes to a spot with better airflow. Prevention tip: Water only when the top inch of soil feels dry. A moisture meter can take the guesswork out! 🎯
Leaves on the sun-facing side turning crispy? Shield plants with 30–50% shade cloth during peak afternoon hours (11 AM–3 PM). For container gardens, simply move pots to a partially shaded area. Prevention tip: Harden off seedlings gradually to build sun tolerance before transplanting. 🌡️
Spotted dry patches with yellow halos? Treat early with copper fungicide or a DIY mix of 1 tsp baking soda + 1 quart water + a drop of dish soap. Spray every 7–10 days, focusing on leaf undersides. Prevention tip: Space plants 18–24 inches apart for airflow and avoid overhead watering. ✨
Check leaf undersides for spider mites or aphids. Blast them off with a strong water spray, or introduce ladybugs or lacewings to your garden. For severe infestations, use neem oil (apply at dusk to avoid harming bees). Prevention tip: Plant companion herbs like basil or marigolds to repel pests. 🎯
Yellowing leaves with dry edges often signal a magnesium (Epsom salt) or potassium (banana peel tea) deficiency. Test your soil and amend with organic fertilizers. Prevention tip: Mix compost into the soil at planting and side-dress with worm castings mid-season for a nutrient boost. 💪
Water deeply at the base 1–2 inches per week, more in extreme heat. Always check the top inch of soil first—if it’s dry, it’s time to water.
Existing dry leaves won’t recover, but new growth will be healthy. Remove badly damaged leaves to redirect energy to healthy parts of the plant.
Amend heavy soil with compost or sand, or move potted plants to a better spot. Elevate containers and ensure they have drainage holes to prevent waterlogging.
Not always—brown spots can also come from inconsistent watering or pest damage. Check leaf undersides for pests and review your watering routine before assuming disease.