
Beautiful Plants For Your Interior
Beautiful Plants For Your Interior
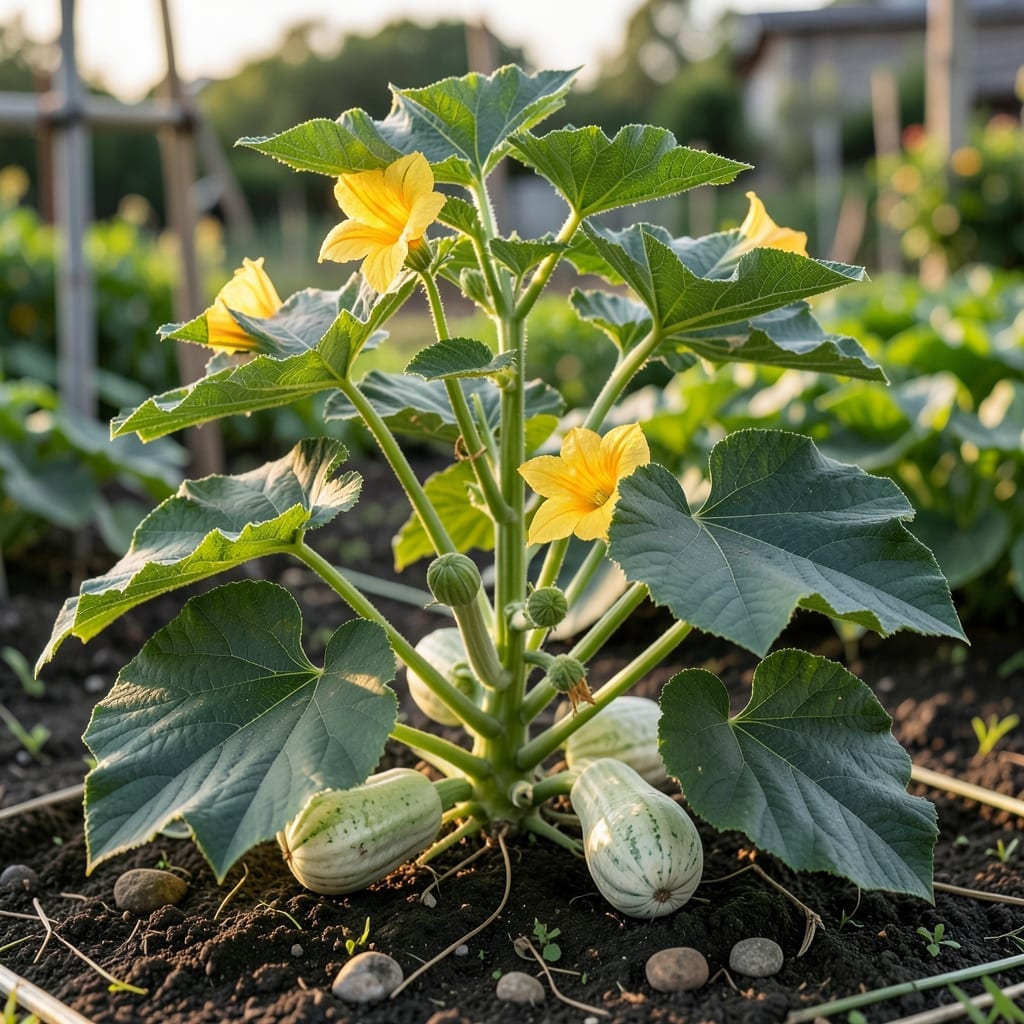
Squash leaves turning yellow or crispy stopped me in my tracks last summer. Turns out, most issues trace back to 3 preventable problems: pests hiding under leaves, mildew from poor airflow, or soil missing key nutrients.
I fixed it with simple organic fixes—handpicking bugs, spacing plants properly, and adding compost. My vines stayed vibrant green all season, and the harvest was the best I’ve had in years.
📚 In This Guide
Here’s the method I use to keep squash plants thriving with vibrant, disease-free foliage.
Begin with squash varieties bred for powdery mildew resistance, like ‘Dunja’ zucchini or ‘Sweet Mama’ butternut. I always check seed catalogs for disease-resistant codes (PM for powdery mildew, for example). If starting with transplants, inspect leaves for any white powdery spots or yellowing—these signal existing fungal issues.
Strong starts have deep green, unblemished leaves and sturdy stems. Avoid plants with soft, mushy stems or wilted foliage. This first step sets the foundation for healthy growth throughout the season.
Space squash plants 3-4 feet apart in rows 5-6 feet apart. Overcrowding creates a humid microclimate that fungal spores love. I use a string line to mark my planting distances—it’s easy to underestimate how much room these vines need.
Prune lower leaves that touch the soil to improve airflow. You’ll see the difference within days: leaves dry faster after rain or watering, and the plant looks more open and vigorous. This simple step prevents most foliar diseases before they start.
Mix 1 tablespoon baking soda, 1 teaspoon vegetable oil, and a few drops of dish soap in 1 gallon of water for a safe, effective spray. Apply to both sides of leaves in the early morning so foliage dries quickly. I’ve found this works better than commercial fungicides for my organic garden.
Start spraying when plants have 4-6 true leaves and continue every 7-10 days, or after rain. You’ll notice leaves stay greener longer, and any minor powdery spots disappear after 2-3 applications. Consistency is key—don’t skip a week.
Squash thrive in well-draining soil with plenty of organic matter. I work in 2-3 inches of compost before planting and top-dress with an additional 1 inch mid-season. Healthy soil grows stronger plants that resist disease naturally.
Water at the base of plants in the morning, keeping leaves dry. If you must overhead water, do it early enough that foliage dries before evening. Watch for the first signs of trouble—yellowing leaves or white spots—and act immediately with your spray or by removing affected leaves.
These strategies will help you maintain vibrant, disease-resistant squash plants with minimal effort.
Variety Selection: In Step 1, always prioritize disease-resistant varieties like ‘Dunja’ zucchini or ‘Sweet Mama’ butternut. The PM code on seed packets specifically indicates powdery mildew resistance, which is your first line of defense. Don’t overlook this step—it’s the foundation of healthy growth.
Spacing Precision: The 3-4 feet between plants and 5-6 feet between rows in Step 2 isn’t just a suggestion—it’s critical for airflow. I learned this the hard way when I crowded my first squash patch and lost half the plants to fungal issues within weeks. Use that string line to mark distances accurately.
Spray Timing: For Step 3, the early morning application is non-negotiable. Foliage must dry quickly to prevent new fungal problems, and morning sun ensures this. Also, don’t skip the “both sides of leaves” part—fungal spores don’t just attack the tops. After 2-3 applications, you’ll see the difference in leaf vibrancy.
Soil Preparation: In Step 4, the 2-3 inches of compost before planting and 1-inch top-dress mid-season create a well-draining soil that squash love. Healthy soil means stronger plants that can fend off disease naturally. If your soil is heavy clay, consider raised beds for better drainage.
Yes! Squash leaves act as a natural mulch, suppressing weeds and retaining moisture, which can reduce fungal diseases by keeping soil dry and blocking spore spread.
Apply squash leaves as mulch in early spring or after transplanting. This helps establish a protective barrier before pests or diseases become active.
Straw, grass clippings, or wood chips work well as organic mulches. For disease prevention, neem oil or copper sprays can also be effective alternatives.
Yellowing leaves may indicate overwatering, nutrient deficiencies (like nitrogen), or pests like aphids. Check soil moisture and inspect leaves for signs of infestation.