
Beautiful Plants For Your Interior
Beautiful Plants For Your Interior
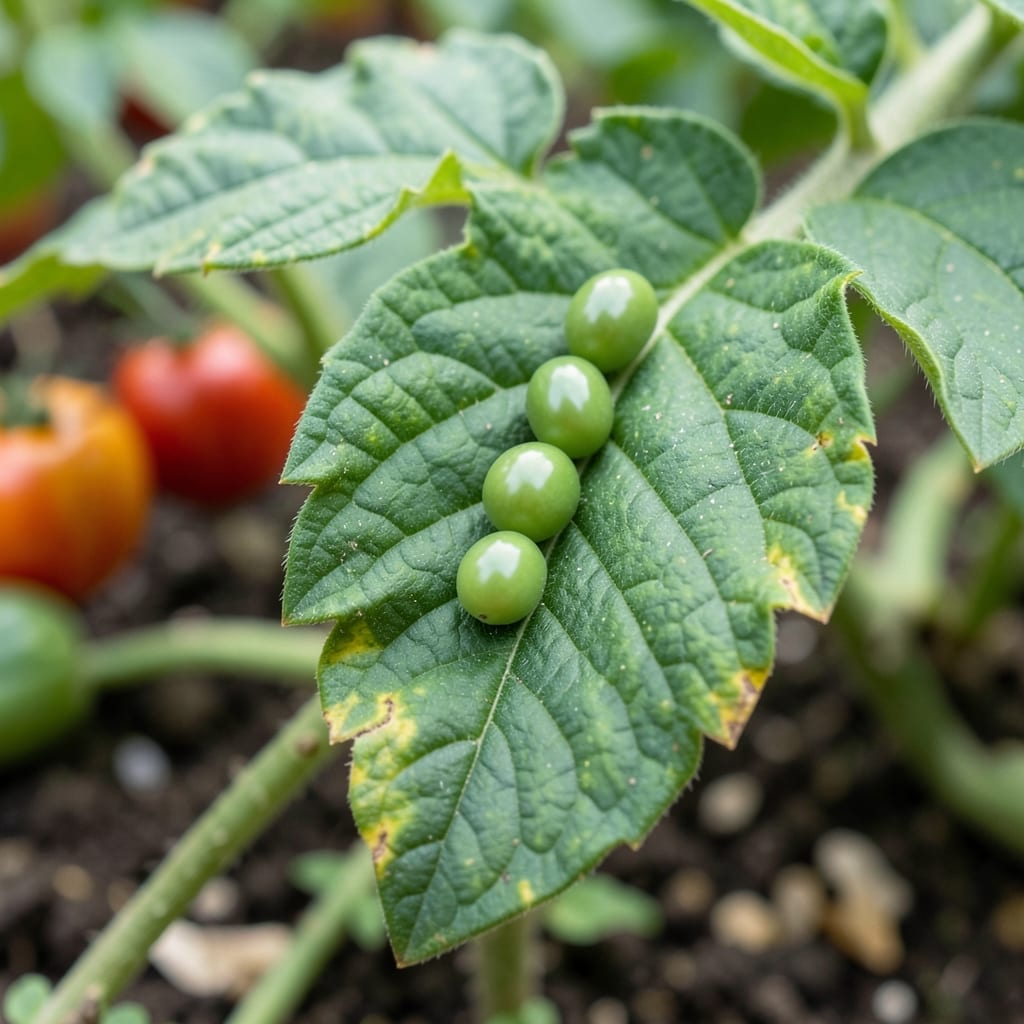
Tiny green eggs on your leaves mean trouble is brewing. I found my first cluster last spring—they looked like sand grains but were actually aphid eggs ready to hatch. Identifying them early saves your garden from a full-scale invasion.
These eggs often hide under leaves or along stems, sometimes in perfect rows. Color ranges from pale green to yellow, and they’re usually smaller than a pinhead. A hand lens helps, but even your phone camera can capture the details.
Left unchecked, they’ll hatch into plant-sucking pests in 5-10 days. The good news? Organic solutions work best at this stage. A strong spray of water or neem oil application can stop them before they start.
Check your plants weekly during warm weather. Catching these early means fewer chemicals and healthier plants all season long.
Understanding why small green insect eggs show up in your garden starts with recognizing the environmental and biological triggers that invite these pests to lay their young. Below are the primary causes, each with actionable insights to help you address the root of the problem.
Many insects, such as aphids and lace bugs, target healthy, lush plants to lay their eggs. These plants provide ample food (sap or leaf tissue) for hatching larvae. Over-fertilizing with nitrogen can create an especially attractive environment, as it promotes tender new growth that pests prefer.
Green insect eggs often thrive in damp conditions. Pests like whiteflies and certain beetles seek out moist soil or foliage to ensure their eggs don’t dry out. Poor drainage, overwatering, or dense plant canopies that trap humidity can all contribute to an egg-laying hotspot.
Most insect eggs, including those of stink bugs and leafhoppers, require warm temperatures (typically 70–85°F) to develop. Early spring or summer heatwaves can accelerate their life cycle, leading to rapid infestations if left unchecked.
Proactively monitoring these conditions—such as adjusting watering habits or using row covers—can help disrupt the egg-laying process before it starts.
Dealing with small green insect eggs in your garden can feel overwhelming, but these practical solutions will help you regain control. Here’s how to tackle each common cause and prevent future outbreaks.
If you spot a cluster of eggs on leaves or stems, act fast. Use a damp cloth or cotton swab to gently wipe them away. For stubborn eggs, prune the affected foliage and dispose of it in a sealed bag to prevent hatching. Inspect nearby plants thoroughly, as eggs often spread quickly.
For widespread egg deposits, a homemade solution of neem oil and water (1 tbsp oil per gallon) works wonders. Spray it directly on the eggs and surrounding foliage, focusing on the undersides of leaves where pests often hide. Reapply every 5–7 days until the issue resolves.
Pro tip: 💡 Test the spray on a small section of the plant first to ensure it doesn’t cause damage.
Prevention is key to keeping your garden egg-free. Start by:
Regularly inspect your garden, especially the undersides of leaves, to catch new eggs early. A little vigilance goes a long way!
They appear as tiny, oval or round dots, often in clusters. Colors range from pale green to yellowish-green. Under magnification, you may see slight texture or ridges on the surface.
Insect eggs are raised bumps that can be scraped off, while disease spots are flat and part of the leaf tissue. Eggs also lack the discoloration or irregular shapes typical of fungal or bacterial infections.
For small clusters, yes! Wipe or prune affected areas immediately. Check daily, as pests often lay eggs in batches. This method works best when caught early before hatching begins.