
Beautiful Plants For Your Interior
Beautiful Plants For Your Interior
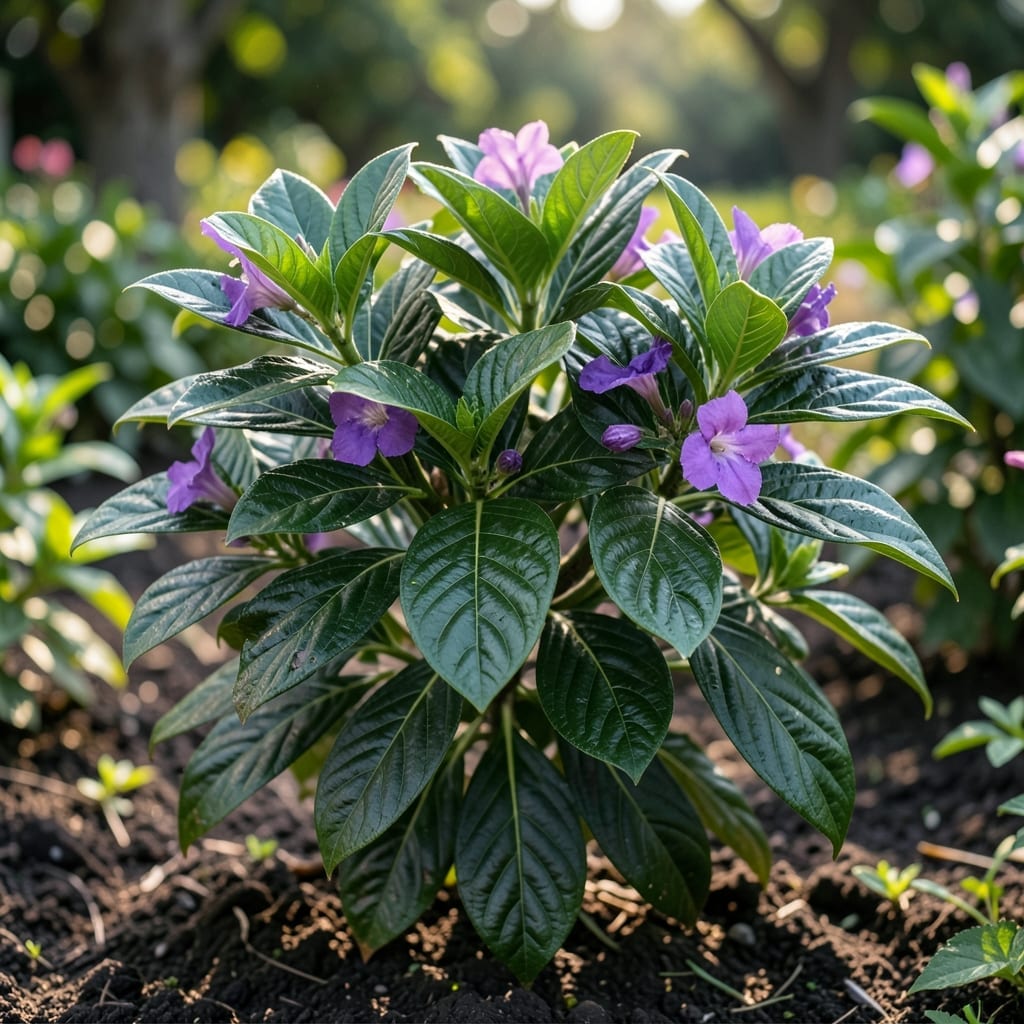
Princess flower leaves should be vibrant green with smooth edges, but mine looked sad last summer. Yellow spots and curled edges signal trouble before it spreads.
I fixed mine with consistent watering and better air flow. The recovery took 2 weeks, and now they’re thriving. Here’s how to spot early signs and bring your plants back to life.
📚 In This Guide
Here’s how I restore vibrant health to princess flower foliage with precision and care.
Begin by examining the foliage for discoloration, spots, or wilting. Healthy princess flower leaves should display deep green coloration with no yellowing or brown edges. I look for patterns—uniform issues often indicate environmental stress, while localized spots suggest pest or disease problems.
Check the undersides of leaves for early signs of pests like spider mites or scale. These often appear as tiny dots or webbing. Note the leaf texture too: healthy leaves feel firm and slightly leathery, not brittle or mushy.
Princess flowers thrive in bright, indirect light with some morning sun. If leaves appear pale or bleached, the plant is likely receiving too much direct sunlight. I move specimens to a location with dappled shade during peak afternoon hours.
Conversely, leggy growth with sparse foliage signals insufficient light. Relocate to a brighter spot, but avoid sudden transitions. A two-week adjustment period prevents shock. Watch for leaf orientation—healthy leaves angle slightly upward toward light sources.
These plants prefer consistent moisture but never soggy soil. I water when the top 1-2 inches of soil feels dry to the touch, using room-temperature water to avoid root shock. Always water at the base, not overhead, to prevent fungal issues on leaves.
Yellowing leaves often indicate overwatering, while crispy edges suggest underwatering. The soil should maintain even moisture without waterlogging. I use a moisture meter for precision, aiming for readings between 4-6 on a 10-point scale.
Apply a balanced, water-soluble fertilizer with an N-P-K ratio of 10-10-10 or 20-20-20 every 4-6 weeks during the growing season. I dilute to half-strength for princess flowers to prevent leaf burn from excess salts.
Watch for leaf responses: dark green, glossy leaves indicate proper nutrition, while interveinal chlorosis (yellowing between veins) suggests magnesium deficiency. A foliar spray of Epsom salt solution (1 tablespoon per gallon) can address this quickly.
Princess flowers originate from tropical regions and prefer 40-60% humidity. I place plants on pebble trays with water or use a humidifier nearby. Brown leaf tips often signal low humidity, while excessive moisture can encourage powdery mildew.
Ensure good air circulation to prevent fungal diseases. I position plants where they receive gentle airflow from open windows or a ceiling fan on low setting. The ideal temperature range is 65-75°F during the day, dropping no lower than 55°F at night.
Small adjustments can transform struggling foliage into thriving, vibrant leaves.
Light Assessment: In Step 2, when adjusting light exposure, remember that sudden changes can shock the plant. The two-week adjustment period is critical for preventing leaf drop. I’ve found that gradually increasing light exposure by 15-20% each day works best for delicate specimens.
Watering Precision: For Step 3, the top 1-2 inches of soil test is your best guide. I use my finger rather than a moisture meter for more tactile feedback. Room-temperature water is essential—cold water can cause root shock, while hot water may damage the root system.
Temperature Control: Step 5’s temperature range of 65-75°F during the day is ideal for active growth. At night, that drop to no lower than 55°F mimics natural tropical conditions. I place my plants near east-facing windows for gentle morning light and consistent temperatures.
Look for vibrant green leaves with smooth edges and no spots. Healthy foliage feels firm and has a slight gloss. Yellowing or wilting indicates stress or disease.
Yellow leaves often signal overwatering, poor drainage, or nutrient deficiencies. Check soil moisture and adjust watering. A balanced fertilizer can help restore vibrancy.
Act at the first sign of trouble—early treatment prevents spread. Prune affected leaves immediately and apply fungicide or natural remedies like neem oil.
Yes! Neem oil, baking soda spray, or diluted soap solutions can treat mild fungal or pest problems. Test on a small area first to avoid leaf damage.
Brown spots may indicate fungal infection or sunburn. Remove affected leaves, improve airflow, and avoid overhead watering. Move the plant to partial shade if needed.