
Beautiful Plants For Your Interior
Beautiful Plants For Your Interior
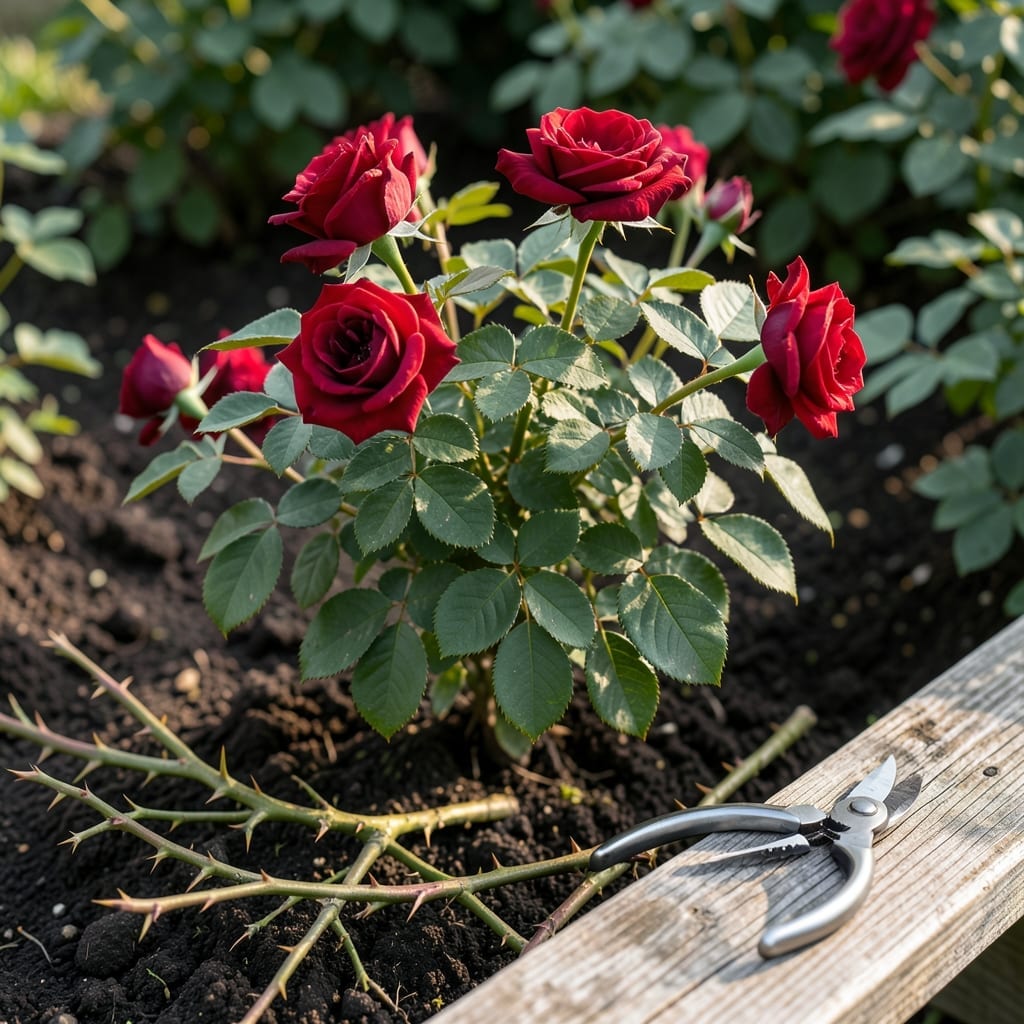
I discovered root cuttings after losing half my roses to disease. This organic method produces disease-resistant plants from your own stock.
It takes patience but works when other propagation fails. You’ll get genetically identical roses with stronger roots and better vigor than grafted varieties.
📚 In This Guide
Here’s the technique I use to encourage strong, vibrant roses through organic root care.
Choose early spring or late fall when the plant is dormant. This timing reduces stress on the rose and allows roots to recover before active growth periods. I always check the soil temperature—it should feel cool but not frozen when I dig down 4-6 inches.
You’ll know it’s the right moment when the plant shows no new leaf growth and the canes appear bare. Avoid working during extreme heat or cold, as this can shock the system. The ideal air temperature range is 50-60°F for this process.
Begin by watering the rose thoroughly 24 hours before you plan to work. This ensures the soil is moist and roots are plump, making them easier to handle. I use a sharp, clean pair of pruning shears to avoid tearing the roots.
Gently dig around the base of the plant, about 12 inches out from the stem, to expose the root system. Be careful not to damage the main taproot, as this can severely weaken the plant. Healthy roots should appear white or light tan and firm to the touch.
Using your shears, make clean cuts on one-third of the outer roots, removing no more than 2-3 inches from the tips. This stimulates new root growth while maintaining the plant’s stability. I focus on the thicker, woody roots rather than the fine feeder roots.
As you work, check that each cut is smooth and angled slightly away from the plant. This prevents water from pooling on the cut surface, which could lead to rot. Discard any roots that appear dark, mushy, or diseased during this process.
After cutting, I dust the exposed roots with a thin layer of organic root stimulator or compost tea. This encourages rapid healing and new growth. Avoid heavy fertilizers at this stage, as they can burn the fresh cuts.
Gently backfill the hole with the original soil, tamping it lightly to remove air pockets. Water deeply with 1-2 gallons of water to settle the soil and hydrate the roots. You’ll see new growth emerging within 3-4 weeks if done correctly.
Keep the soil consistently moist but not waterlogged for the first 2-3 weeks. I check the moisture daily by inserting my finger 1-2 inches into the soil—if it feels dry, it’s time to water.
Watch for signs of stress like wilting or yellowing leaves. If these appear, provide temporary shade and reduce watering slightly. The plant should show improved vigor and more abundant blooms by the next growing season.
Small details make a big difference when strengthening your roses organically.
The Tool Factor: In Step 1, bypass pruners are essential for clean cuts that heal quickly. Dull tools create jagged wounds that invite disease, so sharpen yours regularly. I keep a small file in my garden toolkit for quick touch-ups between uses.
Root Assessment: During Step 2, don’t overlook partially damaged thick roots—remove them entirely. What looks like a minor issue can spread underground and compromise the entire plant. Healthy roots should feel firm like a fresh carrot, not soft like an overripe banana.
Watering Wisdom: That 1 gallon of water in Step 3 isn’t arbitrary. It’s enough to settle the compost without creating soggy conditions that suffocate roots. I use a watering can with measurements marked on the side for precision.
Recovery Monitoring: The 2-3 weeks mentioned in Step 4 are critical for observing results. Check moisture daily by insertion 1 inch into the soil as instructed—this simple test prevents both underwatering and overwatering, which are equally harmful to recovering plants.
Trim a 6-8 inch stem just below a leaf node, remove lower leaves, and dip the cut end in rooting hormone. Plant in well-draining soil, keep moist, and provide indirect light. Roots typically form in 2-4 weeks.
Early summer or late spring is ideal, when the plant is actively growing. Avoid extreme heat or cold, as these conditions reduce success rates. Morning cuttings often root better due to higher moisture content.
Yes! Place the cutting in a clean jar of water, ensuring only the stem (not leaves) is submerged. Change the water every few days and transfer to soil once roots reach 1-2 inches long.
Common issues include poor soil drainage, overwatering, or low humidity. Ensure the cutting has at least 2-3 nodes, and avoid direct sunlight, which can dry it out. Patience is key—some varieties take longer.
Yes! Natural options like honey (diluted), aloe vera gel, or cinnamon can encourage rooting. These have mild antifungal properties but may be less effective than commercial hormones.