
Beautiful Plants For Your Interior
Beautiful Plants For Your Interior
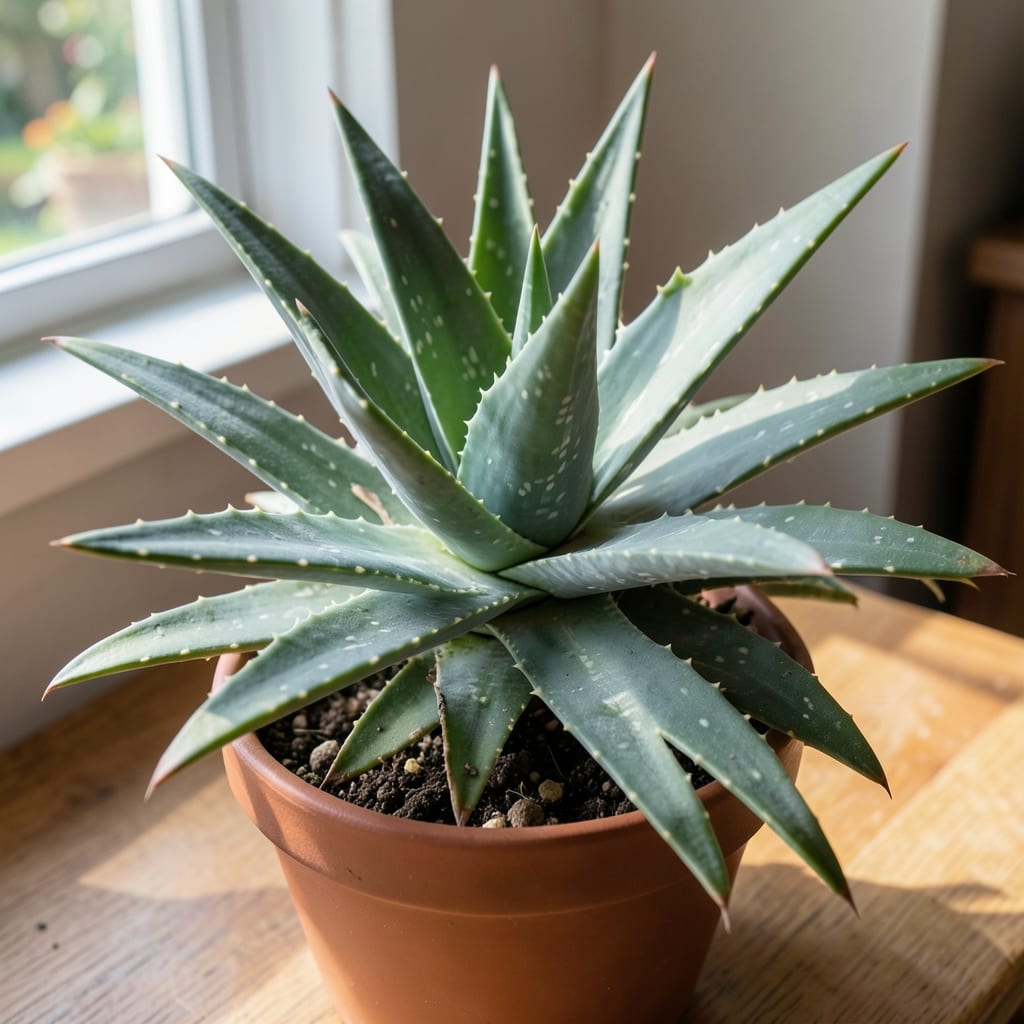
The aloe root system is the hidden hero of this resilient plant. I’ve learned that healthy roots mean a thriving plant—thick, white, and spreading just beneath the surface.
Get it wrong, and you’ll face root rot or stunted growth. The good news? With the right care, even a neglected aloe can bounce back with strong, fibrous roots ready to support new growth.
📚 In This Guide
Here is my proven approach to cultivating a robust, healthy foundation for your plants.
Choose a pot with drainage holes that is 2-3 inches wider than the current root ball. Aloe roots spread horizontally rather than deep, so width matters more than depth. I always use unglazed terra cotta because it allows excess moisture to evaporate through the walls, preventing rot.
The soil mix should be 50% cactus/succulent blend and 50% perlite or coarse sand. This creates the fast-draining environment aloe roots demand. Avoid regular potting soil—it holds too much moisture and suffocates the roots. Test your mix by watering it: the liquid should disappear within 10 seconds.
Gently remove the plant from its current container and loosen the root ball with your fingers. If the roots are tightly bound, make 3-4 vertical cuts through the root mass with a clean knife. This encourages new root growth outward rather than circling.
Position the plant in the new container so the base sits ½ inch below the rim. The crown (where roots meet stems) must stay above soil level—burying it invites stem rot. Fill around the roots with your mix, pressing lightly to eliminate air pockets. Don’t water immediately after planting; wait 5-7 days to allow any damaged roots to callous.
Water only when the soil is completely dry to the touch—insert your finger 2 inches deep to check. In 65-75°F conditions, this typically means watering every 2-3 weeks. When you do water, soak thoroughly until it runs from the drainage holes, then empty the saucer immediately.
Watch for signs of overwatering: yellowing leaves, mushy stems, or a foul odor from the soil. These indicate root rot, which spreads quickly. If you notice these, remove the plant, trim away any black or soft roots with sterilized shears, and repot in fresh, dry mix. Underwatering is far less damaging—aloe stores water in its leaves and can recover from drought.
Place your aloe where it receives 6-8 hours of bright, indirect light daily. A south-facing window is ideal, but east or west exposures work too. If leaves start to etiolate (stretch and thin), the plant needs more light. Rotate the pot quarter turn weekly to ensure even growth.
Aloe thrives in 55-80°F and can tolerate brief dips to 40°F, but frost will kill it. If temperatures drop, move it indoors near a sunny window. In summer, you can place it outside in partial shade, but acclimate it gradually over 7-10 days to prevent sunburn on the leaves.
Every 6 months, check the root system by gently removing the plant from its pot. Healthy roots should be firm and white or tan. If you see roots circling the bottom or growing out the drainage holes, it’s time to repot into a slightly larger container.
Fertilize sparingly—once in spring and once in summer with a diluted (half-strength) balanced liquid fertilizer. Too much fertilizer leads to weak, leggy growth and can burn the roots. If the plant becomes top-heavy, it may need staking, but this usually signals it’s time to divide the offsets (pups) and repot the mother plant.
These practical insights will help you avoid common pitfalls and cultivate thriving aloe plants.
The Drainage Imperative: In Step 1, choosing a pot with drainage holes is non-negotiable. I learned this the hard way after losing two aloe plants to root rot in containers without proper drainage. Even with the perfect 50% cactus/succulent blend and 50% perlite or coarse sand mix, water will pool at the bottom without drainage holes, suffocating the roots.
Root Positioning Matters: During Step 2, resist the urge to bury the crown (where roots meet stems) below soil level. I’ve seen many well-meaning gardeners make this mistake, thinking it will stabilize the plant. The crown should stay above soil to prevent stem rot. Position the base ½ inch below the rim and press lightly to eliminate air pockets without compacting the soil.
Watering Discipline: The 2-3 week watering interval in Step 3 works perfectly for the specified 65-75°F conditions. Trust the process and insert your finger 2 inches deep to check soil dryness. Remember, aloe stores water in its leaves, so underwatering is far less damaging than overwatering. When you do water, soak thoroughly until it runs from the drainage holes, then empty the saucer immediately.
Light and Rotation: For Step 4, the 6-8 hours of bright, indirect light is optimal. Don’t overlook the quarter turn weekly rotation—this prevents the plant from growing lopsided as it reaches toward the light source. If you notice etiolation (stretching and thinning leaves), it’s a clear sign your aloe needs more light, not more water.
Aloe roots typically grow 6–12 inches deep, depending on the species and pot size. Shallow, wide containers are ideal since aloe roots spread horizontally rather than diving deep. Overly deep pots can lead to soggy soil and root rot.
Slow rooting often happens due to overwatering, poor drainage, or cold temperatures. Ensure your aloe is in well-draining soil, water sparingly, and keep it in a warm, sunny spot. Patience is key—some cuttings take weeks to root!
No, aloe plants can’t thrive in water alone. They’re succulents and need well-draining soil to prevent root rot. For propagation, let cuttings dry for a day or two before planting in soil for best results.
Water your aloe only when the soil is completely dry—usually every 2–3 weeks. Overwatering is the most common issue, so when in doubt, wait it out! Less is more with these drought-tolerant plants.