
Beautiful Plants For Your Interior
Beautiful Plants For Your Interior
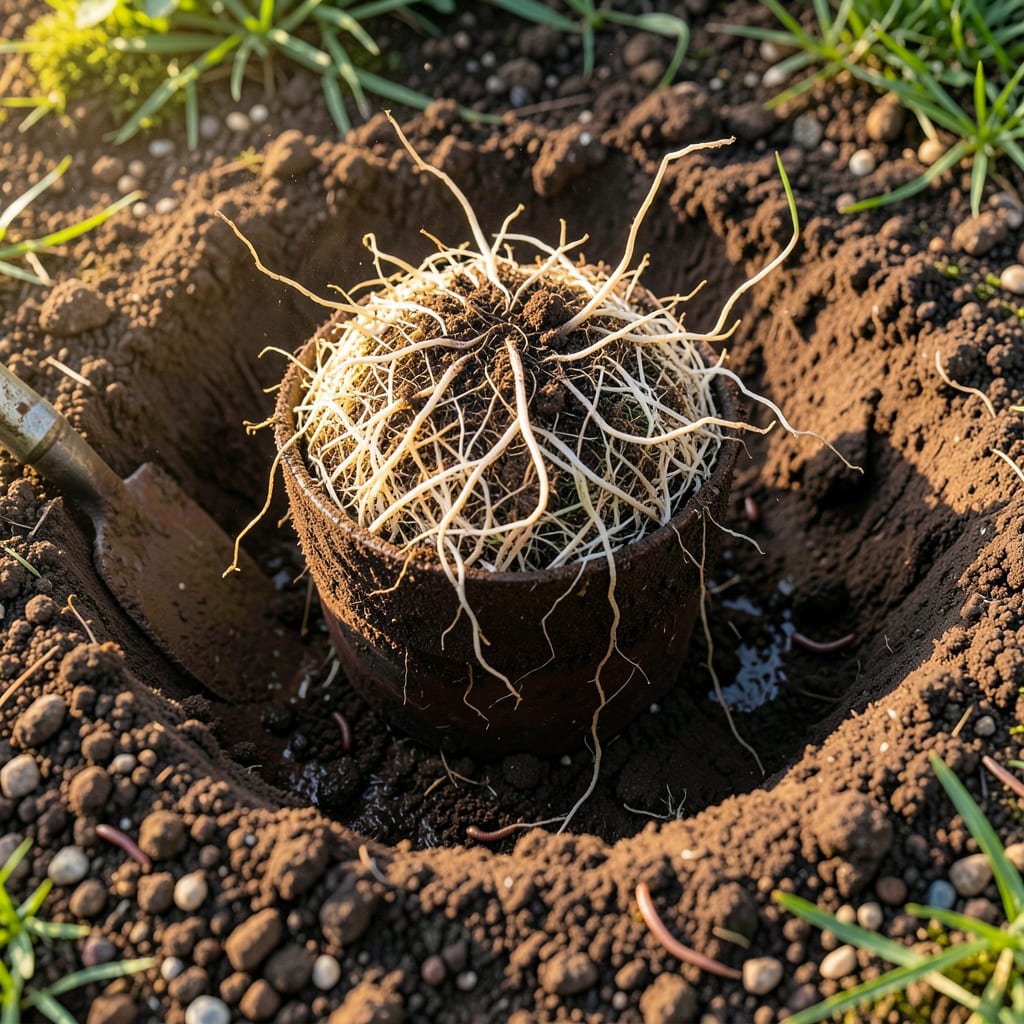
The first time I planted a rose bush with a bare root ball, I nearly buried it too deep. This simple step makes all the difference between a struggling plant and one that explodes with blooms.
Get the depth right, keep the roots moist, and you’ll have a healthy foundation for years of vibrant color. The process takes 20 minutes and pays off in spades.
📚 In This Guide
Here’s the method I use to plant rose bushes with strong root systems for vibrant, long-lasting blooms.
Dig a hole that’s twice as wide and just as deep as the root ball. This gives the roots room to spread without crowding. I loosen the soil at the sides and bottom of the hole to encourage roots to grow outward easily.
Check the depth by placing the root ball in the hole—the top should sit 1-2 inches above the soil line. This accounts for settling after planting. If the hole is too deep, add soil back in and firm it down before proceeding.
Before planting, examine the root ball for any circling or tangled roots. If present, gently tease them apart to prevent girdling as the plant grows. This step ensures the roots can expand naturally into the surrounding soil.
Soak the root ball in a bucket of water for 10-15 minutes to hydrate the roots thoroughly. This reduces transplant shock and gives the plant a strong start. You’ll notice the root ball darken as it absorbs moisture.
Place the root ball in the center of the hole, ensuring it sits at the correct height. If you’re planting a grafted rose, position the bud union (the swollen area near the base) 1-2 inches below the soil surface in cold climates or at soil level in warmer zones.
Backfill the hole with the original soil, pressing it gently around the root ball to eliminate air pockets. Water lightly as you go to settle the soil. Avoid compacting it too tightly—roots need room to breathe.
After planting, water the rose deeply until the soil is saturated and the water pools slightly around the base. This helps the soil settle and ensures the roots make good contact with the earth.
Apply a 2-3 inch layer of mulch around the base, keeping it 1-2 inches away from the stem to prevent rot. Mulch retains moisture, suppresses weeds, and protects the roots from temperature fluctuations.
Check the soil moisture daily for the first week, watering when the top 1 inch feels dry to the touch. Roses need consistent moisture to establish, but avoid waterlogging—soggy soil can suffocate the roots.
Watch for new growth within 2-3 weeks. If the leaves look wilted or yellow, the plant may need more water or shade. Once established, reduce watering to 1-2 times per week, depending on rainfall and temperature.
These practical insights will help you avoid common pitfalls and ensure your roses thrive from day one.
The Planting Depth: I learned the hard way that planting the root ball with the top 1-2 inches above the soil line is crucial. This accounts for settling, and if you bury it too deep, the stem can rot. Trust me, checking this with a ruler before backfilling saves heartache later.
Hydration is Key: Soaking the root ball for the full 10-15 minutes isn’t optional. Skipping this step or rushing it leads to transplant shock. I fill a bucket with water and let the root ball absorb moisture until it darkens—this gives your rose the best start.
Mulch Placement: When applying that 2-3 inch layer of mulch, keep it 1-2 inches away from the stem. Piling mulch against the base traps moisture and can cause rot. I use a handful of mulch and spread it like a donut around the plant, leaving the center clear.
Watering Wisdom: In Step 5, when you check soil moisture daily, stick your finger 1 inch deep into the soil. If it feels dry, water deeply. Overwatering is just as bad as underwatering—soggy soil suffocates the roots. I water in the morning so the plant can absorb moisture before the heat of the day.
A healthy root ball for a rose bush is typically 12–18 inches in diameter. For container-grown roses, match the root ball size to the pot. Larger root balls help established roses transition better when transplanted.
Early spring or fall is ideal, as cooler temps reduce stress. Avoid planting during extreme heat or frost. Bare-root roses should be planted in dormancy, while potted root balls can go in anytime during the growing season.
Yes, but trim broken or diseased roots first. Soak the root ball in water for 1–2 hours before planting to rehydrate. Healthy roots are key, so remove any mushy or blackened sections to prevent rot.
Water deeply right after planting and mulch around the base to retain moisture. Check soil weekly—keep it damp but not soggy. Drip irrigation or a soaker hose works best to avoid wetting the foliage.
