
Beautiful Plants For Your Interior
Beautiful Plants For Your Interior
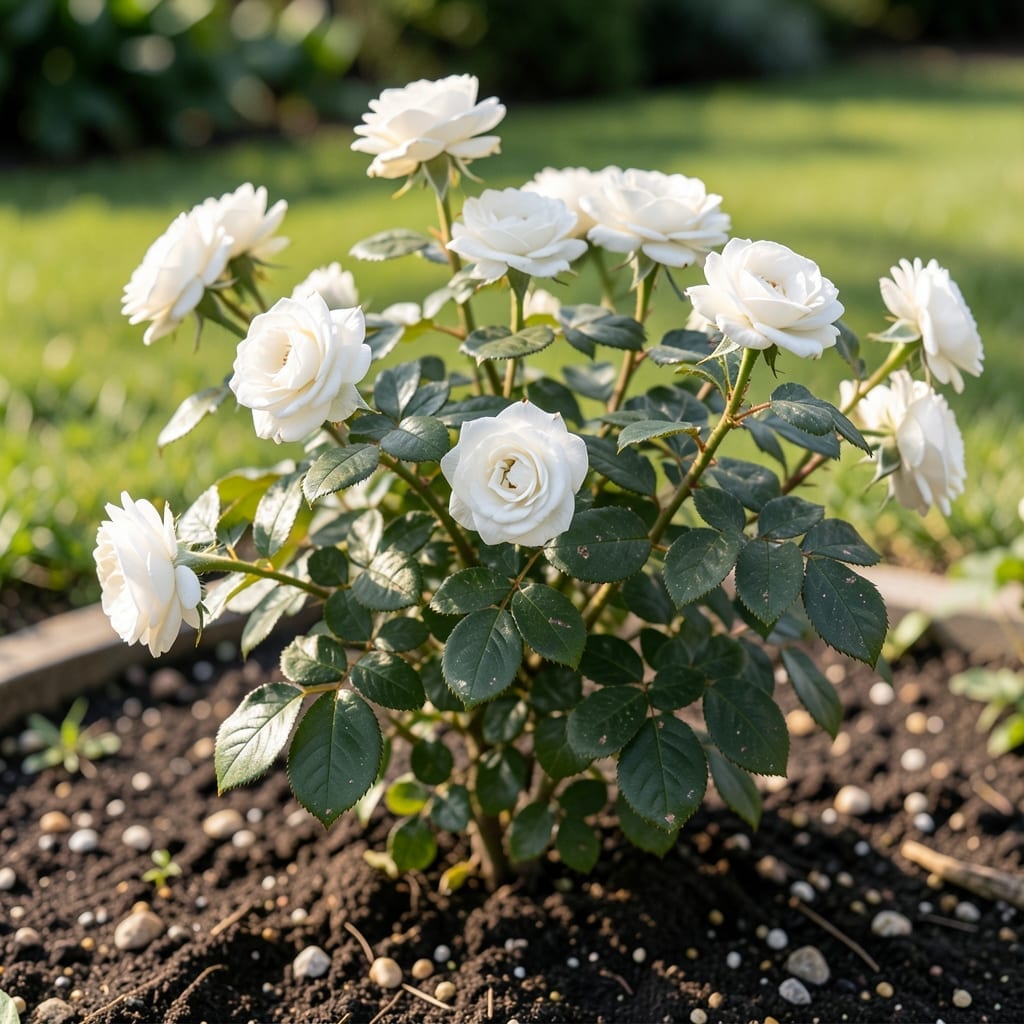
These delicate blooms pack a punch way above their size. I’ve grown mini white roses in everything from garden borders to patio containers, and they never fail to deliver lush clusters of pristine flowers.
With the right sunlight, well-draining soil, and consistent watering, you’ll get repeat blooms from spring through fall. They’re tougher than they look—resistant to common diseases and perfect for small spaces.
📚 In This Guide
Here’s the method I’ve refined over years to keep these delicate plants thriving with abundant blooms.
Choose a spot with full sun exposure (at least 6-8 hours daily) and well-draining soil. Mini white roses tolerate partial shade but produce fewer blooms. I always test the drainage by digging a 12-inch hole and filling it with water—if it drains within 1 hour, the location is suitable.
Avoid low-lying areas where cold air settles, as this increases frost risk. If planting in containers, ensure they’re at least 18 inches deep to accommodate root growth. The right location sets the foundation for healthy, disease-resistant plants.
Mini white roses thrive in loamy, slightly acidic soil with a pH of 6.0-6.5. I amend the planting area with 2-3 inches of compost and a handful of bone meal for root development. Work the amendments into the top 12 inches of soil to ensure even distribution.
If your soil is heavy clay, mix in 50% organic matter like aged manure or peat moss to improve drainage. For sandy soil, add compost to retain moisture. Proper soil prep prevents waterlogging and nutrient deficiencies, which often manifest as yellowing leaves.
Dig a hole twice as wide as the root ball and just as deep. Place the plant in the hole, ensuring the graft union (the bulge near the base) sits 1-2 inches above soil level to prevent rot. Backfill with native soil, tampering gently to remove air pockets.
Water deeply after planting until the soil is saturated, then add a 2-inch layer of mulch (like shredded bark) to retain moisture. Space plants 2-3 feet apart to allow for air circulation, which reduces the risk of fungal diseases like powdery mildew.
Mini white roses need 1-2 inches of water weekly, either from rainfall or irrigation. I water at the base in the early morning to allow foliage to dry before evening, which minimizes disease risk. Use a soaker hose or drip irrigation to keep leaves dry.
Check soil moisture by inserting your finger 1 inch deep—if it feels dry, it’s time to water. Overwatering causes root rot, while underwatering leads to stress and fewer blooms. Consistency is key, especially during the first growing season as roots establish.
Prune in early spring, removing dead or diseased wood first. Shape the plant by cutting back one-third of the previous year’s growth to encourage new, flowering stems. I use sharp bypass pruners to make clean cuts at a 45-degree angle, just above an outward-facing bud.
Fertilize after pruning with a balanced 10-10-10 rose fertilizer, following package instructions. Repeat every 4-6 weeks through the growing season. Deadhead spent blooms regularly to redirect energy into new flowers. This routine keeps plants compact and floriferous.
Here’s what I’ve learned through trial and error to help your roses thrive.
Sun Exposure Secret: The 6-8 hours of daily full sun isn’t just a suggestion—it’s the difference between sparse blooms and a plant covered in flowers. I’ve seen mini white roses in partial shade survive but never truly flourish. If your garden gets morning sun and afternoon shade, prioritize the morning sunlight as it’s less intense.
Drainage Test Hack: That 12-inch hole drainage test in Step 1 is your best insurance against root rot. I learned this the hard way after losing two plants in a low spot that stayed soggy. If water doesn’t drain within 1 hour, consider raised beds or containers at least 18 inches deep to give roots the drainage they need.
Planting Depth Critical: The graft union needs to sit 1-2 inches above soil level—this is non-negotiable for preventing rot. I’ve seen gardeners bury it too deep, thinking it would stabilize the plant, only to have it suffocate. When backfilling, press the soil gently but firmly to eliminate air pockets that could dry out roots.
Watering Wisdom: The 1-2 inches weekly water requirement seems simple, but timing matters. Watering in the early morning allows foliage to dry before evening, which is crucial for preventing fungal diseases like powdery mildew. And always water at the base—wet leaves are an open invitation to disease.
Water them deeply 2-3 times per week, ensuring the soil stays moist but not soggy. Morning watering helps prevent fungal diseases. Adjust based on climate—hotter weather may require more frequent watering.
Plant in early spring or fall for optimal growth. This allows roots to establish before extreme heat or cold. Avoid planting in peak summer or winter.
Yes! Use a well-draining potting mix and a container with drainage holes. Ensure the pot is at least 12 inches deep to accommodate root growth.
Yellow leaves often signal overwatering, nutrient deficiency, or pests. Check soil moisture, fertilize as needed, and inspect for aphids or spider mites.
Yes, look for varieties like ‘Iceberg’ or ‘Sweet Drift.’ These are bred to resist common issues like black spot and powdery mildew.