
Beautiful Plants For Your Interior
Beautiful Plants For Your Interior
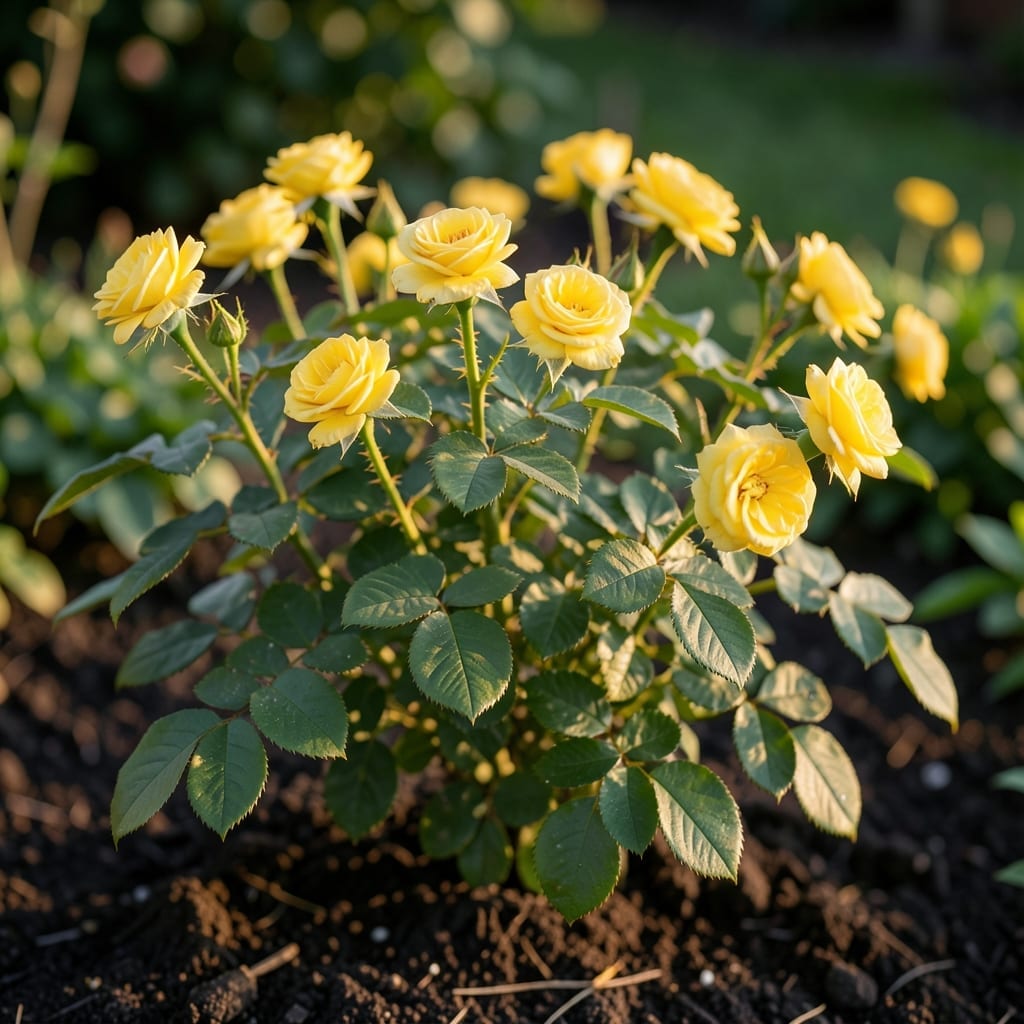
These little powerhouses pack a punch with their cheerful yellow blooms and compact size. I was amazed how much color they brought to my patio without taking over the space.
Perfect for small gardens or containers, they thrive with basic care. You’ll get abundant flowers all season with the right sunlight, watering, and a little pruning. Here’s how to make them shine.
📚 In This Guide
Tested across seasons, this method ensures vibrant blooms and healthy plants every time.
Select a spot with full sun exposure, meaning at least 6-8 hours of direct sunlight daily. Mini yellow roses thrive in bright conditions, and insufficient light leads to weak stems and sparse blooms. I’ve found that a south-facing location works best.
Ensure the soil drains well to prevent root rot. If your garden has heavy clay, consider amending it with compost or planting in raised beds. The ideal pH is slightly acidic to neutral, around 6.0-7.0.
Loosen the soil to a depth of 12-15 inches using a garden fork or tiller. This improves drainage and allows roots to establish quickly. Mix in 2-3 inches of organic compost to provide essential nutrients and improve soil structure.
If planting multiple roses, space them 18-24 inches apart to allow for air circulation and growth. This prevents disease and ensures each plant has enough room to flourish. Water the soil lightly after preparation to settle it.
Dig a hole that is twice as wide and slightly deeper than the root ball of your rose. Place the plant in the hole, ensuring the bud union (the swollen area where the stems meet the roots) is 1-2 inches above soil level in cold climates or at soil level in warmer regions.
Backfill the hole with soil, pressing gently to remove air pockets. Water thoroughly after planting to help the soil settle around the roots. I always add a 2-inch layer of mulch around the base to retain moisture and suppress weeds.
Water your mini yellow roses deeply 2-3 times per week, ensuring the soil stays evenly moist but not waterlogged. The best time to water is early in the morning to allow foliage to dry before evening, reducing disease risk.
Fertilize every 4-6 weeks during the growing season with a balanced rose fertilizer. This encourages robust growth and abundant blooms. I’ve noticed that consistent feeding results in more vibrant and frequent flowers.
Prune your roses in early spring, removing any dead, diseased, or crossing branches. This improves air circulation and directs energy toward healthy growth. Use clean, sharp pruners to make cuts at a 45-degree angle just above a leaf node.
Deadhead spent blooms regularly to encourage more flowers. Cut the stem just above a 5-leaflet leaf to promote new growth and additional blooms. This simple step keeps your mini yellow roses looking their best all season long.
These small adjustments in your planting approach make a surprising difference in bloom quality.
Sunlight Essentials: The 6-8 hours of daily sun isn’t just a suggestion—it’s critical. I learned this the hard way when my first batch produced weak stems. South-facing spots work best, but any location with unobstructed morning-to-afternoon light will give you those vibrant yellow blooms.
Soil Depth Matters: When loosening soil to 12-15 inches in Step 2, don’t cut corners. Shallow preparation leads to poor drainage and stunted root growth. I use a garden fork to break up compacted areas thoroughly before adding the 2-3 inches of compost.
Planting Precision: That 1-2 inches above soil level for the bud union in cold climates (Step 3) protects against winter damage. In warmer areas, planting at soil level is fine, but never bury the bud union—it’s where new growth emerges. Press soil gently to eliminate air pockets that can dry out roots.
Watering Wisdom: The 2-3 times per week schedule in Step 4 works best with morning watering. Evening watering leaves foliage damp overnight, inviting fungal issues. I set a reminder to check soil moisture—it should feel like a wrung-out sponge, not soggy.
Water them deeply 1-2 times per week, ensuring the soil stays moist but not soggy. Adjust based on climate—more in heat, less in cool weather. Aim for early morning watering to prevent fungal issues.
Plant in early spring or fall for ideal root establishment. Avoid extreme heat or frost. Container-grown roses can be planted anytime during the growing season.
Watch for aphids, spider mites, and thrips. Use neem oil or insecticidal soap for control. Keep foliage dry and prune regularly to deter pests.
Lack of sunlight, improper pruning, or nutrient deficiencies may be the cause. Ensure 6+ hours of sunlight, fertilize balancedly, and prune dead wood to encourage blooms.