
Beautiful Plants For Your Interior
Beautiful Plants For Your Interior
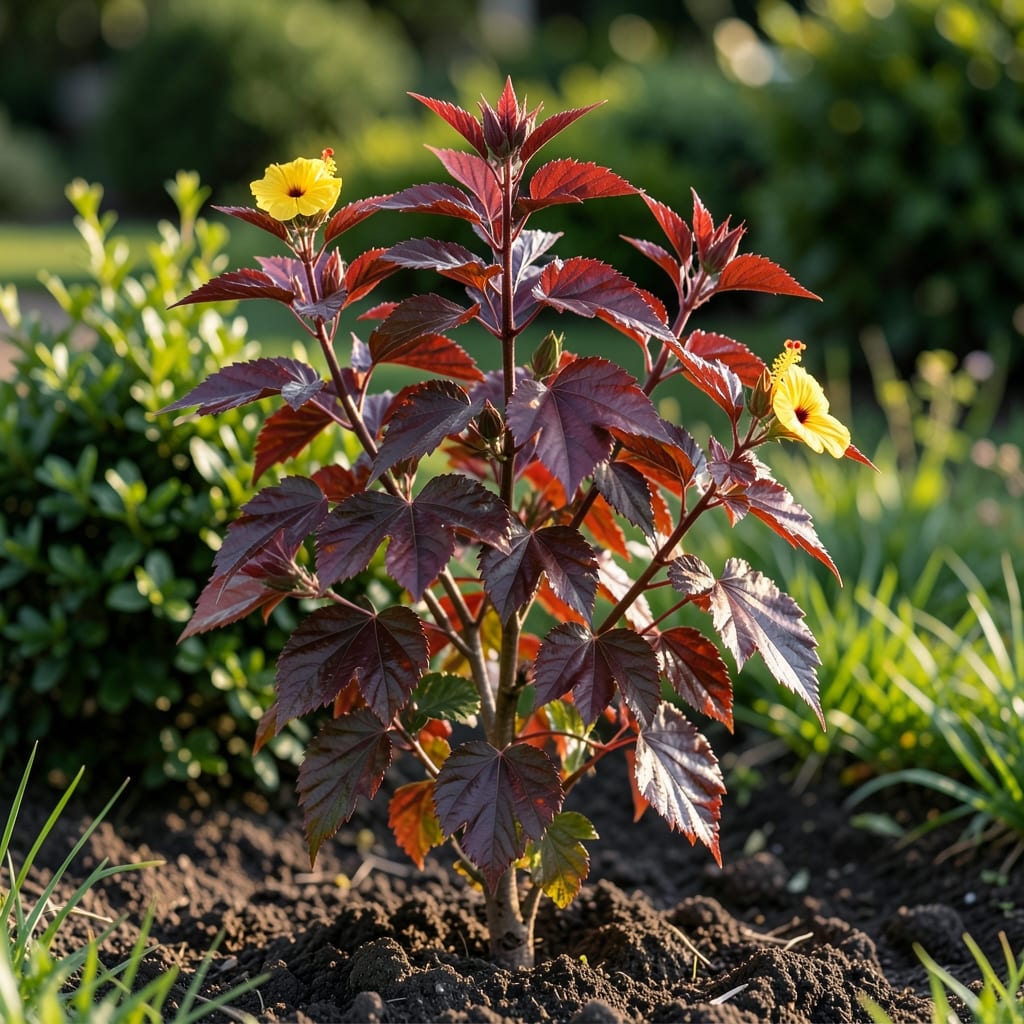
Tropical flavor thrives in your backyard with this unique plant. I’ve grown edible leaf hibiscus for years, and its tangy, citrusy leaves elevate salads and teas like nothing else.
It’s surprisingly hardy once established, tolerating heat and drought better than most greens. With the right soil and sunlight, you’ll harvest fresh leaves for 6-8 months of the year.
📚 In This Guide
Here’s the method I use to grow this tropical plant with minimal fuss and maximum flavor.
Start with Hibiscus acetosella or Hibiscus sabdariffa varieties, as these produce the most tender, flavorful leaves. I’ve found that Hibiscus acetosella (Cranberry Hibiscus) offers the best balance of mild tartness and visual appeal with its deep red foliage.
Choose a location with full sun to partial shade. In hotter climates, afternoon shade prevents leaf scorch, while cooler areas benefit from 6-8 hours of direct sun. The soil should be well-draining with a pH of 6.0-7.0—a standard loam works perfectly.
Sow seeds ¼ inch deep in warm soil (70-80°F) or transplant nursery starts after the last frost. Space plants 18-24 inches apart to allow for their bushy growth habit. I always mulch around the base with organic matter to retain moisture and suppress weeds.
Water deeply after planting, then maintain consistent moisture—never let the soil dry out completely. You’ll see new growth within 2-3 weeks if conditions are right. The first leaves will be small, but they’ll quickly expand to their signature broad, maple-like shape.
Fertilize lightly every 4-6 weeks with a balanced 10-10-10 or organic compost. Hibiscus responds well to nitrogen, which encourages lush foliage. I avoid high-phosphorus fertilizers, as they can reduce leaf quality while promoting flowers (which are edible but not the focus here).
Pinch back the tips of young plants to encourage branching. This creates a fuller, more productive plant. Watch for pest damage—aphids and whiteflies love hibiscus. A strong blast of water or insecticidal soap keeps them in check without harming the leaves.
Begin harvesting when the plant is 12-18 inches tall, typically 60-70 days after planting. Pick the youngest, most tender leaves near the top of the plant, as these have the mildest flavor and softest texture. Older leaves can be tough and overly tart.
Use clean, sharp scissors to snip leaves just above a leaf node. This encourages new growth and keeps the plant productive. I harvest in the morning when the leaves are most hydrated, which also ensures the best flavor for salads or teas.
A single plant can yield a handful of leaves weekly during peak growing season. Avoid removing more than one-third of the foliage at once to prevent stress.
Growing edible hibiscus successfully comes down to a few key details that make all the difference.
The Variety Factor: For the best results, stick with Hibiscus acetosella or Hibiscus sabdariffa as mentioned in Step 1. I’ve tested both, and acetosella’s deep red foliage isn’t just beautiful—it also offers that perfect mild tartness that works so well in salads and teas.
Soil Temperature Matters: In Step 2, the 70-80°F soil temperature range is critical for germination. If your soil is cooler, consider starting seeds indoors or using a heat mat to maintain that warm environment. Cold soil can delay germination by weeks.
Harvest Timing: As Step 4 explains, waiting until plants reach 12-18 inches tall ensures you’re getting leaves at their peak flavor and tenderness. The 60-70 day mark is when most plants hit this height, but keep an eye on growth—some varieties may mature faster in ideal conditions.
Pest Prevention: Aphids and whiteflies can quickly damage your hibiscus leaves. I learned the hard way that catching these pests early is key. A strong blast of water every few days disrupts their life cycle before they can establish themselves.
Yes! Edible leaf hibiscus (like Hibiscus acetosella or Hibiscus sabdariffa) can be eaten raw in salads. The young, tender leaves have a tangy, citrusy flavor. For tougher leaves, light cooking softens them.
Harvest leaves in the morning when they’re fresh and hydrated. Pick young leaves (2–4 inches long) for the best texture and mildest flavor. Avoid wilted or yellowing leaves.
If you can’t find edible hibiscus, try sorrel, purslane, or spinach for a similar tangy or leafy texture. For teas, dried rosehips or cranberry leaves can mimic hibiscus’ tartness.
Bitterness often comes from older, tougher leaves or overcooking. Stick to young leaves and blanch them briefly (30 seconds) to reduce bitterness while keeping their vibrant color.