
Beautiful Plants For Your Interior
Beautiful Plants For Your Interior
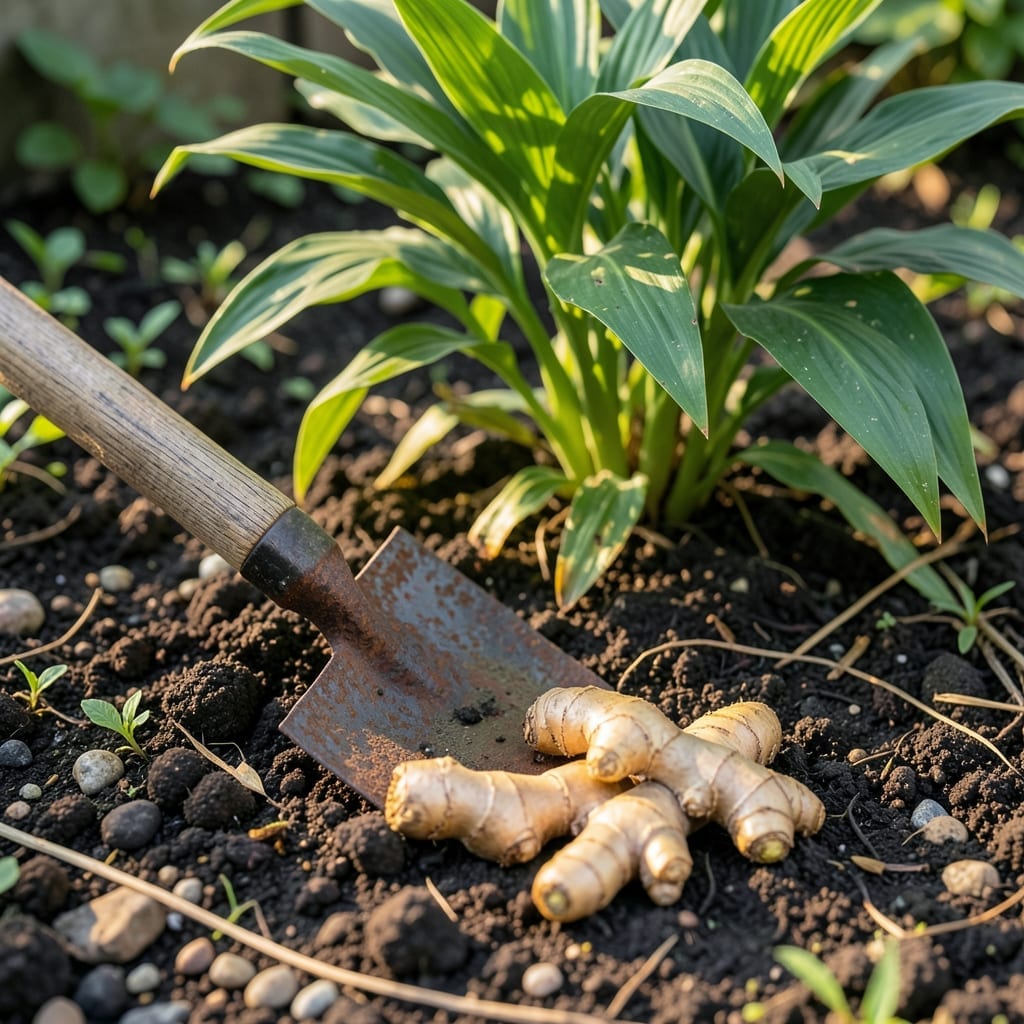
That first time I pulled a fresh ginger root from the soil felt like uncovering buried treasure. The spicy-sweet aroma hits you before you even brush off the dirt.
This project turns a humble rhizome into a thriving plant that needs warmth, moisture, and partial shade. Within 8-10 months, you’ll harvest roots that put store-bought to shame.
📚 In This Guide
Here’s my reliable method for growing this spicy rhizome at home with minimal fuss.
Choose a plump, firm ginger rhizome from the grocery store with visible growth buds (they look like small horns or eyes). Avoid shriveled or moldy pieces. Soak the rhizome in warm water overnight to remove any growth inhibitors and wake up the buds.
Cut the rhizome into 1-2 inch pieces, ensuring each section has at least one bud. Let the cut surfaces callus over for 24-48 hours in a dry, shaded spot. This prevents rot when planted. I’ve skipped this step before and lost half my pieces to fungal issues.
Fill a 12-14 inch deep container with a loose, rich potting mix amended with 30% compost. Ginger thrives in slightly acidic to neutral soil (pH 6.0-7.0). Plant each rhizome piece 1 inch deep, buds facing upward, spaced 8 inches apart.
Water lightly after planting to settle the soil, but avoid soggy conditions. The soil should feel like a wrung-out sponge—damp but not dripping. Place the container in a spot with indirect light and 70-80°F temperatures for the first 2-3 weeks.
Maintain high humidity around the plants by misting daily or placing the container on a tray of pebbles with water. Ginger is a tropical plant and suffers in dry air. Once shoots emerge (usually in 2-4 weeks), increase light to dappled shade or morning sun.
Fertilize every 4-6 weeks with a balanced, organic fertilizer diluted to half strength. Overfertilizing leads to excessive leaf growth at the expense of rhizome development. Watch for yellowing leaves, which often signals either overwatering or nutrient deficiency.
Ginger matures in 8-10 months, but you can start harvesting small pieces after 4-5 months if needed. The best indicator is the foliage—when leaves begin to yellow and die back, the rhizomes are ready for a full harvest.
Stop watering 1 week before harvest to let the soil dry slightly, which makes digging easier. Gently tip the container and brush away soil to reveal the rhizomes. Cut off only what you need, then replant the remaining pieces with a bud to regrow for next season.
Small details make the difference between thriving plants and disappointment with this project.
Rhizome Selection: In Step 1, look for ginger with multiple prominent buds—these are your future shoots. I’ve found that organic rhizomes often sprout faster because they haven’t been treated with growth inhibitors. The plumpness is key; shriveled pieces lack the stored energy needed for those critical first weeks.
Callusing is Non-Negotiable: Those 24-48 hours of callusing in a dry, shaded spot aren’t just a suggestion. This step forms a protective barrier against rot and fungal infections. Confession: I skipped this once and lost an entire batch to mushy, blackened pieces within a week of planting.
Soil Preparation Insight: For Step 2, don’t just use any potting mix. The 30% compost amendment is crucial for providing the nutrients ginger needs during its long growth cycle. I test my soil’s pH before planting—if it’s outside that 6.0-7.0 range, I adjust with a bit of sulfur or lime rather than risking stunted growth.
Humidity Hack: The high humidity requirement in Step 3 can be tricky in dry climates. My solution is a clear plastic tent (like a mini greenhouse) over the container during the first 2-3 weeks. This maintains that tropical environment without constant misting, which can lead to uneven moisture levels.
Yes! Raw ginger root is edible and often used in teas, smoothies, or dishes. Just peel and slice or grate it. Its spicy, zesty flavor is great for digestion, but start small—it’s potent!
Ginger takes 8–10 months to mature in warm climates. Plant rhizomes in spring, and harvest when leaves yellow. In cooler areas, grow it indoors or in pots and bring it inside before frost.
Ground ginger works in baking (use ¼ tsp per 1 tbsp fresh). For fresh flavor, try galangal or turmeric. In a pinch, a dash of allspice or cinnamon can mimic warmth, though the taste differs.
Small or tough ginger often results from poor soil, insufficient water, or harvesting too early. Ensure rich, well-draining soil, consistent moisture, and patience—ginger needs time to plump up!