
Beautiful Plants For Your Interior
Beautiful Plants For Your Interior
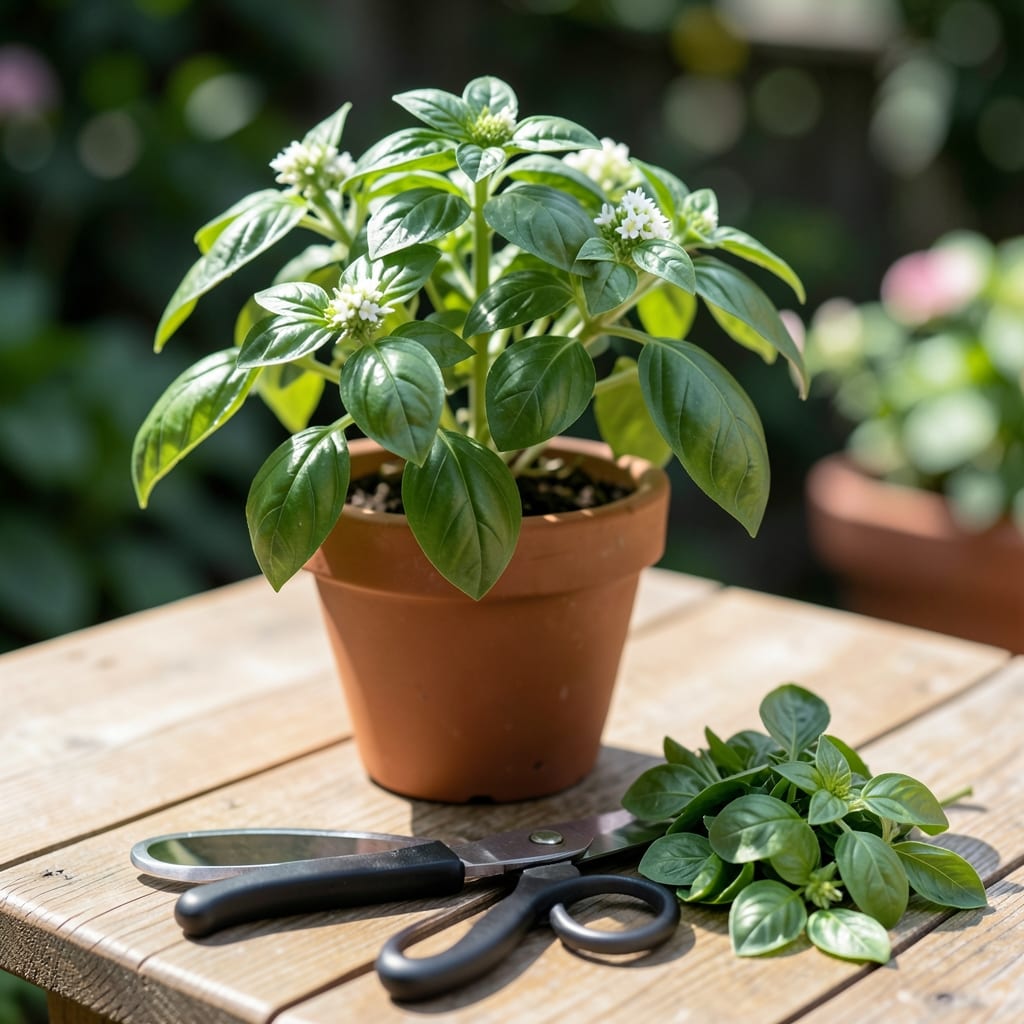
Proper basil harvesting transforms a struggling plant into a thriving kitchen herb. I learned the hard way that wrong cuts lead to sparse growth.
This method encourages bushier plants with fuller flavor. You’ll get continuous harvests without damaging the stem structure, keeping your basil productive for months.
📚 In This Guide
Mastering this technique ensures your plants stay productive and flavorful all season long.
Locate the main stem of your basil plant and trace it down to where lateral branches emerge. I always look for stems that have at least two sets of true leaves—this indicates the plant is mature enough for pruning. Avoid cutting the very top growth if the plant is still small and bushy.
Check that the stem you’re targeting has a pair of smaller leaves or buds at the leaf axils (where leaves meet the stem). These are the growth points that will produce new branches. You’ll see the most vigorous growth at the upper third of the plant, which is where I focus my cuts.
Using clean, sharp scissors or pruning shears, position your cut 1/4 inch above a leaf node—the point where a pair of leaves or a lateral branch emerges from the stem. This precise location encourages the plant to branch out from that node, creating a fuller, bushier shape.
Never cut below a node or through the middle of a stem segment. I’ve found that making the cut at a slight angle (about 45 degrees) helps prevent water from pooling on the wound, which reduces the risk of fungal infections. Always sanitize your tools between plants to avoid spreading disease.
To keep your basil healthy and productive, limit each harvesting session to removing no more than one-third of the plant’s foliage. I like to start by trimming the longest, most mature stems first, as these can become woody if left unchecked.
After cutting, step back and assess the plant’s shape. You want to maintain an even, balanced appearance. If you notice any stems that are flowering, remove those immediately—once basil flowers, the leaves often turn bitter, and the plant focuses its energy on seed production rather than leaf growth.
Basil thrives on frequent, light pruning. I make it a habit to check my plants every 7-10 days during the growing season. Regular harvesting stimulates new growth and prevents the plant from becoming leggy or top-heavy.
Early in the season, focus on pinching back the tips of the stems to encourage bushiness. As the plant matures, you can take larger cuts, but always follow the same rule of cutting just above a leaf node. You’ll notice that the more you harvest, the more the plant will grow—it’s a rewarding cycle.
Once you’ve made your cuts, handle the leaves gently to avoid bruising, which can cause them to darken and lose flavor. I like to place the stems in a glass of water immediately if I’m not using them right away—this keeps them fresh for 24-48 hours in the fridge.
For the best flavor, use the leaves as soon as possible after cutting. If you need to store them longer, blanch and freeze them in ice cube trays with a bit of water or olive oil. This preserves their vibrant color and aromatic oils for future use.
Small details make a big difference when harvesting basil for the best flavor and plant health.
The Cutting Angle: In Step 2, that slight 45-degree angle I mentioned isn’t just for looks—it helps water run off instead of pooling on the cut surface. This prevents rot and fungal issues that can damage your plant over time.
Node Precision: Never underestimate the importance of cutting 1/4 inch above a leaf node. This exact position triggers the plant to produce two new stems from that node, effectively doubling your harvest sites. Cutting too high or too low can stunt growth.
Flower Removal: As noted in Step 3, flowering stems are your enemy. I once left a few flowers on my plant, and within a week, half the leaves turned bitter. Remove them immediately—even small buds—to keep the flavor sweet and the growth focused on leaves rather than seeds.
Cutting basil with a sharp knife creates clean edges, preserving its delicate flavor. Tearing can bruise the leaves, releasing bitterness. Always use a gentle touch to maintain freshness!
Harvest basil leaves in the morning when their essential oils are most concentrated. Avoid cutting after rain or in extreme heat, as this can dilute flavor and stress the plant.
Yes! Clean kitchen scissors work well for snipping basil, especially for smaller quantities. Just ensure they’re sharp to prevent crushing the leaves, which can affect taste and appearance.
Blackening often occurs due to oxidation. To prevent this, cut basil just before use, store properly in the fridge with a damp paper towel, or blanch leaves briefly in boiling water.