
Beautiful Plants For Your Interior
Beautiful Plants For Your Interior
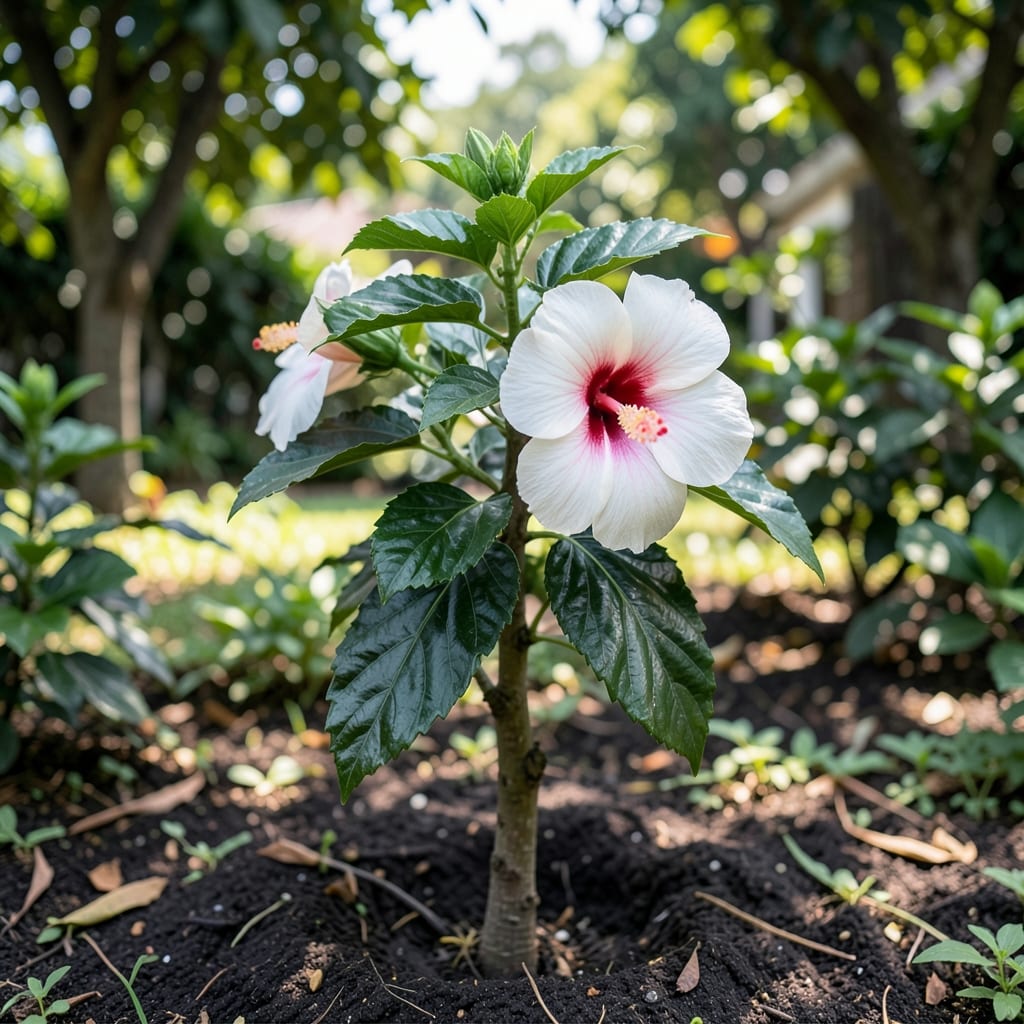
White and pink hibiscus turn any garden into a tropical paradise. I’ve grown these showstoppers for years, and nothing beats their giant blooms against deep green leaves.
They thrive with full sun, consistent water, and well-draining soil. Once established, they reward you with flowers all season—minimal effort, maximum impact. Here’s how to make them shine.
📚 In This Guide
Here’s the proven method I rely on for vibrant, healthy blooms every season.
Choose a spot with full sun to partial shade—hibiscus thrives with at least 6 hours of direct sunlight daily. I’ve found morning sun with afternoon shade works best in hotter climates to prevent leaf scorch. The soil should be well-draining but rich in organic matter.
Test drainage by digging a 12-inch hole and filling it with water. If it drains within 1 hour, you’re good. If not, amend the soil with compost or consider a raised bed. Hibiscus roots rot quickly in soggy conditions, so this step is non-negotiable.
Loosen the soil to a depth of 18-24 inches, removing any rocks or debris. Mix in a generous amount of compost or well-rotted manure—about 2-3 inches worked into the top 6 inches of soil. This improves both drainage and fertility.
Check soil pH with a test kit. Hibiscus prefers a slightly acidic to neutral range of 6.0-7.0. If your soil is too alkaline, amend with sulfur or peat moss. I always retest after amending to confirm the pH has adjusted properly.
Dig a hole twice as wide as the root ball but no deeper. Place the plant so the top of the root ball sits slightly above the surrounding soil level—about ½ inch higher. This prevents settling, which can suffocate the roots.
Backfill with the amended soil, gently firming it around the base. Water deeply with 1-2 gallons immediately after planting to settle the soil and eliminate air pockets. I stake newly planted hibiscus in windy areas to prevent root disturbance.
Water newly planted hibiscus 2-3 times per week for the first month, then taper to 1-2 times weekly once established. The goal is to keep soil consistently moist but never waterlogged. Stick your finger 2 inches into the soil—if it feels dry, it’s time to water.
During extreme heat, you may need to water daily. Watch for wilting leaves in the afternoon, which signal thirst. I use a soaker hose to deliver water directly to the roots, preventing fungal issues on the foliage.
Apply a balanced, water-soluble fertilizer every 2-3 weeks during the growing season, following package instructions. Switch to a low-nitrogen formula in late summer to encourage blooming rather than leafy growth. I’ve seen dramatic improvements in bloom quantity with this adjustment.
Prune in early spring before new growth appears, removing dead or crossing branches. Cut back one-third of the oldest stems to the ground to rejuvenate the plant. Always sterilize pruners with rubbing alcohol between cuts to prevent disease transmission.
Here’s what I’ve learned through trial and error to help your hibiscus thrive.
Sunlight Strategy: The 6 hours of direct sunlight mentioned in Step 1 is your baseline, but morning sun with afternoon shade is ideal in hotter climates. I learned this the hard way after watching several plants scorch in the intense afternoon heat. Even partial shade during peak hours can prevent leaf damage while still giving you those vibrant blooms.
Drainage Test: That 1-hour drainage test in Step 1 isn’t just a suggestion—it’s critical. Hibiscus roots will rot in soggy soil, and I’ve lost plants by skipping this step. If your hole doesn’t drain within the hour, amend with compost or consider a raised bed. Trust me, your hibiscus will thank you.
Planting Depth: When planting in Step 3, placing the root ball ½ inch higher than the surrounding soil might seem counterintuitive, but it prevents settling that can suffocate the roots. I stake newly planted hibiscus in windy areas to keep them stable while they establish their root system.
Watering Wisdom: The 2-3 times weekly watering schedule in Step 4 is perfect for establishing new plants, but watch for wilting leaves in extreme heat—they’re your plant’s way of saying it’s thirsty. I use a soaker hose to deliver water directly to the roots, which prevents fungal issues on the foliage.
Water it regularly, ensuring well-draining soil, and place it in full sun to partial shade. Prune dead branches and fertilize monthly during the growing season for vibrant blooms.
Yellow leaves often indicate overwatering or poor drainage. Check the soil moisture and adjust watering. Nutrient deficiencies or pests can also cause this—inspect leaves for spots or insects.
It typically blooms from late spring to fall, with peak flowers in summer. Consistent warmth, sunlight, and proper care encourage longer blooming periods.
Yes! Use a large pot with drainage holes and a well-draining potting mix. Container-grown hibiscus needs more frequent watering and feeding than in-ground plants.
Common pests include aphids, whiteflies, and spider mites. Treat infestations with insecticidal soap or neem oil, and remove heavily damaged leaves.