
Beautiful Plants For Your Interior
Beautiful Plants For Your Interior
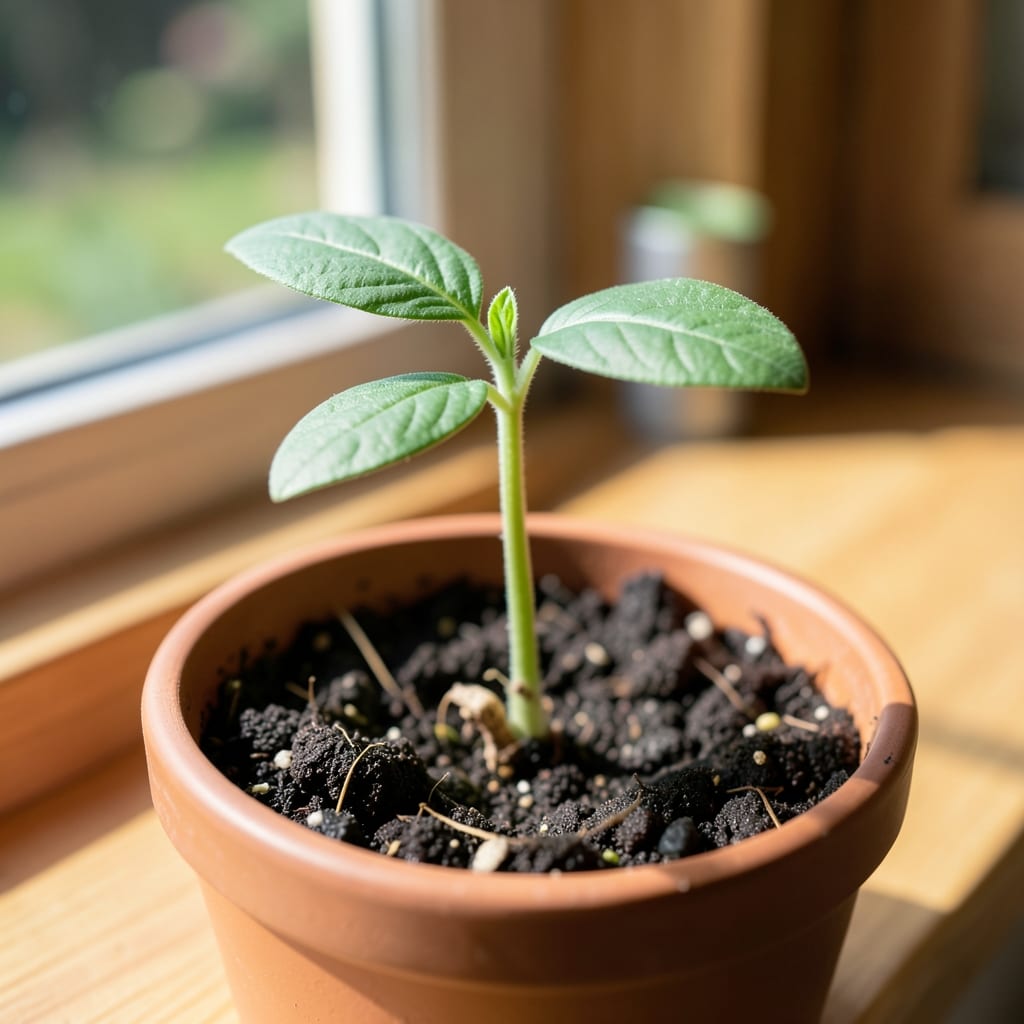
Those first little leaves aren’t just cute—they’re your seedling’s survival kit. Cotyledons feed the plant until true leaves take over, and how you treat them now sets the stage for everything that follows.
I’ve learned the hard way that overwatering or crowding at this stage spells trouble. Keep soil moist but not soggy, give them 14-16 hours of light daily, and you’ll watch those first leaves unfurl into something strong and resilient.
📚 In This Guide
Here’s how I nurture those first delicate leaves into robust, healthy plants ready for the next stage.
The first leaves you’ll see on any seedling are cotyledons—they look like two rounded leaves that emerge from the seed itself. These aren’t true leaves but rather food storage units that fuel the seedling until it can photosynthesize. I always check for their healthy, firm appearance as my first confirmation that germination succeeded.
True leaves appear after cotyledons and resemble the mature plant’s foliage. You’ll notice they have distinct veins, edges, and sometimes a different shape entirely. This transition typically happens when the seedling is 1-2 inches tall. Don’t mistake cotyledons for the real growth—your care approach changes once true leaves emerge.
Cotyledons need bright, indirect light to prevent stretching or burning. I position seedlings under a full-spectrum grow light for 14-16 hours daily, keeping the light 2-4 inches above the plants. This prevents the leggy, weak growth that happens when seedlings search for insufficient light.
Watch for the cotyledons turning pale or yellow—that’s your signal the light is either too intense or too distant. Strong light encourages compact growth and deep green color. Once true leaves appear, you can gradually increase light intensity, but never expose cotyledons to direct, harsh sunlight that can scorch their tender surfaces.
Seedlings at this stage need evenly moist soil, but the surface should never be soggy. I water from below by placing the container in a shallow tray of room-temperature water for 10-15 minutes, allowing the soil to wick up moisture. This prevents disturbing the delicate root system and avoids water pooling on the cotyledons.
Check the soil daily by inserting your finger ½ inch deep—if it feels dry, it’s time to water. Overwatering at this stage causes damping-off disease, which collapses seedlings overnight. You’ll know you’re doing it right when the soil surface looks slightly damp but not glistening, and the seedling remains upright with firm cotyledons.
Once you spot the first true leaves (usually after 2-3 weeks), it’s time to introduce nutrients. I use a diluted quarter-strength liquid fertilizer every 7-10 days. Cotyledons contain enough stored energy to get the seedling started, but true leaves signal the plant is ready to begin active photosynthesis and growth.
Avoid fertilizing before true leaves emerge—this can burn the tender roots and cotyledons. You’ll see a noticeable growth spurt within a week of starting fertilization. The true leaves will darken in color, and the stem will thicken. This is the moment that matters: your seedling is transitioning from survival mode to growth mode.
When seedlings have 2-3 sets of true leaves and are 3-4 inches tall, they’re ready to move to larger containers or the garden. I always harden them off first by gradually exposing them to outdoor conditions over 7-10 days. This prevents transplant shock that can set back or kill seedlings.
Check that the stem is thick and sturdy, and that the leaves show no signs of stress like curling or yellowing. At this stage, the cotyledons may begin to yellow and drop off—that’s normal. They’ve served their purpose, and the true leaves are now fully supporting the plant’s growth. You’ve successfully guided your seedlings through their most vulnerable stage.
Mastering cotyledon care makes all the difference in raising strong seedlings.
Light Positioning: Keep that full-spectrum grow light precisely 2-4 inches above your seedlings during the 14-16 hour daily exposure. I learned the hard way that even an extra inch can cause stretching, while too close risks burning those delicate first leaves.
Watering Technique: The 10-15 minute bottom-watering method in Step 3 is non-negotiable. I ruined several trays by top-watering before switching to this approach, which prevents both damping-off disease and disturbed root systems.
Timing Matters: Don’t rush fertilization—wait for those true leaves to appear at 2-3 weeks as mentioned in Step 4. Cotyledons provide all the energy needed initially, and fertilizing too early can burn the tender roots.
Transplant Readiness: In Step 5, only move seedlings when they have 2-3 sets of true leaves and reach 3-4 inches tall. The hardening-off process over 7-10 days is what prevents transplant shock that can set back weeks of growth.
The first leaves are called cotyledons, often nicknamed “seed leaves.” They provide initial nutrients to the seedling until true leaves develop. Cotyledons may look different from later leaves and eventually fall off.
Cotyledons typically last 1-3 weeks, depending on the plant. They wither once the seedling’s true leaves emerge and begin photosynthesis. Remove them if they yellow or dry out to prevent disease.
Yellow cotyledons often signal overwatering, poor drainage, or nutrient deficiency. Check soil moisture and ensure proper lighting. If only the cotyledons yellow, it’s usually normal as true leaves take over.
No, cotyledons are essential for early growth. They supply stored energy from the seed until the plant can photosynthesize. Without them, seedlings struggle to establish.