
Beautiful Plants For Your Interior
Beautiful Plants For Your Interior
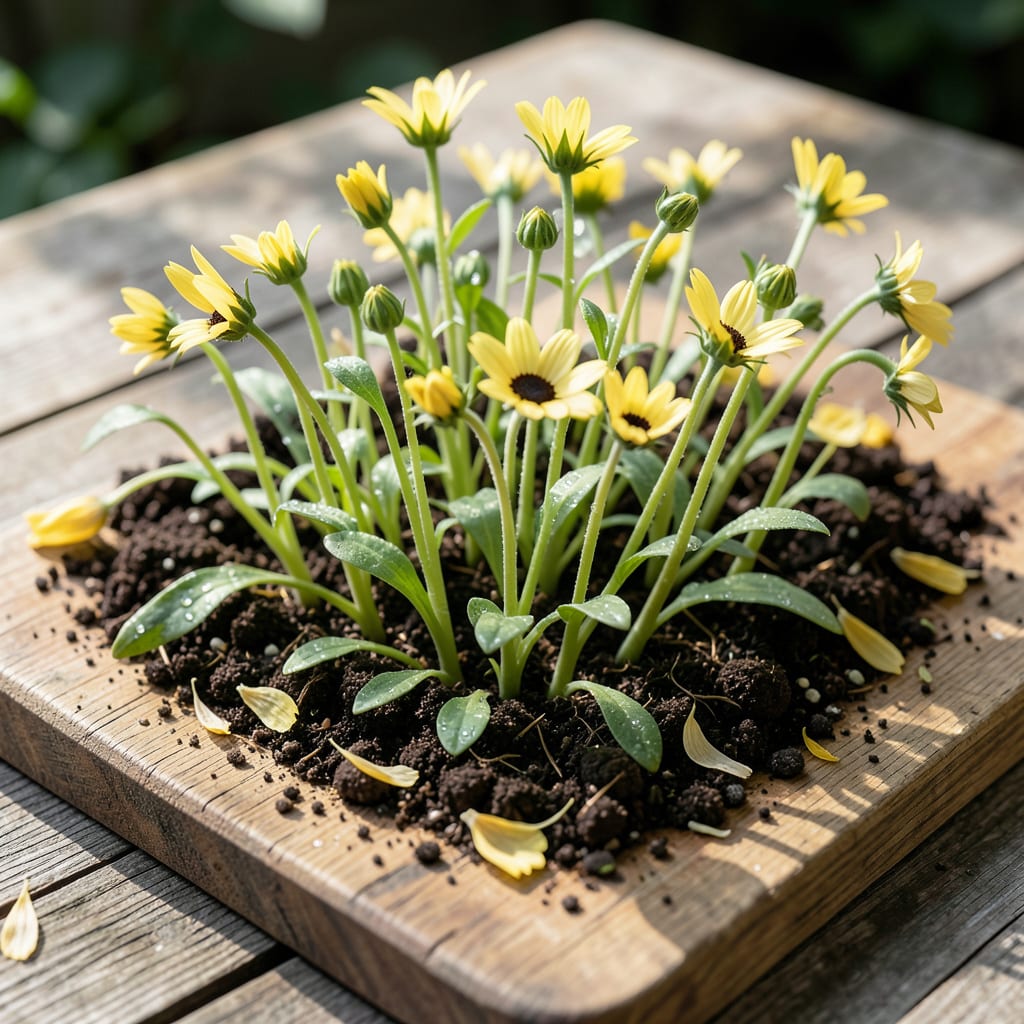
Those first yellow-green sprouts are your promise of summer color. I’ve learned that Black Eyed Susans need the right start—warm soil, full sun, and just enough water to settle in without drowning.
By week 3, you’ll see rapid growth if conditions are spot-on. The key is avoiding soggy roots and crowding. Thin seedlings to 12-18 inches apart for plants that don’t just survive but thrive.
📚 In This Guide
Here’s how I ensure vigorous seedlings that establish quickly and thrive through their first season.
Choose a location with full sun to partial shade—these plants perform best with at least 6 hours of direct sunlight daily. I always test the soil drainage first by digging a 1-foot deep hole, filling it with water, and checking if it drains within 1 hour.
Amend heavy clay or compacted soil with compost to improve drainage and fertility. The soil should feel loose and crumbly in your hands. Remove any weeds or grass from the area, as they’ll compete with young plants for nutrients and water.
Real talk: if your soil stays soggy after rain, consider planting in a raised bed instead. Black Eyed Susans despise wet feet and will rot in poorly drained conditions.
For seeds, plant them ¼ inch deep in groups of 3-4 seeds spaced 12 inches apart. Lightly cover with soil and water gently but thoroughly. You’ll see germination in 7-21 days when soil temperatures reach 70-75°F.
If using nursery starts, dig holes twice as wide as the root ball but no deeper. Place each plant so the top of the root ball sits slightly above ground level to prevent settling. This encourages strong root development right from the start.
I’ve found that planting in the evening reduces transplant shock. The cooler temperatures and overnight recovery time make a noticeable difference in how quickly they establish.
Water deeply at planting, then maintain consistent moisture for the first 2-3 weeks. The goal is to keep the top 1 inch of soil evenly moist but not waterlogged. You’ll know it’s time to water when the soil surface looks dry and feels slightly crumbly to the touch.
After establishment, reduce frequency but water more deeply to encourage strong root growth. I water my plants once weekly during dry spells, giving them about 1 inch of water each time. Morning watering allows foliage to dry before evening, preventing disease.
Watch for the first true leaves to appear—this is when plants really start growing. Thin seedling clusters to the strongest plant when they reach 2-3 inches tall. Use small scissors to snip unwanted seedlings at soil level rather than pulling, which can disturb the roots of the ones you want to keep.
Apply a 2-3 inch layer of organic mulch around plants to retain moisture and suppress weeds. Keep mulch 1 inch away from stems to prevent rot. I like to use shredded bark or straw, which break down slowly and improve the soil as they decompose.
This is the moment that matters: if you see yellowing leaves or stunted growth, it’s usually a sign of either overwatering or poor drainage. Adjust your care immediately to prevent long-term issues.
Once plants reach 6-8 inches tall, pinch back the growing tips to encourage branching. Use your fingers or clean pruners to remove the top 1-2 inches of each stem. This simple step results in fuller, more floriferous plants.
Remove any dead or damaged foliage as you see it. I check my plants weekly for signs of stress or disease. Clean pruning tools between cuts with rubbing alcohol to prevent spreading problems from plant to plant.
Don’t skip this (I learned the hard way)—early pruning makes a dramatic difference in both plant health and flower production. You’ll see new growth emerging from the leaf axils within a week of pinching back.
Small adjustments in your early care routine can make a big difference in how these plants establish.
Soil Drainage Test: The 1-hour drainage test in Step 1 isn’t optional. If that hole doesn’t drain within exactly 60 minutes, your soil is too compacted or clay-heavy. I learned this after losing an entire bed to root rot—amend with compost or switch to raised beds if needed.
Planting Depth Precision: For seeds, that ¼ inch depth in Step 2 is critical. Any deeper and they may not germinate within the 7-21 day window; any shallower and they can dry out. Use a ruler if you’re unsure—this isn’t the place to eyeball it.
Watering Discipline: During those first 2-3 weeks mentioned in Step 3, resist the urge to water daily unless your top 1 inch of soil is dry. Overwatering is the most common mistake I see—soggy soil suffocates new roots. Trust the finger test: if it feels crumbly, it’s time.
Pruning Timing: Don’t prune too early in Step 5. Wait until plants are truly 6-8 inches tall before pinching back. I made the mistake of pruning at 4 inches once, and the plants took weeks to recover from the stress.
Black Eyed Susan seeds typically germinate in 7–21 days when planted in warm soil (70–75°F). Keep the soil moist but not soggy to speed up the process. Patience is key!
Start seeds indoors 6–8 weeks before the last frost, or sow directly outdoors in early spring or fall. Warm soil temperatures (above 60°F) encourage faster, healthier growth.
Overwatering, poor drainage, or cold soil can stunt growth. Watch for yellowing leaves (too much water) or wilting (underwatering). Ensure full sun and well-draining soil for best results.
Yes! Use a well-draining potting mix and a container at least 12 inches deep. Keep the soil consistently moist and place the pot in full sun. Transplant outdoors once seedlings are sturdy.
