
Beautiful Plants For Your Interior
Beautiful Plants For Your Interior
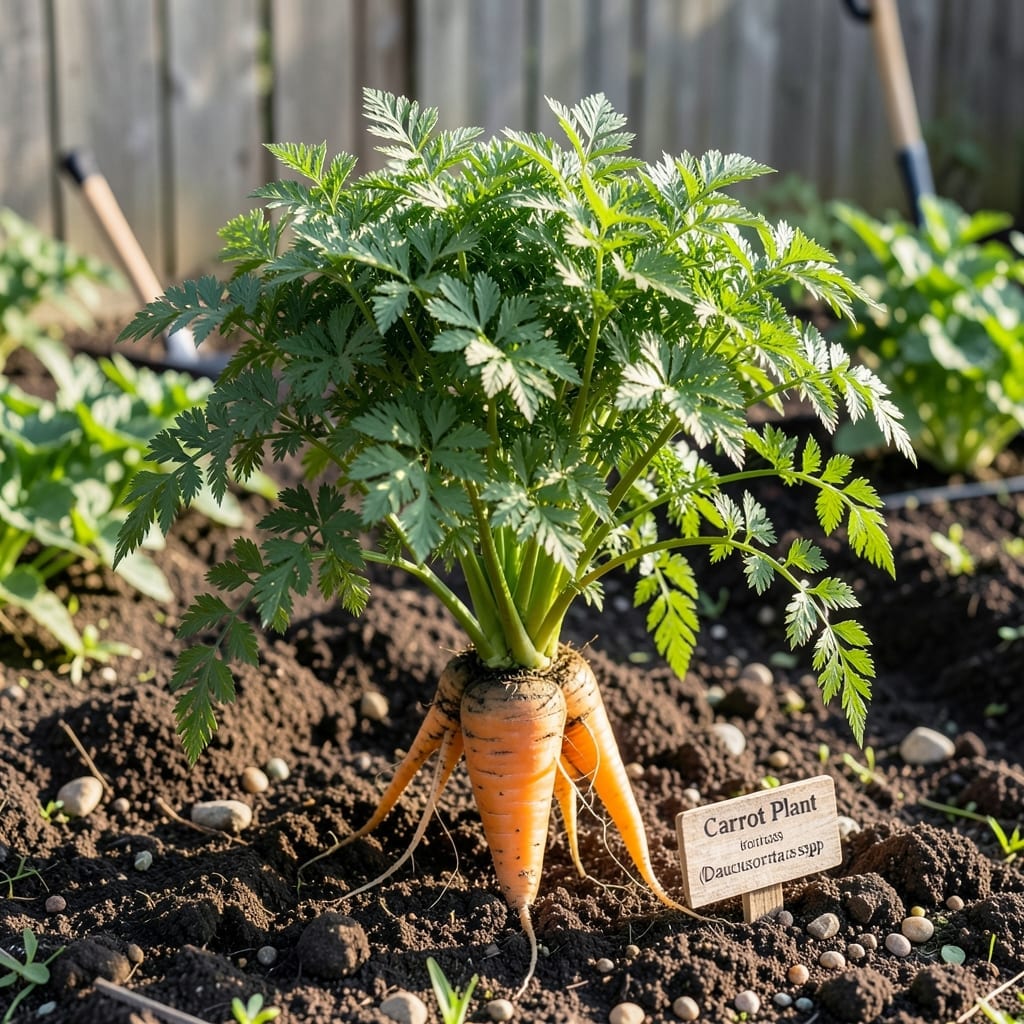
Healthy plants start underground, where roots meet soil in a quiet partnership. I learned this the hard way after losing half my garden to poor drainage and compacted earth.
Get this right, and you’ll see stronger growth, better resistance to disease, and plants that thrive with less fuss. It’s about working with nature, not against it.
📚 In This Guide
Here’s how I ensure strong roots and thriving soil for every planting project.
Start by testing the texture of your soil. Grab a handful and squeeze it firmly in your palm. If it holds its shape but crumbles when you poke it, you’ve got loamy soil—ideal for most plants. If it feels gritty and falls apart immediately, it’s sandy and drains too quickly.
Heavy clay soil stays in a tight ball and feels slick. I improve clay by mixing in 2-3 inches of organic matter like compost. This loosens the structure and allows roots to spread easily. Sandy soil benefits from the same treatment to help retain moisture and nutrients.
Clear the area of weeds, rocks, and debris that could compete with or damage new roots. I use a garden fork to loosen the soil to a depth of 12-18 inches, which gives roots room to establish without resistance. This also improves drainage and aeration.
Add a 1-inch layer of compost and work it into the top 6 inches of soil. This creates a nutrient-rich environment that encourages root growth. Don’t skip this step—plants depend on these initial nutrients to get established.
When planting, dig a hole that’s twice as wide as the root ball but no deeper. This gives roots space to spread outward, which is how most plants naturally grow. Place the plant in the hole so the top of the root ball sits 1/2 inch above the surrounding soil.
Backfill with native soil, gently pressing to remove air pockets. I water immediately with 1-2 gallons per plant to settle the soil and eliminate gaps around the roots. This first watering is critical for removing air that could dry out or damage tender roots.
For the first 2-3 weeks, water every 2-3 days unless rain provides an inch of water. Check soil moisture by sticking your finger 2 inches deep—if it feels dry, it’s time to water. This encourages deep root growth as the plant searches for moisture.
After establishment, water 1-2 times per week deeply rather than frequent shallow waterings. Deep watering develops a strong, extensive root system. I always water in the early morning to reduce evaporation and prevent fungal diseases.
Keep an eye on your plants’ leaves as indicators of root health. Yellowing or wilting often signals overwatering, while crispy edges suggest underwatering. I adjust my routine based on these visual cues and the weather conditions.
Every 4-6 weeks, add a 1-inch layer of mulch around plants to retain moisture and regulate soil temperature. This also suppresses weeds that compete for nutrients. Healthy roots mean healthy plants, and these steps ensure both stay strong throughout the growing season.
Small adjustments in your approach can make a big difference in plant health and vitality.
Soil Assessment Insight: In Step 1, when testing soil texture, don’t rush the squeeze test. Loamy soil should hold its shape briefly but crumble with minimal pressure. If your soil passes this test, you’re already ahead—this type naturally drains well while retaining enough moisture for roots.
Planting Depth Tip: Step 3 mentions placing the root ball 1/2 inch above soil level, and here’s why this matters: it prevents water from pooling around the stem, which can lead to rot. I learned this the hard way after losing several seedlings to overwatering.
Watering Wisdom: The 2-3 day watering schedule in Step 4 isn’t arbitrary. This frequency train roots to grow deeper in search of moisture. Real talk: I used to water daily until I noticed my plants developing shallow root systems. The less frequent, deeper watering changed everything.
Mulch Timing: That 4-6 week mulch interval in Step 5 serves a purpose beyond weed control. Applying it too early can smother new plants, while waiting too long lets weeds establish. Between us, I set a calendar reminder so I don’t forget this simple but crucial step.
Inspect roots and soil every 2-4 weeks during active growth. Look for signs of rot, pests, or dryness. Regular checks help prevent issues before they escalate.
Yellowing leaves, foul odors, or mushy roots indicate trouble. Dry, cracked soil or water pooling on the surface also signals poor health. Address these quickly to avoid plant stress.
Yes, but revitalize it first! Remove old roots, aerate the soil, and add compost or fertilizer. This restores nutrients and prevents disease carryover.
Improve drainage by mixing in perlite or sand. Ensure pots have drainage holes, and avoid overwatering. Let the soil dry slightly between waterings to encourage healthy root growth.