
Beautiful Plants For Your Interior
Beautiful Plants For Your Interior
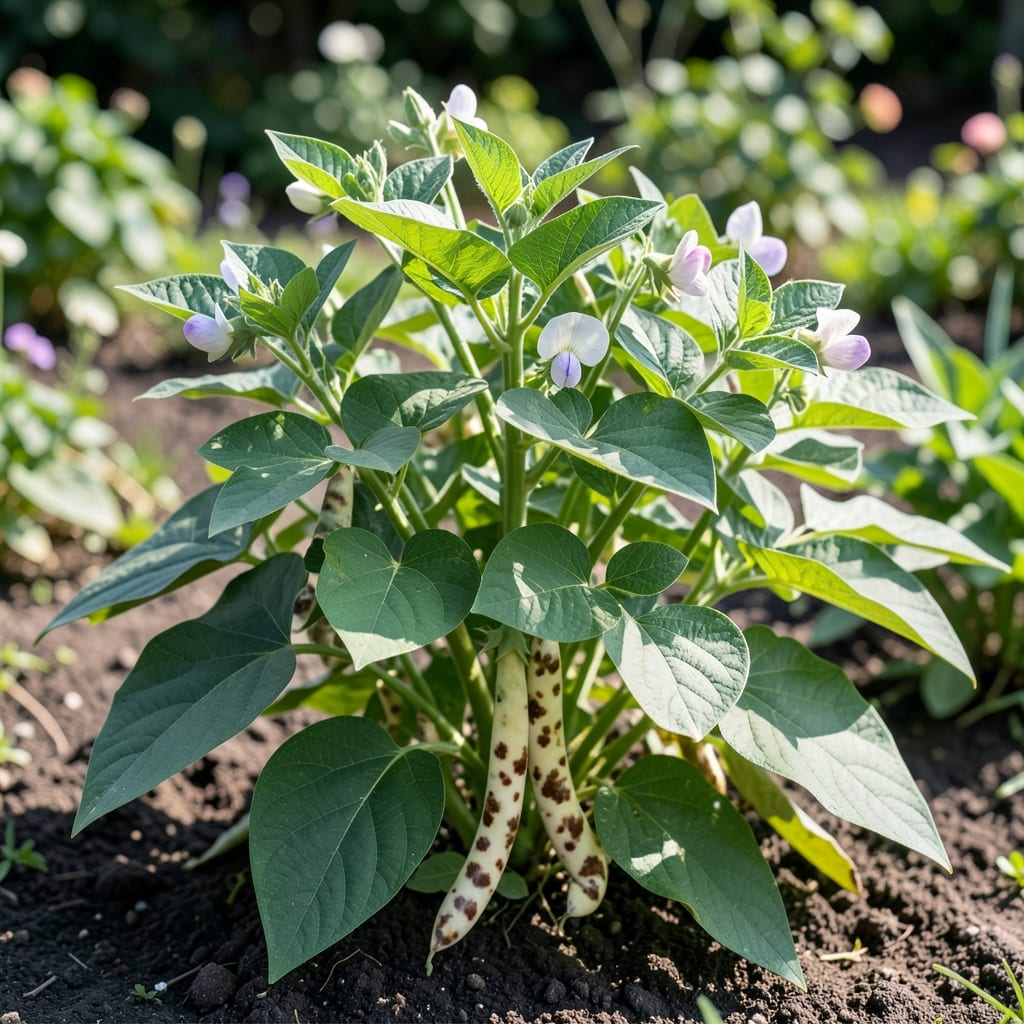
That first glimpse of plump pinto bean pods dangling from the vine never fails to excite me. Watching them grow from delicate blossoms to mottled, speckled treasures is half the fun of growing these beans.
They thrive in well-draining soil with 6-8 hours of sun daily. Plant after the last frost when soil warms to 60°F, and you’ll be harvesting in about 90 days. Companion plant with corn for natural support.
📚 In This Guide
Here’s the method I swear by for healthy, productive plants from seed to harvest.
Select a location with full sun exposure—pinto beans require at least 6-8 hours of direct light daily to develop strong pods. I always test the soil first; beans thrive in well-draining loam with a pH between 6.0 and 7.0. If your soil is heavy clay, amend it with compost to improve drainage and fertility.
Work the soil to a depth of 8-10 inches, breaking up clumps and removing debris. Smooth the surface with a rake to create a fine seedbed. Don’t compact the soil—pinto beans need loose earth for roots to expand easily and for water to penetrate evenly.
Plant seeds 1-1.5 inches deep in rows spaced 18-24 inches apart. Space individual seeds 2-3 inches apart within the row. Pinto beans are sensitive to overcrowding, and this spacing ensures adequate air circulation, which prevents fungal diseases that thrive in damp, cramped conditions.
I plant in succession every 2-3 weeks until mid-summer to extend the harvest. Water immediately after sowing to settle the soil around the seeds. You’ll see germination in 7-14 days when soil temperature is consistently above 60°F.
Keep the soil evenly moist but not soggy during germination and early growth. Once plants establish, water deeply once or twice weekly—about 1-1.5 inches per week total, including rainfall. Pinto beans develop shallow root systems, so frequent, light watering encourages surface roots that are vulnerable to drought.
I water in the morning to allow foliage to dry before evening, reducing disease risk. The critical checkpoint is the top inch of soil—when it feels dry to the touch, it’s time to water. Pods will begin forming 40-50 days after germination if conditions are ideal.
While pinto beans are typically bush varieties and don’t require trellising, I still provide light support for heavy pod loads. A simple 2-3 foot stake at each end of the row with twine strung between works well. This keeps pods off the ground, reducing rot and making harvest easier.
Watch for common pests like aphids and Mexican bean beetles. I check the undersides of leaves weekly for clusters of aphids or yellow-orange beetles. A strong blast of water removes aphids, while hand-picking or neem oil controls beetles. The first sign of pods is small, green bumps along the stem—this is when vigilance matters most.
Pinto bean pods are ready to harvest when they turn yellow and begin to dry, typically 90-120 days after planting. The beans inside will be firm and fully formed, and the pod walls will be papery. I harvest in the morning after dew has dried but before the heat of the day sets in.
Use scissors or pruning shears to snip pods from the plant to avoid damaging the vines. Spread harvested pods in a single layer in a dry, well-ventilated area for 1-2 weeks to complete drying. You’ll know they’re fully dry when the pods rattle when shaken and the beans inside are hard.
Small adjustments in your approach can significantly improve your harvest quality and plant health.
Sunlight Strategy: The 6-8 hours of full sun exposure mentioned in Step 1 isn’t just a suggestion—it’s critical. Pinto beans grown in insufficient light produce fewer, weaker pods. If your garden has partial shade, prioritize the sunniest spot you have, even if it means adjusting your planting layout. I learned this the hard way when my first attempt in a shady corner yielded only a handful of stunted pods.
Soil Preparation Insight: Working the soil to that 8-10 inch depth in Step 1 serves a dual purpose. Not only does it allow roots to penetrate deeply, but it also helps you identify and remove any compacted layers that could restrict growth. If you hit resistance while digging, that’s your cue to amend with compost before planting.
Watering Wisdom: The 1-1.5 inches per week guideline in Step 3 works perfectly during establishment, but here’s what nobody tells you—pinto beans are surprisingly drought-tolerant once mature. I’ve successfully reduced watering frequency during dry spells without affecting yield, as long as the top inch of soil stays moist. This actually encourages deeper root growth.
Pest Prevention: The weekly leaf inspections mentioned in Step 4 are most effective when done in the morning. Aphids and Mexican bean beetles are less active then, making them easier to spot and remove. I keep a small spray bottle of water in my gardening toolkit specifically for this purpose—it’s more effective than you’d expect for early infestations.
Healthy pinto bean pods are typically 4–6 inches long, slightly curved, and light green or yellowish. They feel firm and smooth, with visible bean outlines inside.
Harvest pods when they’re plump, firm, and the beans inside are fully formed but not bulging. This is usually 80–90 days after planting, depending on the variety.
No, raw pinto bean pods (and beans) contain lectins, which can be toxic. Always cook them thoroughly by boiling or steaming to ensure safety.
Yellowing or spots may indicate overripeness, disease (like rust or mosaic virus), or pest damage. Check for mold, wilting, or holes to diagnose the issue.
Store unwashed pods in a perforated bag in the fridge for up to 5 days. For longer storage, blanch and freeze them, or dry the beans inside for pantry use.