
Beautiful Plants For Your Interior
Beautiful Plants For Your Interior
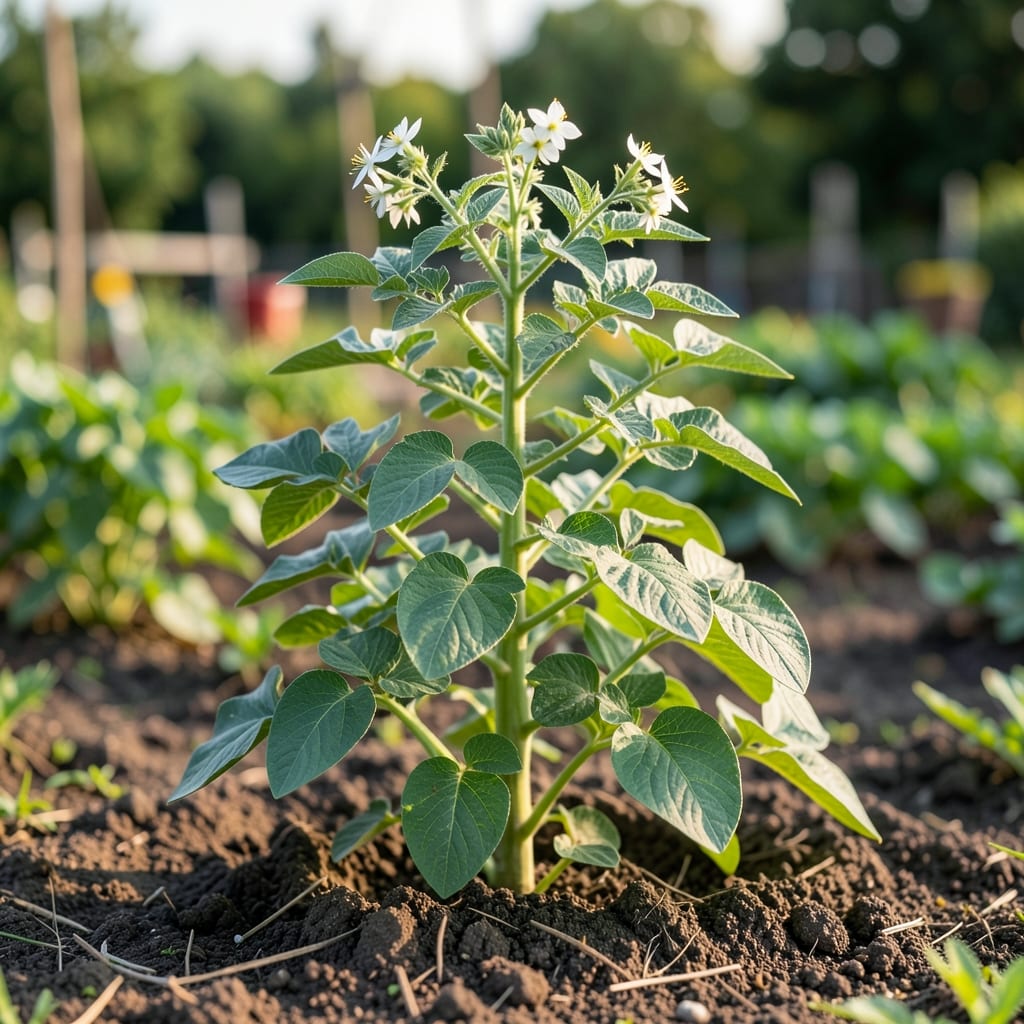
I learned the hard way that healthy potato vines start underground. Strong roots mean vigorous growth above, and the right care makes all the difference.
These plants thrive in loose, well-draining soil with consistent moisture. Get the root zone right, and you’ll see lush foliage and steady growth all season long.
📚 In This Guide
This method ensures vigorous, healthy growth every time you propagate.
Choose 4-6 inch sections of mature, non-flowering potato vine stems with visible nodes. Using clean, sharp shears, cut just below a node at a 45-degree angle to maximize surface area for root development. Each cutting should have at least 2-3 nodes, as these are the points where roots will emerge.
Remove all leaves from the lower 2 inches of each cutting, leaving a few at the tip to sustain photosynthesis. This reduces moisture loss and directs energy toward root formation. I always check that the stem feels firm—not soft or woody—which indicates optimal health for propagation.
For water propagation, place the cuttings in a glass or jar filled with room-temperature water, ensuring the nodes are submerged but the remaining leaves stay dry. Position the container in bright, indirect light and change the water every 3-4 days to prevent bacterial growth.
Alternatively, dip the cut ends in rooting hormone (optional but effective) and plant them 1-2 inches deep in a well-draining potting mix. Keep the soil consistently moist but not waterlogged. Roots should develop in 2-4 weeks—you’ll feel resistance when gently tugging the stem.
Maintain 70-75°F soil or water temperature for fastest rooting. A seedling heat mat can help in cooler environments. Mist the cuttings daily if propagating in soil to maintain humidity, which prevents stress and encourages growth.
Watch for new growth at the tip of the cutting—this is your sign that roots are forming below. If using water propagation, transplant the cuttings to soil once roots reach 1-2 inches long. Handle them gently to avoid damaging the delicate new roots.
Once roots are well-developed, transplant each cutting into its own 6-inch pot or directly into the garden, spacing plants 12-18 inches apart. Use a loose, well-draining soil mix to prevent root rot. Water thoroughly after planting to settle the soil around the roots.
Place the new plants in partial to full sun and keep the soil evenly moist for the first 2 weeks to help them establish. You’ll notice new leaves forming within a week, confirming that the roots have taken hold and the plant is thriving.
After establishment, reduce watering to when the top inch of soil feels dry. Potato vines are drought-tolerant once mature, but consistent moisture during the first month ensures strong root systems. Fertilize lightly with a balanced, water-soluble fertilizer every 4-6 weeks during the growing season.
Prune back leggy growth to encourage bushier, healthier plants. Regularly check for pests like aphids, which are attracted to new growth. A healthy potato vine will reward you with lush foliage and, if allowed to spread, can serve as an excellent ground cover or climbing plant.
These insights will help you avoid pitfalls and achieve strong, healthy root development every time.
The Cutting Selection: In Step 1, always choose stems that are firm and green—not woody or soft. The 4-6 inch length with 2-3 nodes is critical because nodes are where roots emerge. Cutting at a 45-degree angle increases the surface area for water and nutrient absorption, which accelerates root growth.
Water Propagation Wisdom: For Step 2, room-temperature water prevents shocking the cuttings, which can delay rooting. Changing the water every 3-4 days is non-negotiable—stagnant water breeds bacteria that can rot your cuttings before roots even form. Bright, indirect light is ideal; direct sun can overheat the water and stress the stems.
Temperature Control: Maintaining 70-75°F in Step 3 isn’t just a suggestion—it’s the sweet spot for root hormone activation. If your environment is cooler, a seedling heat mat can cut the 2-4 week rooting time significantly. Daily misting for soil propagation mimics the humidity cuttings naturally love, reducing transplant shock.
Transplant Timing: In Step 4, resist the urge to transplant too early. Roots need to reach 1-2 inches long to anchor properly in soil. The first 2 weeks after transplanting are critical—keep the soil consistently moist but not soggy to prevent root rot while encouraging new growth.
Look for yellowing leaves, stunted growth, or blackened, rotting roots. Wilting despite adequate watering is another red flag. Dig gently around the base to inspect roots for discoloration or mushy texture.
Early intervention is key! Trim affected roots with sterilized shears, repot in fresh, well-draining soil, and reduce watering. Severe cases may require removing the plant to prevent spreading to others.
Use loose, well-draining soil mixed with compost or perlite. Avoid heavy clay or waterlogged conditions. Raised beds can also improve drainage and airflow for healthier roots.
Yes! Try neem oil, hydrogen peroxide soaks (1:10 ratio with water), or beneficial fungi like Trichoderma. These can combat pathogens while being eco-friendly.
Water deeply but infrequently—once or twice a week, depending on climate. Always check the top inch of soil; if it’s dry, it’s time to water. Overwatering is a common culprit!