
Beautiful Plants For Your Interior
Beautiful Plants For Your Interior
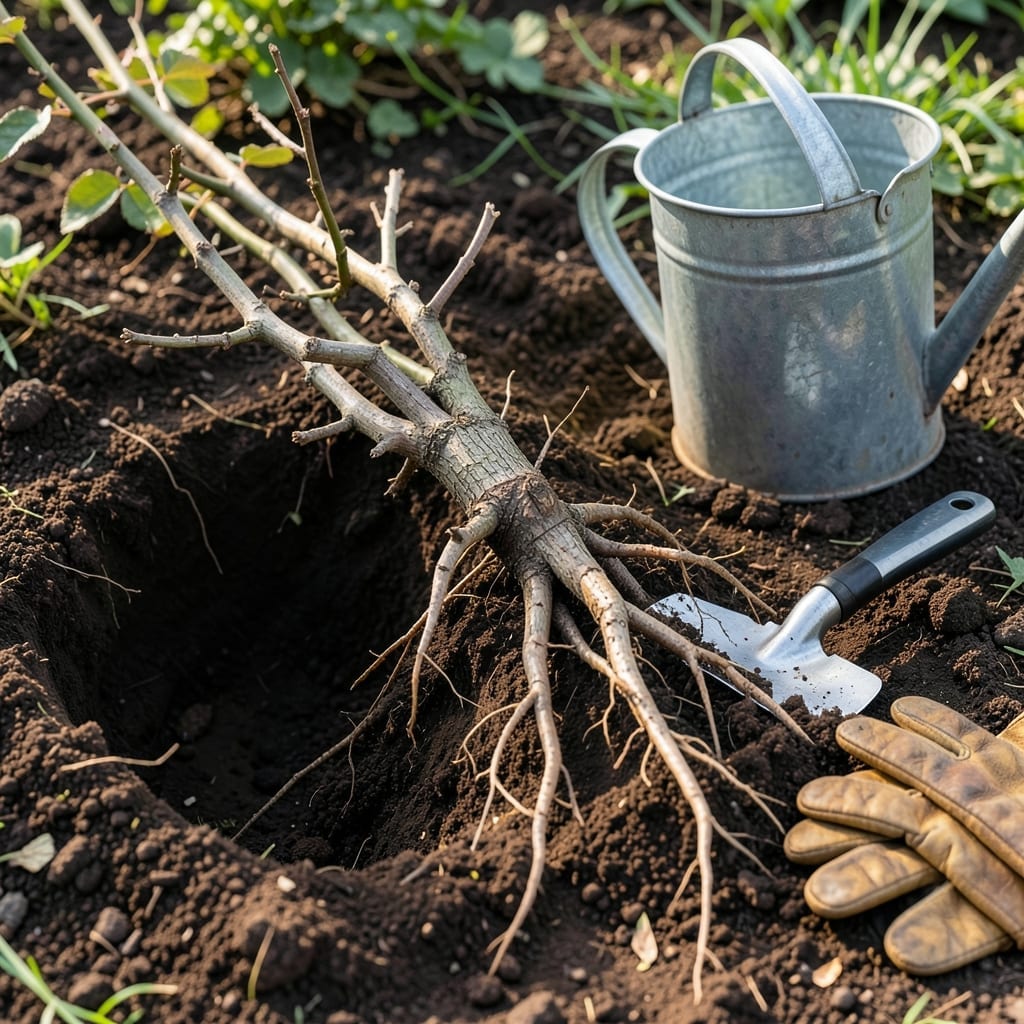
Bare root plants arrive looking like sticks, but they’re packed with potential. I’ve turned dozens of these dormant bundles into thriving shrubs and trees with just a few key steps.
Soak the roots for 2-3 hours before planting, dig a wide hole, and spread those roots out. Within weeks, you’ll see new growth proving the method works. Skip the fertilizer at planting—it burns tender new roots.
📚 In This Guide
This method ensures your new plants establish quickly with minimal transplant shock.
Begin by soaking the bare roots in a bucket of lukewarm water for 1-2 hours. This rehydrates the roots after their dormant period and kickstarts the growth process. I’ve found that skipping this step often leads to slower establishment and weaker early growth.
Check the water level halfway through soaking—roots should be fully submerged but not crowded. If the water looks murky after soaking, that’s normal; it’s just the root stimulators and preservatives from the nursery washing off.
Dig a hole that’s twice as wide and just as deep as the root system. Loosen the soil at the bottom and sides of the hole with a garden fork to encourage root penetration. This is where many gardeners go wrong—packed soil prevents roots from spreading easily.
If your soil is heavy clay, mix in a bit of compost to improve drainage. For sandy soil, a handful of peat moss helps retain moisture. The goal is a hole that gives roots room to stretch out without bending or circling.
Place the plant in the hole so the crown (where roots meet the stem) sits 1-2 inches above the soil line. This accounts for settling after watering. Spread the roots out in all directions as evenly as possible—they should look like a starfish, not a tangled ball.
I always take a moment here to check that no roots are bent upward or cramped. If they are, adjust the depth or width of the hole. Proper root placement now means a stronger, more stable plant later.
Fill the hole halfway with soil, then gently tamp it down to remove air pockets. Water thoroughly at this stage to help settle the soil around the roots. Finish filling the hole, leaving a slight depression around the base to catch water.
Give the plant a deep watering after planting, using 1-2 gallons of water per plant. The soil should be moist but not waterlogged. A good soak now ensures the roots make contact with the soil and reduces the risk of air gaps.
Apply a 2-3 inch layer of mulch around the base, keeping it 2 inches away from the stem to prevent rot. Mulch conserves moisture and keeps soil temperature steady, which is critical for bare root plants as they establish.
Check the plant daily for the first week, ensuring the soil stays consistently moist but not soggy. You’ll know it’s taking hold when you see new growth within 2-3 weeks. Until then, avoid fertilizing—let the plant focus on root development first.
Small details during planting make the difference between struggling and thriving plants.
Soaking Secret: Don’t rush the 1-2 hour soak in Step 1. I learned the hard way that roots need this full time to properly rehydrate after dormancy. If the water gets murky, that’s actually a good sign—it means the roots are absorbing and releasing their stored nutrients.
Hole Preparation: In Step 2, when digging that hole twice as wide as the root system, take extra time to loosen the soil at the bottom and sides. Packed soil is the silent killer of new plants—I’ve seen roots fail to penetrate even slightly compacted areas, leading to stunted growth.
Crown Placement: The 1-2 inches above soil line rule in Step 3 isn’t arbitrary. After watering, the soil will settle, and that initial elevation prevents the crown from ending up buried. I always use a ruler to check this—eyeballing it often leads to planting too deep.
Watering Wisdom: That 1-2 gallons of water in Step 4 isn’t excessive. Bare root plants need this deep watering to eliminate air pockets around the roots. The first week is critical—check daily that the soil stays consistently moist, not just at the surface but down where the roots are spreading.
The ideal time is during dormancy, typically late winter or early spring, before new growth starts. This gives roots time to establish before summer heat. Avoid planting during frost or extreme cold.
Yes! Soak the roots in water for 1-2 hours before planting to rehydrate them. This helps reduce transplant shock and encourages faster root establishment.
Yes, but choose a large container with good drainage. Use quality potting mix and ensure the roots have enough space to spread. Container-grown plants may need more frequent watering.
Common issues include poor soil contact, over/underwatering, or planting too deep. Check that roots are spread out, soil is moist (not soggy), and the crown is at soil level. Troubleshoot by inspecting for rot or pests.