
Beautiful Plants For Your Interior
Beautiful Plants For Your Interior
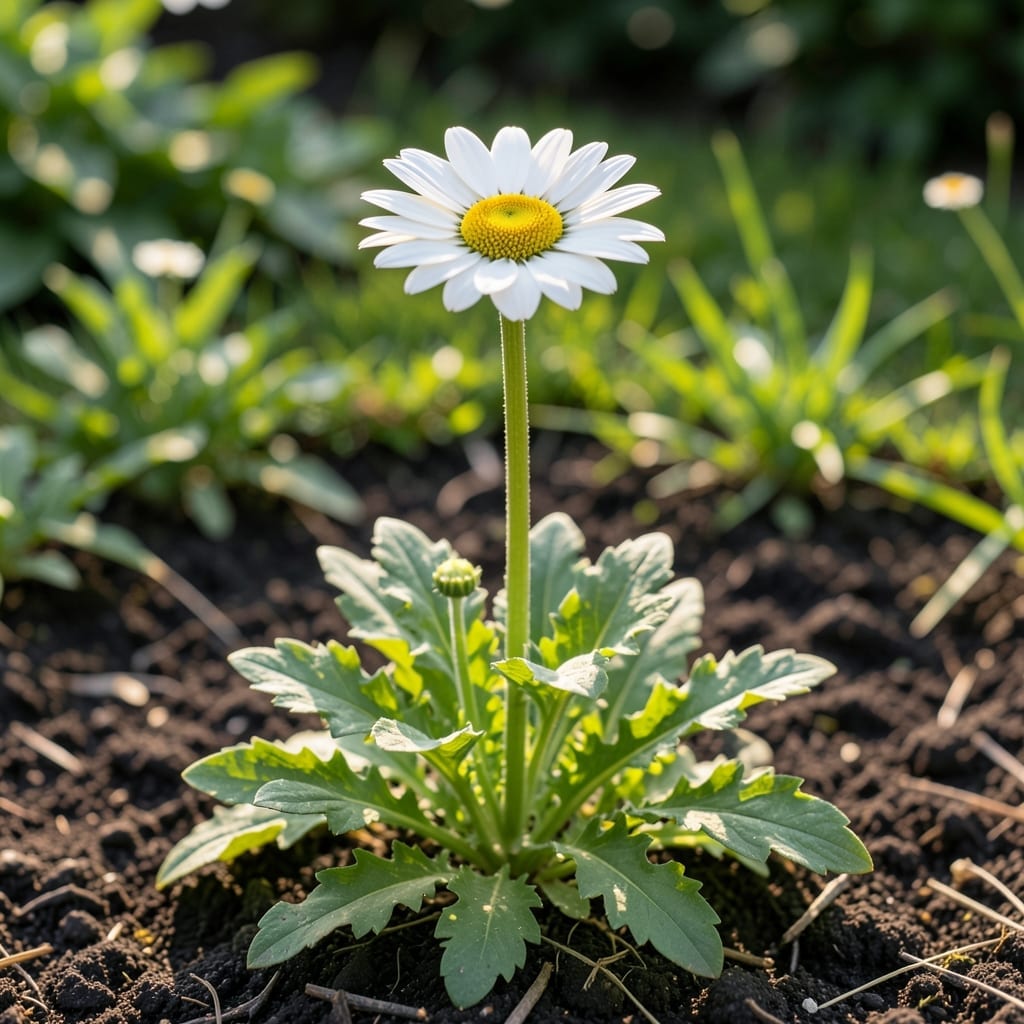
Shasta daisy leaves tell you everything about your plant’s health before the flowers even appear. I check mine weekly for color, texture, and any spots—early warnings are easier to fix.
Healthy foliage means stronger blooms and fewer pests. Keep leaves dry when watering, remove yellow ones promptly, and give them full sun for the best results. Simple habits prevent most problems.
📚 In This Guide
These are the techniques I use to keep Shasta daisy foliage healthy and vibrant throughout the growing season.
Begin by examining the plant for bright green, firm leaves with smooth edges, which indicate a healthy specimen. Look for discoloration, spots, or wilting that might signal disease or pest issues. I always check the undersides first—that’s where aphids and spider mites like to hide.
Remove any yellowing or brown leaves immediately, as these can drain the plant’s energy and spread problems. Use clean, sharp tools to make precise cuts. This prevents tearing the stems, which can invite infection and slow recovery.
Thin out about one-third of the oldest stems at the base to improve airflow, which reduces the risk of fungal diseases like powdery mildew. Focus on stems that appear woody or crowded. I’ve found that better circulation keeps the foliage drier and less susceptible to issues.
Shape the plant by trimming back overly long or leggy stems to encourage a bushier growth habit. Cut just above a leaf node or side shoot to promote new growth. This step ensures the plant puts energy into producing more blooms rather than sparse, weak stems.
After handling the plant, sanitize your pruning shears or scissors with a solution of 1 part bleach to 9 parts water to prevent spreading pathogens. Wipe the blades thoroughly and allow them to air dry. This is a step I never skip—it’s saved my garden from more than one outbreak.
Also, clean up any fallen leaves or plant debris from around the base of the daisy. Decaying foliage can harbor pests and diseases that will eventually reinfect the plant. I use a small hand rake to gather debris and dispose of it far from the garden.
Check the leaves weekly for signs of stress, such as curling, yellowing, or unusual spots. Early detection makes treatment much easier. I keep a journal to track changes, which helps me spot patterns over time.
Water at the base of the plant to keep the leaves dry, especially in the morning. This allows excess moisture to evaporate quickly in the sunlight, reducing the risk of fungal growth. If you notice any issues, adjust watering or apply an appropriate organic treatment promptly.
These practical insights will help you maintain vibrant foliage with minimal effort.
Inspection Technique: In Step 1, when examining leaves, use a hand lens to spot early signs of pests or disease that might escape the naked eye. The undersides of leaves often show trouble first, so make this a habit during your weekly checks.
Pruning Precision: For Step 2, always use sharp bypass pruners rather than anvil-style for cleaner cuts on those oldest stems. Cutting just above a leaf node at a 45-degree angle promotes faster healing and reduces moisture entry points that could lead to infection.
Sanitation Protocol: The 1 part bleach to 9 parts water solution in Step 3 works best with a 10-minute soak for your tools. After sanitizing, rinse with clean water to prevent bleach residue from damaging plant tissue during future use.
Monitoring System: In Step 4, establish a consistent routine for your weekly leaf checks. I recommend doing this at the same time each week, preferably in the morning when dew is still present, as this makes pest activity more visible.
Yellowing leaves often signal overwatering or poor drainage. Check soil moisture and ensure proper drainage to prevent root rot. Nutrient deficiencies or pests may also cause this issue.
Use clean, sharp pruners to trim damaged or diseased leaves at the base. Sterilize tools between cuts to prevent spreading infections. Dispose of debris away from the garden.
Prune in early spring or after flowering to encourage bushier growth. Avoid heavy pruning in late fall, as new growth may be vulnerable to frost damage.
Yes! Neem oil is effective against aphids and powdery mildew. Mix with water and a drop of dish soap, then spray evenly on leaves, avoiding direct sunlight to prevent burns.
Shasta daisies are generally non-toxic to cats and dogs, but excessive consumption may cause mild stomach upset. Monitor pets and discourage chewing on leaves.