
Beautiful Plants For Your Interior
Beautiful Plants For Your Interior
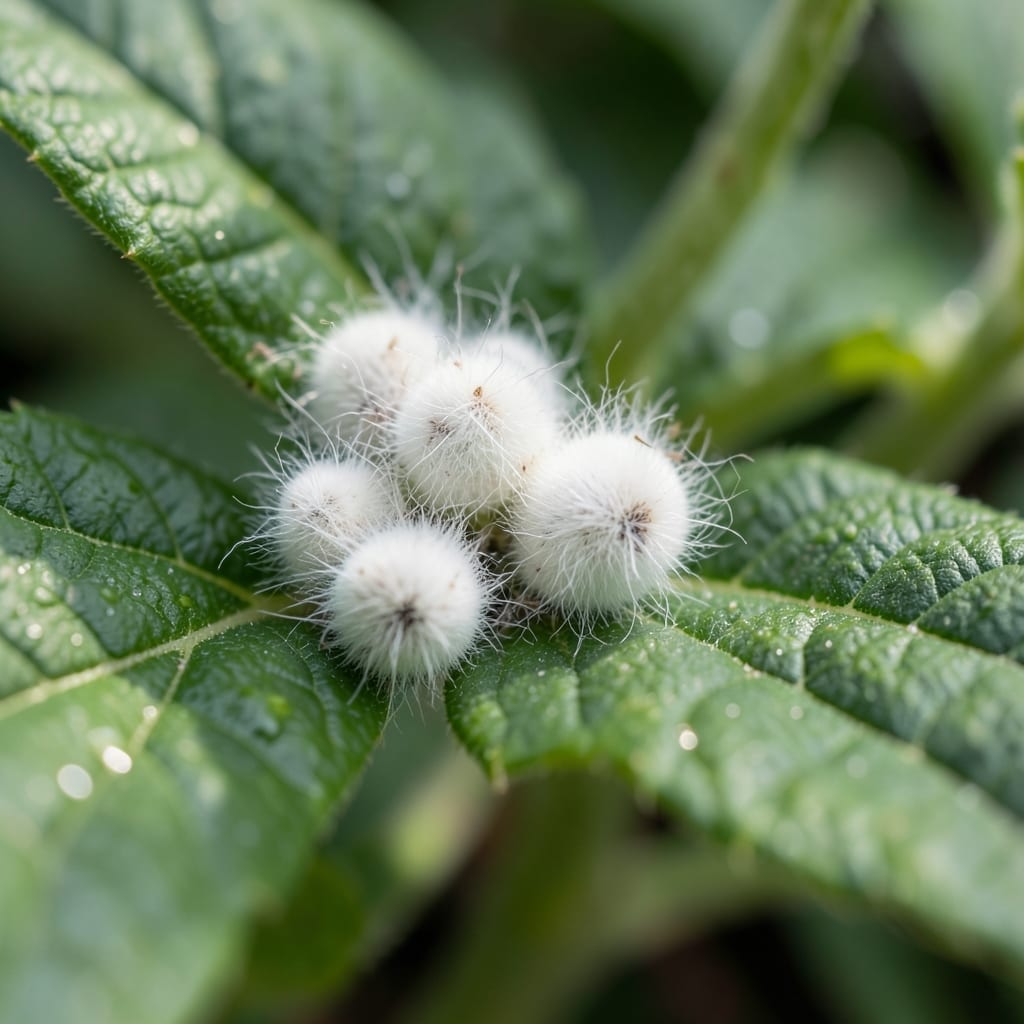
Those white, cottony clusters on your plant stems aren’t just unsightly—they’re mealybug eggs waiting to hatch. I’ve lost count of how many plants I’ve saved by catching these early, before they turn into a full-blown infestation.
Left unchecked, these pests drain plant sap, stunt growth, and spread disease. The good news? You can spot them before they multiply. Look for tiny white sacs tucked in leaf axils or under stems, especially on new growth.
I’ve tested natural remedies like neem oil and insecticidal soap that work without harming your garden’s ecosystem. A little vigilance now saves you weeks of frustration later.
Prevention is simpler than you think: isolate new plants, inspect regularly, and keep your garden clean. This tiny step protects your entire collection.
Mealybug infestations start with eggs, and understanding the conditions that encourage their laying helps prevent outbreaks. Below are the primary causes behind mealybug eggs on plants:
Mealybugs thrive in temperatures between 70–90°F (21–32°C) with high humidity (60% or above). These conditions accelerate their reproductive cycle, leading females to lay 100–300 eggs in cottony sacs on plant stems, leaves, or roots. Greenhouses and indoor gardens are particularly vulnerable without proper ventilation.
Plants growing in dense clusters or under stress (from drought, overwatering, or nutrient deficiencies) emit chemical signals that attract mealybugs. Weak plants offer less resistance, making them ideal hosts for egg-laying. Prune regularly and maintain plant health to deter infestations.
In ecosystems lacking beneficial insects like ladybugs, lacewings, or parasitic wasps, mealybug populations explode unchecked. These predators feed on eggs and nymphs, naturally controlling their numbers. Introduce or preserve these allies to disrupt the mealybug life cycle.
Mealybug eggs survive on plant debris, old pots, or contaminated tools. Failing to clean these areas allows eggs to hatch and spread. Sterilize tools, remove dead foliage, and inspect new plants to prevent introducing eggs into your garden.
Mealybug eggs on plants can quickly multiply, but you can reclaim control with these targeted fixes.
Start by manually picking off visible egg clusters with a cotton swab dipped in rubbing alcohol (70%). For larger infestations, prune heavily affected leaves or stems and dispose of them in sealed bags to prevent reinfestation. This method is most effective for small outbreaks or isolated spots.
Apply neem oil or insecticidal soap to smother eggs and disrupt their development. Mix 1 tablespoon of neem oil with 1 quart of water and a few drops of dish soap, then spray evenly on both sides of leaves. Reapply every 5–7 days until the eggs are gone.
Pro tip: 💡 Test sprays on a small area first to avoid plant damage.
Introduce natural predators like ladybugs, lacewings, or parasitic wasps to your garden. These beneficial insects feed on mealybug eggs and larvae, offering long-term suppression without chemicals. Purchase them from garden centers or attract them with companion plants like dill or marigolds.
Consistency is key—combine methods for the best results!
Look for tiny, white, cottony clusters tucked in leaf axils or under stems. They often resemble small bits of cotton and appear on new growth first.
Water alone won’t eliminate them. Use a cotton swab dipped in 70% rubbing alcohol for targeted removal, or prune heavily infested parts. Always dispose of debris in sealed bags.
Reapply every 5–7 days until eggs are gone. Mix 1 tablespoon neem oil with 1 quart water and a few drops of dish soap for best results.
Yes, eggs can overwinter in plant debris or soil. Clean up fallen leaves and inspect stored pots to prevent spring hatchouts.