
Beautiful Plants For Your Interior
Beautiful Plants For Your Interior
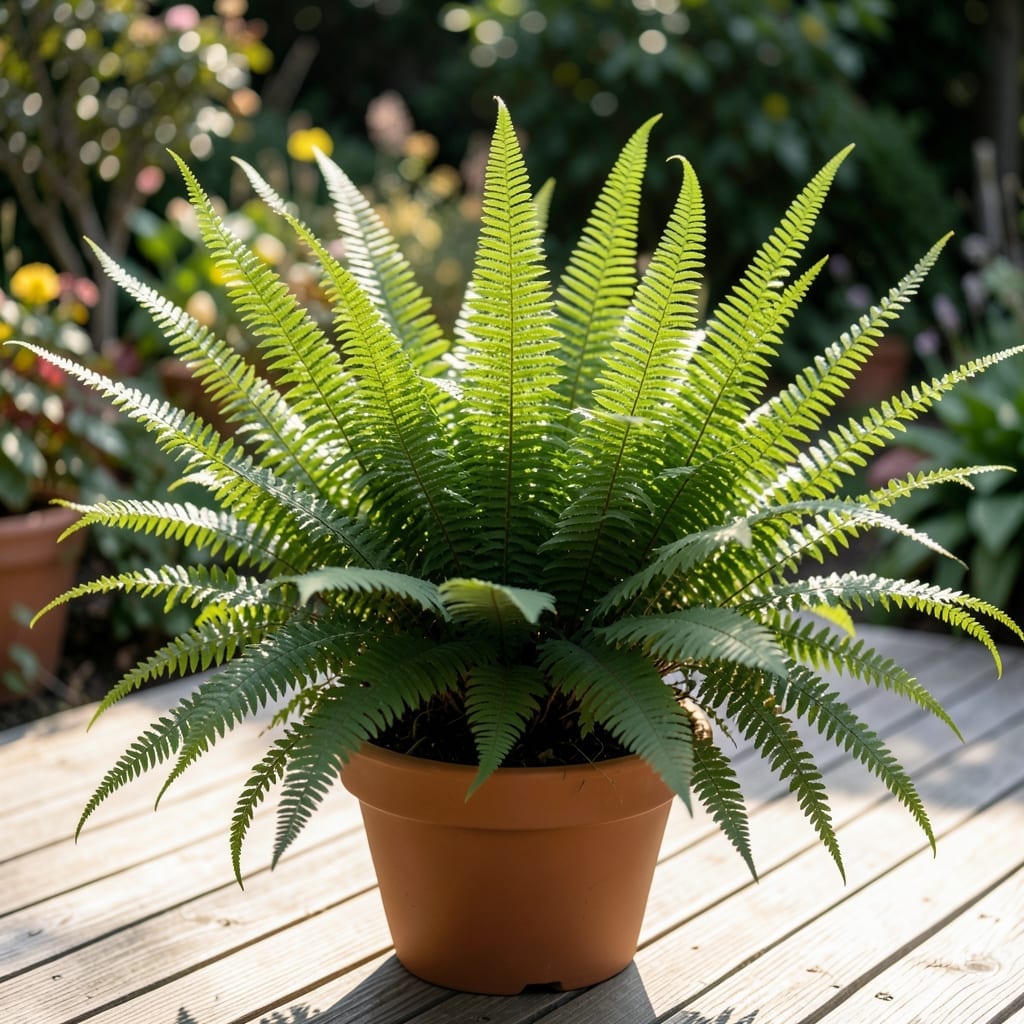
This Australian native transformed my shady corner into a lush retreat. Kimberley Queen Fern thrives where other plants struggle, bringing vibrant green fronds to dim spaces.
I’ve grown it in containers and garden beds with equal success. It handles dry spells better than most ferns and rewards you with year-round beauty. The secret is consistent moisture and protection from harsh sun.
📚 In This Guide
This method ensures healthy, vibrant ferns that thrive in shady conditions with minimal fuss.
Choose a spot with bright, indirect light to full shade, as direct sun can scorch the delicate fronds. I’ve found that north-facing or east-facing locations work best, where the fern receives gentle morning light but avoids harsh afternoon rays.
Ensure the area has well-draining soil—Kimberley Queen ferns dislike soggy roots. If planting in containers, use a high-quality potting mix with added perlite or coarse sand to improve drainage. The soil pH should ideally be slightly acidic to neutral (6.0-7.0).
Dig a hole twice as wide as the root ball but no deeper. Place the fern in the hole so the top of the root ball sits slightly above the soil line—this prevents water from pooling around the base. Backfill with soil, pressing lightly to remove air pockets.
Water thoroughly after planting to settle the soil around the roots. I always apply a 1-2 inch layer of mulch around the base to retain moisture and regulate soil temperature, but keep it a few inches away from the stem to avoid rot.
Keep the soil consistently moist but not waterlogged. Water when the top inch of soil feels dry to the touch—this is your cue that it’s time to hydrate. In hotter months, you may need to water every 2-3 days, while cooler weather may stretch this to 5-7 days.
Use a watering can with a narrow spout to direct water to the base of the plant, avoiding the fronds. Overhead watering can lead to fungal issues, especially in humid climates. I’ve learned that early morning watering allows foliage to dry quickly, reducing disease risk.
Fertilize lightly during the growing season (spring to early fall) with a balanced, water-soluble fertilizer diluted to half strength. Apply every 4-6 weeks to encourage lush growth without overwhelming the plant.
Remove any yellow or brown fronds promptly using clean, sharp shears. This not only keeps the plant looking tidy but also redirects energy to healthy growth. If fronds appear dusty, gently wipe them with a damp cloth to allow for better light absorption.
In colder climates (USDA zones 8 and below), treat it as a container plant and bring it indoors before the first frost. Place it in a cool, humid spot with bright, indirect light and reduce watering during dormancy.
Small adjustments in care can make a big difference in keeping your fern thriving.
The Light Factor: While this plant tolerates full shade, I’ve noticed it produces the lushest fronds in bright, indirect light. If you’re growing it indoors, place it near a north or east-facing window where it gets gentle morning sun but avoids harsh afternoon rays that can scorch the delicate foliage.
Drainage is Non-Negotiable: Kimberley Queens despise soggy roots, so well-draining soil is essential. If you’re planting in containers, mix a high-quality potting soil with perlite or coarse sand to improve drainage. A soil pH between 6.0-7.0 will keep it happy.
Watering Wisdom: The top inch of soil is your guide—when it feels dry, it’s time to water. In hotter months, this might mean watering every 2-3 days, while cooler weather can stretch the interval to 5-7 days. Always water at the base to avoid fungal issues on the fronds.
Fertilizing Finesse: During the growing season, a balanced, water-soluble fertilizer diluted to half strength every 4-6 weeks works wonders. Avoid over-fertilizing, as it can overwhelm the plant and lead to brown fronds.
Winter Care: If you’re in USDA zones 8 or below, treat it as a container plant and bring it indoors before the first frost. A cool, humid spot with bright, indirect light and reduced watering will help it thrive during dormancy.
Keep it in bright, indirect light and water when the top inch of soil feels dry. Use well-draining soil and fertilize lightly during the growing season. It thrives in humidity, so mist occasionally or use a pebble tray.
Brown fronds often indicate underwatering or low humidity. Check soil moisture and increase humidity if needed. Trim damaged fronds to encourage new growth and maintain plant health.
Yes! It adapts well to indoor conditions. Place it near a north- or east-facing window for ideal light. Ensure good air circulation and avoid cold drafts for best results.
Watch for mealybugs, scale, and spider mites. Wipe leaves with a damp cloth or use insecticidal soap for treatment. Regularly inspect the plant to catch infestations early.