
Beautiful Plants For Your Interior
Beautiful Plants For Your Interior
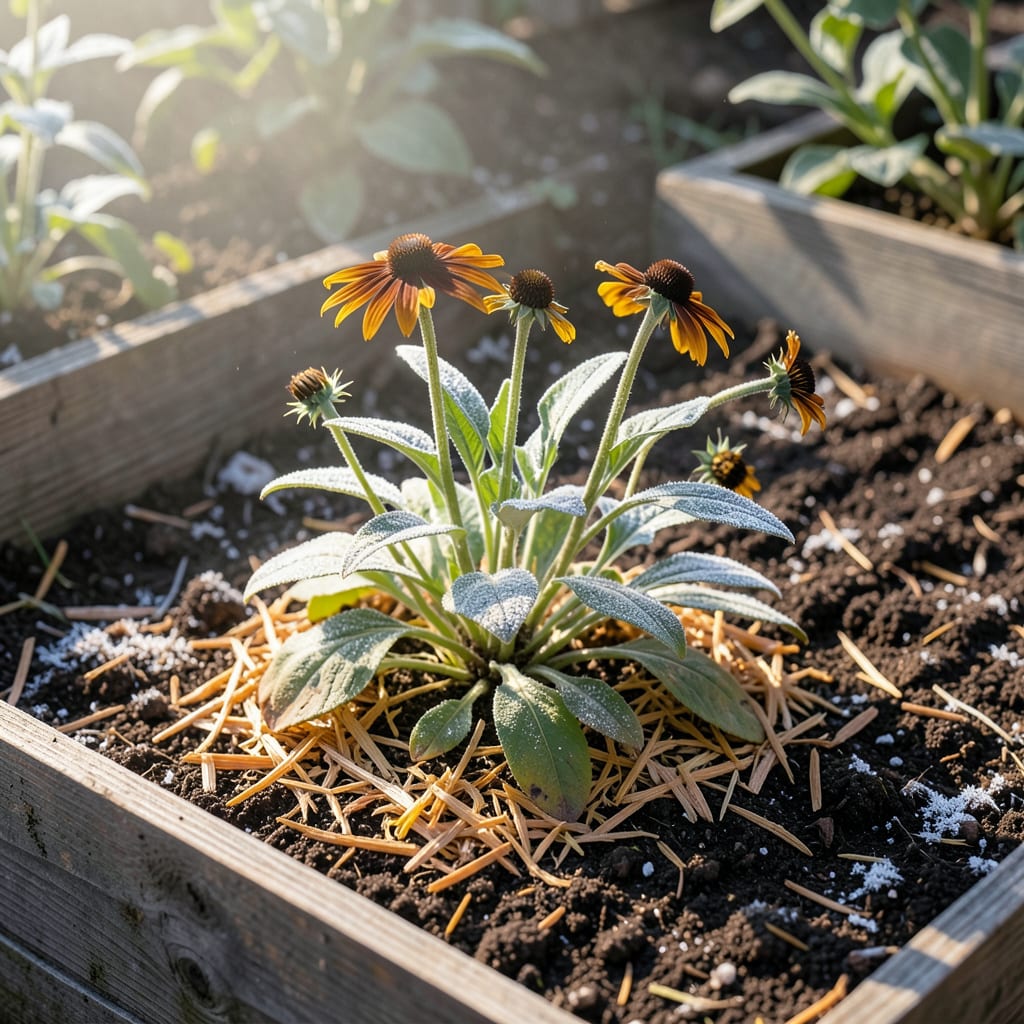
Cold snap coming? Your Black Eyed Susans need a plan. I learned the hard way that ignoring winter prep means sad, stunted plants next spring.
Prune back spent stems, add a 3-4 inch mulch layer, and they’ll bounce back stronger. Works even in zone 4 winters with this simple routine.
📚 In This Guide
Here is my straightforward method to keep these perennials thriving through the cold months.
After the first hard frost when leaves turn brown and crisp, trim the foliage down to 2-3 inches above soil level using clean, sharp shears. This removes dead growth that could harbor pests or diseases over winter. I leave a few inches of stem standing to mark the plant’s location and provide some protection for the crown.
Don’t cut back while the plant is still actively growing. You’ll see new growth stop completely after a frost, which is your signal it’s time. Removing dead foliage also improves air circulation around the base, reducing the risk of fungal issues during damp winter weather.
Spread a 2-3 inch layer of organic mulch like straw, shredded leaves, or pine needles around the base of each plant. This insulates the soil and protects the root system from freeze-thaw cycles that can heave plants out of the ground. I always wait until the ground has frozen before applying this layer.
Keep the mulch a few inches away from the remaining stem to prevent moisture from accumulating against the plant. You’ll notice the mulch settles over time, so check periodically and add more if needed to maintain that 2-3 inch depth.
Give your plants a thorough watering in late fall before the ground freezes completely. This ensures the root system has adequate moisture to sustain it through winter. I water until the soil is moist to a depth of 6-8 inches, which you can check by pushing a trowel into the soil.
This is especially important for newly planted specimens. Even in winter, plants continue to lose water through their roots, and dry soil can lead to winter desiccation. Avoid watering once temperatures consistently stay below freezing.
Throughout the winter, check your plants periodically for signs of stress. If you see roots exposed from freeze-thaw cycles, gently press the soil back around them and add more mulch. This is most likely to happen on the south or west side of the plant where sunlight warms the soil during the day.
In areas with heavy snowfall, I lightly brush off excessive accumulation from the remaining stems to prevent breakage. The mulch layer should remain undisturbed, as it’s doing the critical work of protecting the crown and roots.
As soon as the soil is workable in early spring, remove any remaining mulch and dead foliage. This allows new growth to emerge unobstructed. I also take this opportunity to divide any clumps that have become overcrowded, which rejuvenates the plants and improves their vigor.
You’ll know it’s time when you see new green shoots emerging from the base. Be gentle when cleaning up—these new shoots are tender and can be easily damaged. The plant will quickly leaf out once warm weather arrives.
These practical pointers will help you protect your perennials effectively through winter.
Timing the Cutback: In Step 1, wait for that first hard frost when leaves turn brown and crisp—this is non-negotiable. Cutting back too early while the plant is still actively growing removes its natural protection and can stimulate tender new growth that winter will kill. I learned this the hard way after losing several plants to an early cold snap.
Mulch Application Technique: For Step 2, that 2-3 inch layer of mulch is your plant’s winter coat, but placement matters. Keep it a few inches away from the stem to prevent rot. I use straw because it stays in place better than shredded leaves, which can mat down and suffocate the crown.
Watering Wisdom: Step 3’s deep watering before the ground freezes is critical, especially for new plantings. Check soil moisture at 6-8 inches with a trowel—if it’s dry, water thoroughly. This prevents winter desiccation, which is more damaging than most gardeners realize.
Winter Monitoring: During Step 4, check the south and west sides of your plants first—that’s where freeze-thaw cycles hit hardest. If you see exposed roots, act immediately by pressing soil back and adding more mulch. I check mine after every thaw cycle.
Yes, prune them back to 6–8 inches after the first frost to prevent disease and encourage spring growth. Avoid cutting too early, as seed heads can feed birds during winter.
Mulch heavily with straw or leaves after the ground freezes. This insulates roots and prevents frost heave. Avoid mulching too early, as it can trap warmth and delay dormancy.
They’re hardy in USDA zones 3–9, but extreme cold or wet soil can harm them. A little mulch and pruning go a long way in ensuring their survival.
Don’t panic! They often die back completely but regrow from the roots in spring. Cut back any dead foliage in early spring to make way for new growth.
Yes! You can use burlap wraps for young plants or move potted Susans to a sheltered area. However, mulching remains the simplest and most effective method.
