
Beautiful Plants For Your Interior
Beautiful Plants For Your Interior
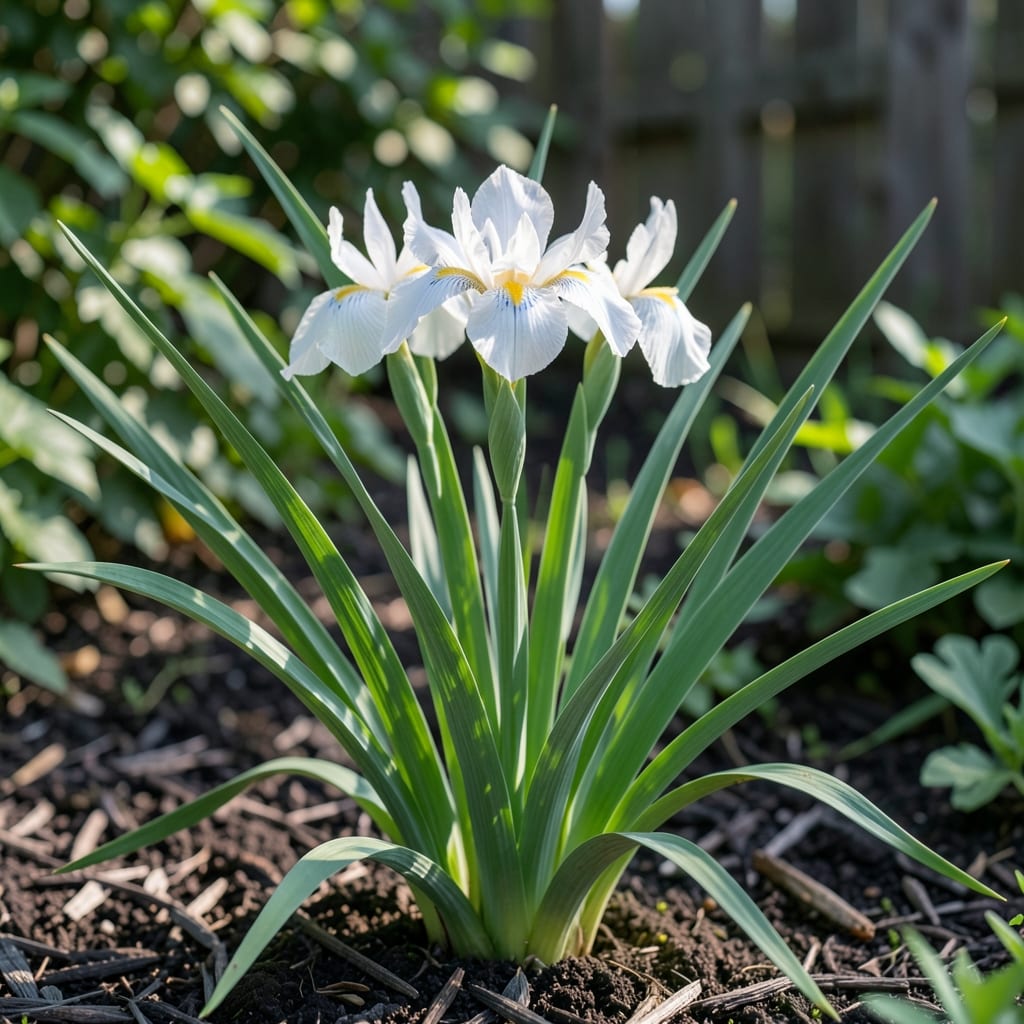
I first saw Iris africana in full bloom last spring—those stunning purple petals against the bright green foliage stopped me in my tracks. It’s not your typical iris, with its unique shape and vibrant color that stands out in any garden.
This plant thrives with minimal fuss. Give it well-draining soil, full sun to partial shade, and it rewards you with weeks of blooms. The best part? It comes back stronger every year with almost no effort on your part.
📚 In This Guide
This method ensures vibrant blooms with minimal fuss, even for first-time growers.
Select a spot with full sun to partial shade, as these irises thrive with at least 6 hours of direct sunlight daily. I’ve found that morning sun with afternoon shade works beautifully in hotter climates. Avoid low-lying areas where water pools, as soggy soil leads to root rot.
The soil should be well-draining and slightly acidic to neutral (pH 6.0-7.0). If your soil is heavy clay, amend it with compost or sand to improve drainage. You’ll know the spot is right when the soil feels loose and crumbly, not sticky or compacted.
Dig a shallow hole, about 2-3 inches deep, and place the rhizome (the thick, root-like structure) partially exposed at the soil surface. This might look odd, but it’s critical—burying it too deep causes the plant to rot. Space rhizomes 12-18 inches apart to give them room to spread.
Backfill the hole and gently firm the soil around the rhizome. Water lightly to settle the soil, but don’t soak it. You’ll see new growth emerge in 2-3 weeks, which confirms the rhizome is establishing well.
Keep the soil evenly moist but never waterlogged during the first growing season. Once established, these irises are quite drought-tolerant. I water deeply once a week, letting the top 1-2 inches of soil dry out between waterings.
Fertilize lightly in early spring with a balanced, low-nitrogen fertilizer (like 6-10-10). Too much nitrogen promotes leafy growth at the expense of flowers. Stop fertilizing by late summer to allow the plant to prepare for dormancy.
Remove spent flower stems after blooming to prevent seed formation, which redirects energy back into the rhizome. However, leave the green foliage intact until it yellows and dies back naturally in late summer. This foliage feeds the rhizome for next year’s blooms.
Divide clumps every 3-4 years if they become overcrowded. You’ll notice reduced flowering when it’s time to divide. Dig up the rhizomes, separate them, and replant the healthy ones, discarding any that are soft or diseased.
In colder climates (USDA zones 5-8), apply a 2-3 inch layer of mulch around the plants in late fall to protect the rhizomes from freeze-thaw cycles. Use straw or pine needles, which allow airflow while insulating the soil. Remove the mulch in early spring as new growth appears.
If your area experiences harsh winters, consider planting the rhizomes in containers and moving them to a sheltered location. This extra step ensures they survive and return with even more stunning blooms the following year.
These practical insights will help you avoid common pitfalls and grow stunning blooms.
The Sunlight Factor: In Step 1, the 6 hours of direct sunlight daily is non-negotiable for vibrant blooms. I’ve noticed that in hotter climates, morning sun with afternoon shade prevents the rhizomes from baking. If your garden gets intense midday heat, consider planting where they’ll get shade after noon.
Planting Depth Matters: For Step 2, resist the urge to bury those rhizomes completely. The partial exposure at the soil surface might look odd, but it prevents rot. I learned this the hard way after losing a few plants to over-enthusiastic planting. Trust me on this.
Watering Wisdom: During the first growing season, keep the soil evenly moist but never soggy. After establishment, these irises are remarkably drought-tolerant. I water deeply once a week, and the top 1-2 inches of soil drying out between waterings is actually ideal. This prevents root rot while encouraging deep root growth.
Winter Protection: In Step 5, that 2-3 inch layer of mulch in late fall is your best defense against freeze-thaw cycles in zones 5-8. Use straw or pine needles—they insulate while allowing airflow. I remove the mulch as soon as new growth appears in early spring to prevent smothering the emerging plants.
Keep the soil well-drained and avoid overwatering. Remove dead foliage promptly and ensure good air circulation. Apply a balanced fertilizer in early spring, and monitor for pests like iris borers or fungal infections.
Plant rhizomes in late summer or early fall, about 6-8 weeks before the first frost. This allows roots to establish before winter. In warmer climates, early spring planting also works well.
Consider other white irises like Iris germanica ‘White City’ or Iris sibirica ‘White Swirl’. Both offer similar elegance and are equally hardy, though bloom times may vary slightly.
Yellowing leaves often signal overwatering, poor drainage, or nutrient deficiencies. Check soil moisture and ensure the planting site has good drainage. A soil test can help identify missing nutrients like nitrogen.