
Beautiful Plants For Your Interior
Beautiful Plants For Your Interior
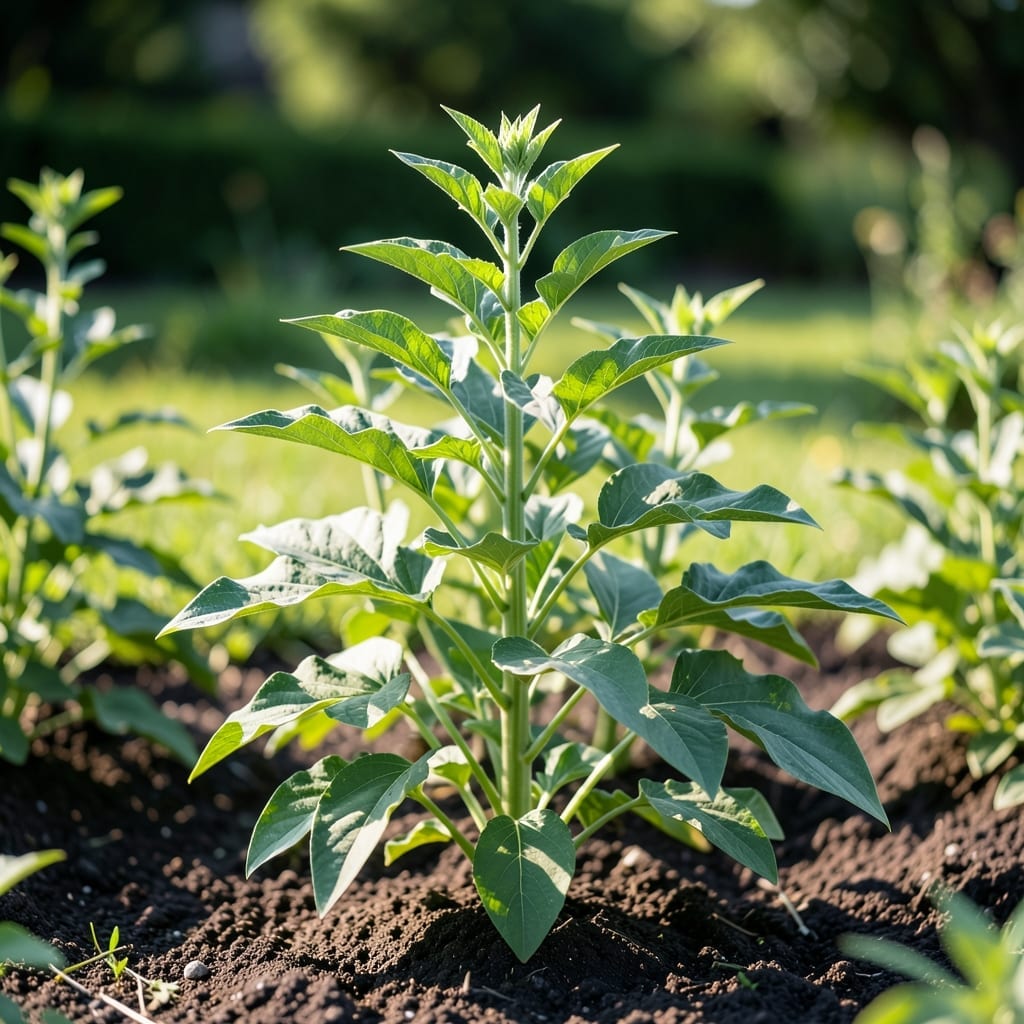
I first grew green amaranth on a whim, not realizing it would become my go-to summer crop. This nutrient-packed leafy green thrives in heat when other plants wilt, filling gaps in my garden with minimal effort.
Plant in warm soil after frost, keep it consistently moist, and you’ll be harvesting tender leaves in 30 days. The more you pick, the more it produces—no complicated care required.
📚 In This Guide
Here’s the method I trust to grow vibrant, nutrient-packed leaves every season without fail.
Select a location with full sun exposure, as amaranth thrives in bright light. The soil should be well-draining and rich in organic matter. I always work in a 2-3 inch layer of compost to improve fertility and structure. Loosen the top 6-8 inches of soil to encourage deep root growth.
Test the soil pH—amaranth prefers a range of 6.0-7.0. If your soil is too acidic, add lime to raise the pH. Avoid heavy clay soils, which can lead to poor drainage and root rot. A raised bed works well if your garden soil is less than ideal.
Plant seeds directly in the garden after the last frost, when soil temperatures reach at least 60°F. Sow seeds ¼ inch deep and space them 1-2 inches apart in rows that are 18-24 inches apart. Amaranth seeds are tiny, so I mix them with a bit of sand to distribute them more evenly.
Water the area gently but thoroughly after planting to ensure good seed-to-soil contact. Keep the soil consistently moist until germination, which typically occurs in 7-10 days. Once seedlings emerge, thin them to 12-18 inches apart to give each plant room to mature.
Water plants regularly, aiming for 1-1.5 inches per week, either from rainfall or irrigation. I water at the base of the plants to keep foliage dry and reduce the risk of disease. Amaranth is relatively drought-tolerant, but consistent moisture leads to the most tender, flavorful leaves.
Fertilize lightly with a balanced, water-soluble fertilizer every 3-4 weeks to encourage steady growth. Avoid over-fertilizing, as this can lead to excessive leafy growth at the expense of the plant’s overall health. Mulch around the base of the plants to retain moisture and suppress weeds.
Begin harvesting leaves when plants are 6-8 inches tall, usually 4-6 weeks after sowing. Use clean, sharp scissors to snip off the top 4-6 inches of the plant, just above a set of leaves. This encourages bushier growth and more leaf production.
Harvest in the morning for the best flavor and texture. Regular harvesting keeps the plant productive and prevents it from bolting to seed too quickly. If you notice flower buds forming, pinch them off to extend the leafy growth phase. With proper care, amaranth can produce leaves for 8-10 weeks or more.
Small details make the difference between a struggling patch and a thriving harvest of tender leaves.
Soil Temperature Insight: That 60°F minimum in Step 1 isn’t just a suggestion—it’s critical for germination. Planting in cooler soil causes seeds to rot or sprout unevenly. I use a soil thermometer to verify before sowing, especially in early spring when air temps might be warm but soil still lags behind.
Seed Depth Precision: At ¼ inch deep in Step 2, the seeds have just enough coverage to stay moist but shallow enough to emerge quickly. Any deeper and they may exhaust their energy reserves before reaching the surface. Press the soil gently after planting to eliminate air pockets that could dry out the seeds.
Thinning Strategy: When seedlings hit 2-3 inches tall in Step 3, don’t hesitate to thin aggressively. Crowded plants produce weak, spindly stems. I find it easier to thin when the soil is damp and use small scissors to avoid disturbing neighboring roots.
Harvest Timing: The 6-8 weeks mentioned in Step 4 is when plants reach 12-18 inches tall—this is your sweet spot for the most tender leaves. Harvesting too early yields small amounts, while waiting too long leads to tougher, more fibrous leaves as the plant matures toward seed production.
Yes! Young, tender green amaranth leaves are edible raw and add a mild, spinach-like flavor to salads. Ensure they’re thoroughly washed to remove dirt or pests. Older leaves may be tough or bitter, so cooking is recommended.
Water consistently to keep the soil moist but not soggy, especially during dry spells. Aim for 1-2 inches of water per week. Overwatering can lead to root rot, so ensure proper drainage.
If unavailable, try spinach, Swiss chard, or lamb’s quarters as substitutes. These greens offer similar textures and nutrients, making them great for salads, stir-fries, or soups.
Yellowing leaves may signal overwatering, nutrient deficiencies (like nitrogen), or pests. Check soil moisture, fertilize if needed, and inspect for insects like aphids. Prune affected leaves to encourage new growth.