
Beautiful Plants For Your Interior
Beautiful Plants For Your Interior
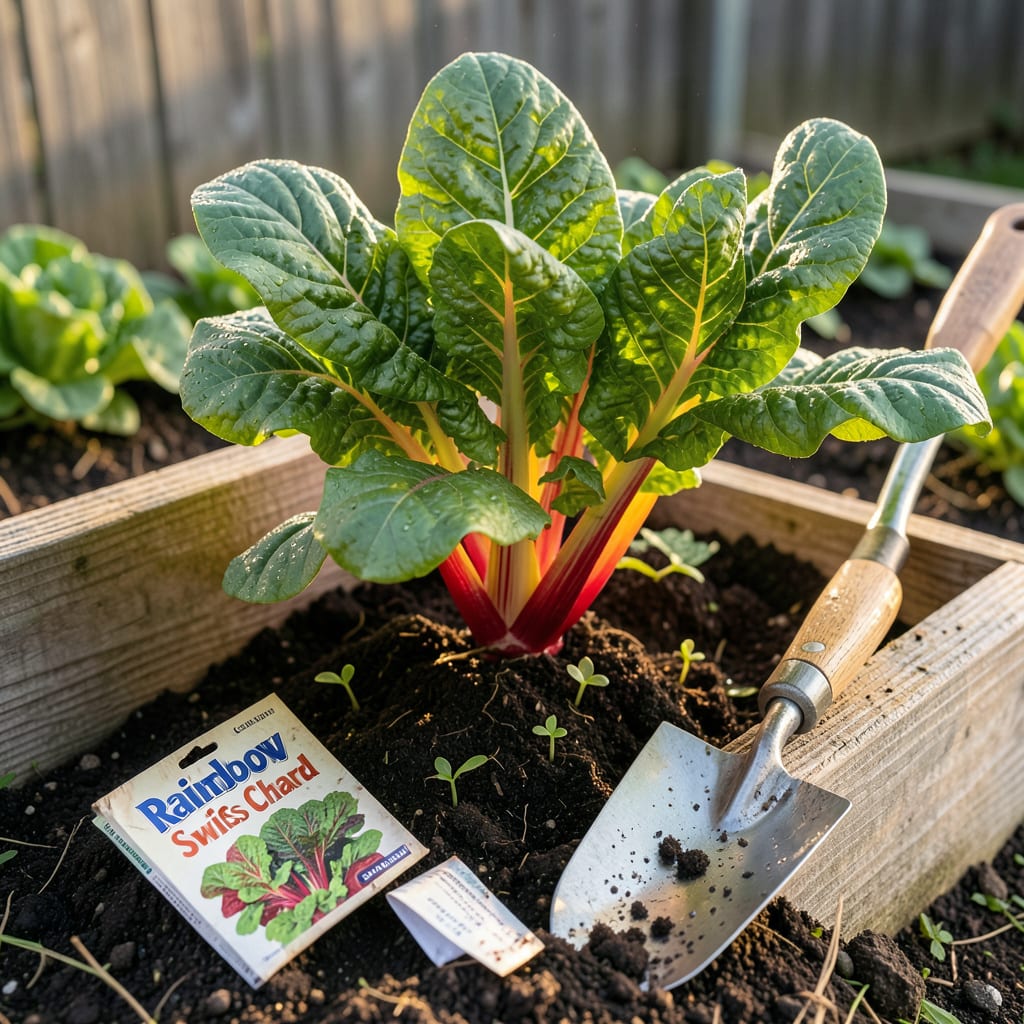
If you’ve ever tasted homegrown Swiss chard, you know store-bought versions can’t compare. The secret? Perfect timing—especially in Zone 9, where our mild winters and warm summers create unique opportunities (and challenges).
I’ve spent seasons refining the ideal planting windows for this nutrient-packed green. Whether you’re aiming for a fall bounty or a spring harvest, nailing the schedule means sweeter leaves and longer production. Let’s break down exactly when to get those seeds in the ground.
If you’re gardening in Zone 9, you’re in luck—Swiss chard thrives here almost year-round. The key is working with our mild winters and hot summers. I’ve found the best planting windows are fall and late winter, when temperatures stay between 40°F–85°F. Plant too late in spring, and you’ll battle bolting as summer heat arrives.
Zone 9 gardeners can actually grow Swiss chard as both a cool-season and warm-season crop. The secret? Start seeds in September–October for winter harvests, then again in February–March for spring crops. Avoid July–August plantings unless you’re using shade cloth—the heat stresses plants and turns leaves bitter.
| Season | Planting Window | Harvest Time | Key Notes |
|---|---|---|---|
| Fall | September–October | November–February | Best for winter harvests; plant 6-8 weeks before first frost |
| Winter | December–January | March–April | Use row covers if temps dip below 40°F |
| Spring | February–March | May–June | Avoid late plantings—heat causes bolting |
| Summer | Not recommended | N/A | Use 30% shade cloth if attempting June plantings |
For fall planting, I start seeds in early September so plants establish before winter. Swiss chard handles light frosts, but young seedlings need protection. A thick mulch layer helps regulate soil temperature. If you miss the fall window, February plantings work well—just watch for unexpected late frosts.
The soil temperature sweet spot is 50°F–85°F. In Zone 9, that means you can direct-sow nearly year-round, but I avoid July–August unless I’m growing heat-tolerant varieties like ‘Bright Lights’ or ‘Rhubarb Chard’. These handle our summer heat better than standard varieties.
Spacing matters too! Plant seeds ½ inch deep and 6–12 inches apart in rows. Thin to 12–18 inches for mature plants. Crowding leads to smaller leaves and disease issues. I use a soil thermometer to check temps—if it’s below 50°F, I wait or use row covers to warm the soil.
One trick I swear by: succession planting. Sow a new batch every 3–4 weeks from September to March. This ensures a continuous harvest. For example, I plant in early September, then again in late October, and finally in February for a spring crop.
Remember, Swiss chard is a biennial, but we grow it as an annual. In Zone 9, it often survives winter and bolts the following spring. If you see a flower stalk forming, harvest immediately—the leaves turn bitter once bolting starts. I pull and compost bolting plants to make room for new seedlings.
For container gardeners, Swiss chard does well in 12-inch-deep pots. Use a well-draining potting mix and keep soil moist but not soggy. Containers dry out faster in our Zone 9 heat, so I check moisture daily during summer. A drip irrigation system on a timer saves time and prevents over/under-watering.
Finally, don’t forget soil prep. Swiss chard loves compost-rich soil with a pH of 6.0–7.0. I work in a 2-inch layer of compost before planting and side-dress with balanced fertilizer (10-10-10) every 4–6 weeks. This keeps leaves tender and flavorful, not tough or bitter.
Growing Swiss chard in Zone 9 means you can enjoy fresh greens nearly year-round—if you play your cards right. I’ve found that the difference between a mediocre harvest and a bumper crop often comes down to a few simple tricks. Let’s dive into my top strategies for keeping your Swiss chard thriving longer.
First, succession planting is your best friend in Zone 9. Instead of sowing all your seeds at once, stagger plantings every 3–4 weeks from September through March. This ensures you always have young plants coming up as older ones mature or bolt. I like to mark my calendar with reminders for September 1st, October 15th, and February 1st plantings.
Another game-changer is mulching. I apply a 2–3 inch layer of straw or shredded leaves around my Swiss chard. This keeps soil moist, suppresses weeds, and regulates temperature—critical in Zone 9’s fluctuating climate. In winter, mulch protects roots from rare cold snaps; in summer, it prevents soil from overheating.
Don’t overlook container gardening if your in-ground space is limited. Swiss chard grows beautifully in 12-inch-deep pots or grow bags. I use a mix of 60% potting soil and 40% compost for containers. The key is consistent watering—potted plants dry out faster, especially in our Zone 9 winds. A drip tray underneath helps maintain moisture without waterlogging.
Watch for pests like leaf miners and aphids, which love Swiss chard. I spray plants with a neem oil solution (1 tbsp neem oil + 1 tsp dish soap per gallon of water) every 2 weeks as a preventive. If I spot leaf miner trails, I remove affected leaves immediately to stop the cycle. Floating row covers work wonders for organic pest control too.
Finally, test your soil pH before planting. Swiss chard prefers a range of 6.0–7.0. If your soil is too acidic (common in Zone 9), work in garden lime a few weeks before planting. If it’s alkaline, amend with peat moss or sulfur. I test my soil every spring and fall—it’s the easiest way to prevent nutrient deficiencies that lead to poor growth.
Zone 9 gardeners have a year-round salad bar at their fingertips—but timing is everything. While Swiss chard is a star, other greens like kale, spinach, and collards offer different flavors and heat tolerances. Let’s compare when to plant each for a nonstop harvest calendar.
Swiss chard shines in Zone 9 because it handles both cool and warm weather, unlike spinach, which bolts quickly in heat. I plant chard in September–March for continuous harvests, while spinach gets a shorter October–February window. Kale, however, is nearly as versatile as chard, thriving from fall through spring.
| Green | Best Planting Window | Heat Tolerance | Days to Harvest | Flavor Profile |
|---|---|---|---|---|
| Swiss Chard | Sept–March | High (to 85°F) | 50–60 | Mild, earthy, slightly sweet |
| Kale | Oct–Feb | Moderate (to 80°F) | 55–75 | Peppery, robust, chewy |
| Spinach | Oct–Jan | Low (bolts at 75°F) | 40–50 | Delicate, sweet, tender |
| Collards | Sept–Feb | High (to 90°F) | 60–80 | Bold, slightly bitter, hearty |
For summer greens, Swiss chard and collards are your best bets in Zone 9. I’ve had success with ‘Bright Lights’ chard under 30% shade cloth, while collards like ‘Champion’ handle full sun. Spinach and kale, however, are cool-season only—they’ll bolt by May.
If you love tender baby greens, spinach is your go-to, but it requires faster succession planting (every 3 weeks) since it matures quickly. Swiss chard, on the other hand, keeps producing for 6–8 months with proper care. I interplant them: spinach in October and December, chard in September and February.
For container gardeners, Swiss chard and kale adapt best to pots. Spinach needs shallow but wide containers, while collards require deeper roots (18+ inches). My pro tip? Mix chard and kale in the same pot—they have similar water and light needs, and their flavors complement each other in dishes.
Watch for pest pressure: spinach attracts leaf miners, while kale and collards lure cabbage worms. Swiss chard is relatively pest-resistant, but aphids love its tender stems. I rotate crops yearly to break pest cycles—never plant greens in the same spot twice in a row. A neem oil spray every 2 weeks keeps most issues at bay.
Almost! Swiss chard thrives in Zone 9 from September through May. The only challenging months are June–August due to extreme heat. Use 30% shade cloth and heat-tolerant varieties like ‘Bright Lights’ for summer success.
In Zone 9, water deeply every 3–5 days during cooler months. Increase to every 2–3 days in summer heat. Always water in the early morning to reduce evaporation and prevent fungal issues.
To avoid bolting, plant in fall (September–October) or late winter (February–March). Avoid late spring plantings when temperatures exceed 85°F. Use shade cloth if growing into summer.
Use containers at least 12 inches deep with well-draining soil. Space plants 6–8 inches apart and keep soil consistently moist. Containers dry out faster, so check moisture daily in hot weather.
Harvest when leaves reach 6–8 inches tall and stems are firm. Use the cut-and-come-again method: snip outer leaves 1–2 inches above soil to encourage regrowth. Avoid harvesting more than 1/3 of the plant at once.
