
Beautiful Plants For Your Interior
Beautiful Plants For Your Interior
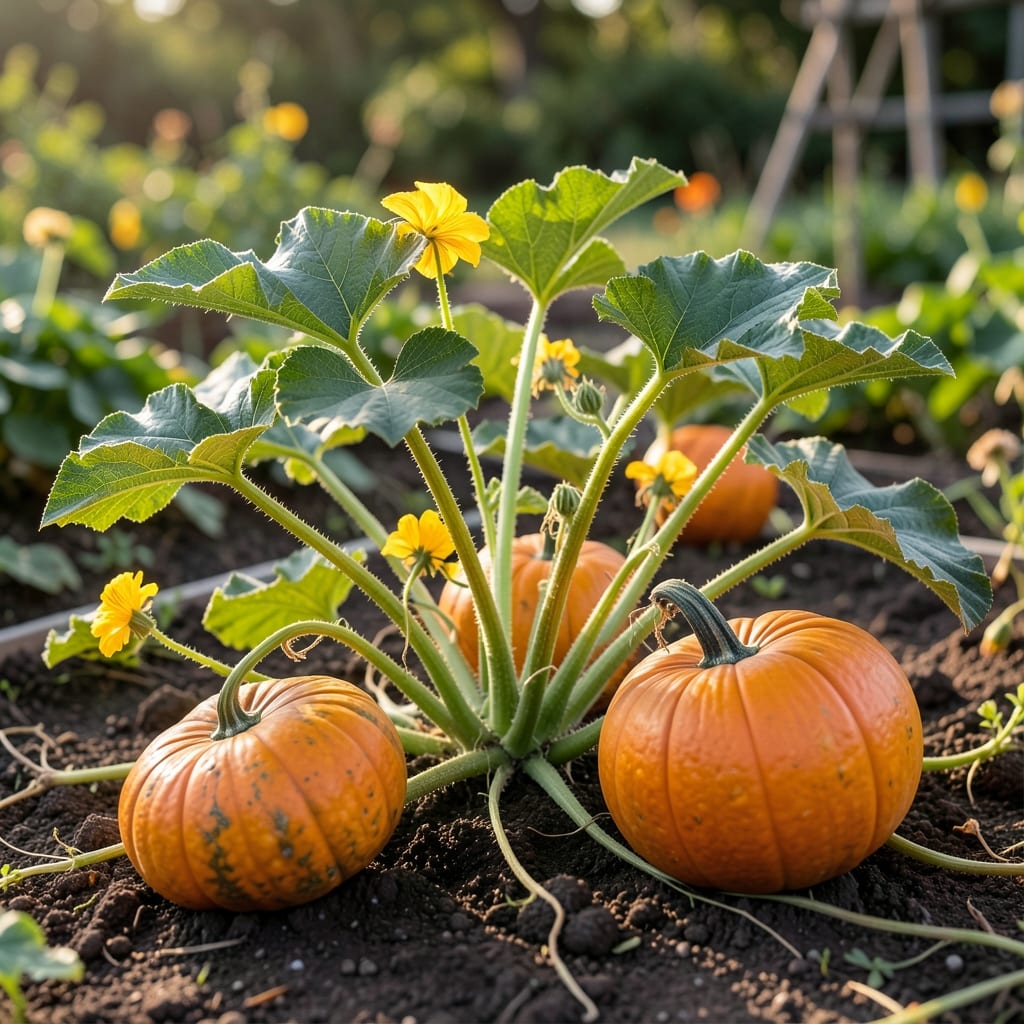
Those massive leaves aren’t just for shade—they’re the engine of your pumpkin vine. I learned the hard way that neglecting them means smaller fruits and weaker plants.
Healthy foliage means bigger harvests and disease resistance. With the right care, your vines will spread fast, leaves will stay vibrant green, and you’ll spot problems before they take over.
📚 In This Guide
Healthy vines start with strong leaves—here’s how to grow them right from the beginning.
Choose a location with full sun (at least 6-8 hours of direct light daily) and well-draining soil. I always test drainage by digging a 1-foot hole and filling it with water—if it drains within 1 hour, you’re good. Work in 2-3 inches of compost to boost fertility and improve soil structure.
Pumpkin vines spread aggressively, so space plants 4-6 feet apart to allow airflow and prevent disease. Remove any weeds or debris that might compete for nutrients. A slightly raised mound (about 6 inches high) helps with drainage and warms the soil faster in spring.
Sow seeds 1 inch deep in hills of 3-4 seeds, spacing hills 5-6 feet apart. If using seedlings, plant them at the same depth they were in their containers—burying the stem too deeply can cause rot. Water immediately after planting to settle the soil around the roots.
Keep the soil consistently moist but not soggy. You’ll see sprouts emerge in 5-10 days if the soil stays at 70-85°F. If temperatures drop below 60°F, germination slows dramatically, so use black plastic mulch to retain heat if needed.
Once vines establish, water deeply 1-2 times per week, ensuring the soil stays evenly moist but never waterlogged. I use a soaker hose to deliver water directly to the roots and avoid wetting the leaves, which can invite fungal issues. Aim for 1-2 inches of water weekly, adjusting for rainfall.
Feed with a balanced fertilizer (10-10-10) every 2-3 weeks once the first true leaves appear. Switch to a low-nitrogen, high-phosphorus formula when flowers form to encourage fruit production. Yellowing leaves often signal a nitrogen deficiency—adjust your feeding schedule if you notice this.
Inspect the undersides of leaves weekly for pests like aphids or squash bugs. I’ve found that a strong spray of water can dislodge aphids, while hand-picking works for larger pests. Neem oil is effective for early infestations but avoid applying it in full sun to prevent leaf burn.
Powdery mildew appears as white spots on leaves and thrives in humid conditions. Space plants properly and water at the base to reduce humidity around foliage. If you spot mildew, remove affected leaves immediately and apply a fungicide if the problem persists.
Pinch off the first few flowers to direct the plant’s energy into leaf and vine production. This delays fruiting slightly but results in stronger, more vigorous plants. Remove any yellow or damaged leaves as soon as you notice them—they’re no longer contributing to photosynthesis and can attract pests.
Train vines to grow in a specific direction if space is limited, but avoid bending them sharply, as this can restrict sap flow. Healthy leaves are deep green, firm, and free of spots or holes—if yours aren’t, revisit your watering, feeding, or pest control practices.
Here’s how to avoid the most common pitfalls when growing healthy pumpkin leaves.
Sunlight Essentials: Those 6-8 hours of daily full sun aren’t negotiable—pumpkin vines will stretch and weaken in shade. I learned this the hard way when my first attempt produced spindly, pale leaves. If your garden has partial shade, prioritize morning sun, which is less intense and helps prevent leaf scorch.
Drainage Test: The 1-hour drainage test in Step 1 works because pumpkin roots rot quickly in soggy soil. If your hole doesn’t drain within an hour, consider amending with sand or planting in a raised bed. A slightly raised mound, as mentioned, warms the soil faster in spring, giving seeds a head start.
Temperature Matters: Soil temperature between 70-85°F is critical for germination within 5-10 days. Below 60°F, seeds may sit dormant or rot. Black plastic mulch is a game-changer in cooler climates—it can raise soil temperature by 5-10°F and suppress weeds that compete with seedlings.
Watering Wisdom: The 1-2 inches of water weekly in Step 3 should be delivered at soil level to keep foliage dry. I use a soaker hose on a timer to maintain consistency, especially during dry spells. Overhead watering not only wastes water through evaporation but also invites fungal diseases like powdery mildew.
Yes! Young, tender field pumpkin leaves can be eaten raw in salads. Older leaves may be tough or bitter, so cook them lightly for best flavor. Always wash thoroughly to remove dirt or pests.
Harvest leaves in the morning when they’re crisp and full of moisture. Pick younger leaves for tenderness, ideally before the plant starts producing fruit for optimal flavor.
Spinach, kale, or Swiss chard make great substitutes. They share a similar texture and mild flavor, though pumpkin leaves have a unique earthy taste.
Yellow leaves often signal overwatering, nutrient deficiencies (like nitrogen), or pests. Check soil moisture and fertilize if needed. Remove affected leaves to prevent spread.