
Beautiful Plants For Your Interior
Beautiful Plants For Your Interior
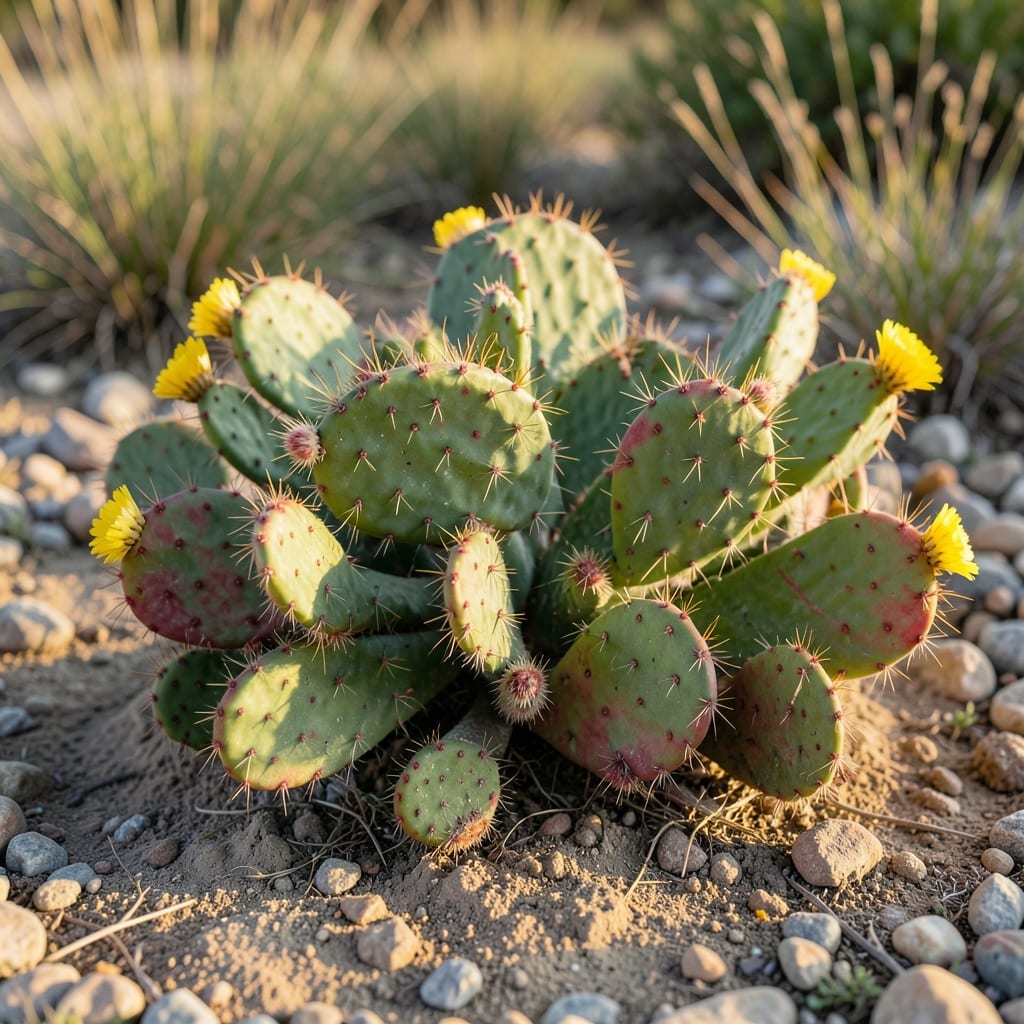
I fell for Dr. Wyche’s Yellow the first time I bit into its sunshine-sweet flesh. This heirloom tomato delivers a taste you won’t find in stores, with a color that brightens any garden.
It thrives with basic care: full sun, consistent water, and rich soil. The vines grow vigorous, producing 1-pound fruits that ripen to a stunning golden hue. Perfect for gardeners who love unique flavors and eye-catching displays.
📚 In This Guide
This method delivers reliable results every season if you follow the timing and care cues closely.
Choose a spot with full sun exposure—this variety thrives with at least 6-8 hours of direct sunlight daily. I always scout the area mid-morning to confirm no buildings or trees cast long shadows. The soil should drain well; if water pools after rain, amend with compost to loosen the structure.
Test drainage by digging a 12-inch deep hole and filling it with water. If it empties within 4 hours, the location is suitable. Avoid low-lying areas where cold air and excess moisture collect, as this leads to root rot and stunted growth.
Work the soil to a depth of 12-15 inches, removing rocks, weeds, and debris. I mix in a 2-3 inch layer of aged compost to enrich the soil without overwhelming the plant. This variety prefers slightly acidic to neutral soil, so a simple pH test can confirm you’re in the 6.0-7.0 range.
Rake the surface smooth and create slight mounds or ridges if your area experiences heavy rainfall. This prevents water from pooling around the base. Water the prepared bed lightly the day before planting to settle the soil and activate the compost.
Dig holes twice as wide as the root ball but no deeper—planting too deep suffocates the stem. Space each plant 18-24 inches apart to allow air circulation and reduce disease risk. I always place a stake or marker next to each hole to track progress and avoid disturbing the roots later.
Gently tease the roots if they’re bound, then position the plant so the top of the root ball sits 1 inch above the surrounding soil. This prevents settling that can bury the stem. Backfill with native soil, pressing lightly to remove air pockets, then water deeply to settle everything in place.
Water deeply at the base 2-3 times per week for the first 4-6 weeks until the plant establishes. The goal is 1-1.5 inches of water weekly, including rainfall. I check the soil by inserting my finger 2 inches deep—if it feels dry, it’s time to water.
Reduce frequency once the plant matures but increase during extreme heat. Always water in the early morning to minimize evaporation and prevent fungal issues. Mulch with a 2-3 inch layer of organic material to retain moisture and suppress weeds, keeping it 3 inches away from the stem to avoid rot.
Apply a balanced, slow-release fertilizer 6-8 weeks after planting to encourage vibrant growth. I use 1 tablespoon per plant, sprinkled around the base and lightly worked into the soil. Avoid over-fertilizing, which can lead to excessive foliage at the expense of blooms.
Watch for first signs of new growth, typically within 2-3 weeks after planting. Yellowing leaves may indicate nutrient deficiency or overwatering, while wilting often signals underwatering or root stress. Adjust care as needed and remove any damaged foliage promptly to redirect energy to healthy growth.
Small details make the biggest difference in getting this variety to thrive.
Sunlight Strategy: The 6-8 hours of direct sunlight daily isn’t just a suggestion—it’s critical for vibrant growth. I learned the hard way that morning shade can leave plants leggy and weak. Scout your space at different times of day to confirm consistent sun exposure before committing to a spot.
Drainage Test: That 4-hour drainage test in Step 1 saves more headaches than you’d think. If your hole doesn’t empty in time, consider raised beds or amending with extra compost. I’ve seen plants struggle for weeks in poorly draining soil, while properly prepped spots show first signs of new growth right around 2-3 weeks as promised.
Planting Precision: When planting in Step 3, that 1 inch above soil level detail prevents so many issues. I’ve buried stems by accident before, and the plants never recovered. Also, the 18-24 inches apart spacing isn’t just for looks—it ensures air circulation that keeps fungal problems at bay.
Watering Wisdom: During those first 4-6 weeks, stick to the 2-3 times per week schedule religiously. It’s tempting to water daily, but overdoing it leads to root rot. The 2 inches deep finger test is foolproof—I still use it for all my plants, not just this variety.
Dr. Wyche’s Yellow is typically caused by a fungal infection, often due to excessive moisture or poor drainage. It manifests as yellowing leaves and stunted growth. Proper airflow and soil management can help prevent it.
Remove infected leaves and improve drainage. Apply a fungicide like copper-based sprays, and avoid overhead watering. Consistent care and early intervention are key to recovery.
Yes! Neem oil, baking soda solutions, or garlic sprays can be effective natural treatments. These are gentler on plants and the environment but may require more frequent application.
Treat at the first sign of yellowing or fungal spots, ideally in the early morning or late afternoon. Avoid applying treatments during extreme heat or right before rain.
Persistent yellowing may indicate nutrient deficiencies, overwatering, or root rot. Check soil pH, adjust watering habits, and ensure proper drainage. If symptoms continue, test for other diseases.