
Beautiful Plants For Your Interior
Beautiful Plants For Your Interior
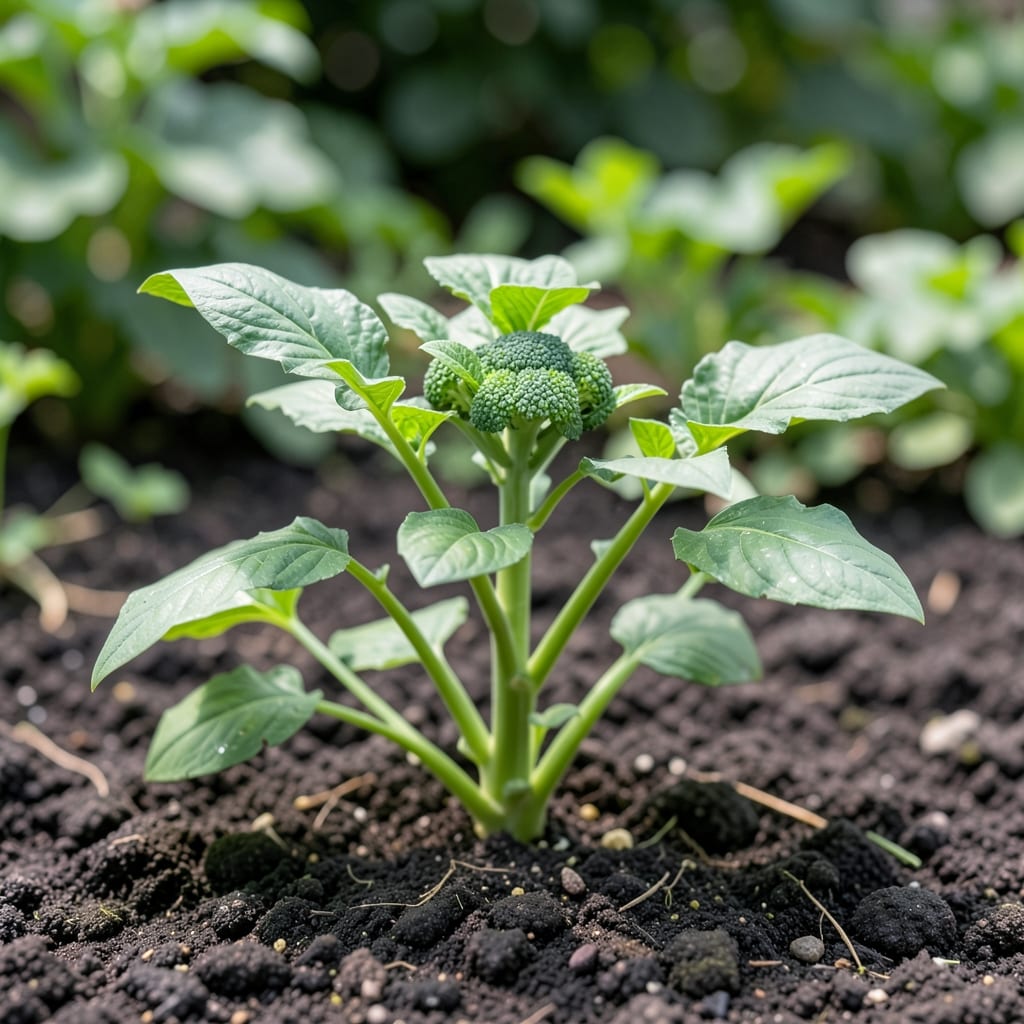
Those first round leaves on broccoli seedlings aren’t the real deal. True leaves appear after the initial cotyledons, looking more like the mature plant with jagged edges and that classic broccoli green.
This stage means your plants are ready for stronger light and a bit more water. I’ve found seedlings with 4-6 true leaves handle transplanting best, giving you a head start on a foolproof harvest.
📚 In This Guide
Here’s how I grow broccoli for its delicious leaves—simple, reliable, and perfect for beginners.
Begin with fresh seeds or healthy transplants. If sowing directly, plant seeds ½ inch deep and 2 inches apart in well-draining soil. I always soak seeds for 2 hours first to speed up germination. Keep the soil consistently moist but not soggy—you should see sprouts in 5-10 days.
For transplants, dig holes slightly larger than the root ball and space them 18 inches apart. Gently firm the soil around the base, then water deeply to settle everything. Avoid burying stems too deep, as this can rot the plant. You’ll know the soil is moist enough when it feels like a wrung-out sponge.
Broccoli thrives in full sun (at least 6 hours daily) but tolerates partial shade in hotter climates. I place mine in a spot that gets morning sun and afternoon shade to prevent bolting. Keep the soil consistently moist—water at the base when the top inch feels dry.
Fertilize lightly with a balanced, organic fertilizer every 3-4 weeks. Too much nitrogen leads to excessive leafy growth but weak stems. Watch for pests like cabbage worms—handpick them early or use row covers. Healthy plants have deep green leaves and sturdy stems.
To harvest true leaves, let the plant grow for 4-6 weeks until it has 6-8 large, mature leaves. These leaves are tender and flavorful, perfect for salads or sautéing. I start picking the outer leaves first, leaving the center to continue growing. This encourages bushier growth and more leaves over time.
Avoid harvesting more than one-third of the leaves at once to prevent stressing the plant. If you notice yellowing or wilting, check for overwatering or nutrient deficiencies. The leaves should feel firm and crisp when ready to pick.
Once the main head begins forming, keep harvesting the outer leaves to redirect energy to foliage rather than flowers. I pinch off any small side shoots that appear early to focus growth on the leaves. Regular harvesting keeps the plant productive and compact.
If the plant starts bolting (stems elongating), cut it back by one-third to encourage new leaf growth. This can extend your harvest by 2-3 weeks. Always use clean shears to avoid spreading disease. The plant will signal it’s done when leaves turn bitter or stems become woody.
Small adjustments make a big difference when growing these greens at home.
Light Distance Matters: Maintain that 2-4 inch gap between your grow lights and seedlings as mentioned in Step 3. I learned the hard way that stretching beyond 4 inches causes weak, leggy growth. Adjust the light height weekly as plants grow taller to keep this precise range.
Temperature Sweet Spot: The 65-75°F range in Step 2 isn’t just a suggestion—it’s critical for consistent germination. Below 65°F, seeds take longer to sprout, and above 75°F can stress the young plants. A seedling heat mat helps maintain this exact range in cooler homes.
Harvesting Strategy: When you reach Step 5 and start harvesting those 3-4 inch leaves, always remove the outer ones first. This encourages new growth from the center while keeping the plant productive. Never harvest all leaves at once—always leave 2-3 leaves as the instructions specify to sustain the plant.
Seed Depth Precision: Planting seeds exactly ¼ inch deep in Step 1 is crucial. Any shallower and they may dry out; any deeper and they’ll struggle to emerge. Use the eraser end of a pencil to create consistent planting holes at this exact depth.
True leaves appear after the initial seed leaves (cotyledons) and look like miniature broccoli leaves with a distinct, jagged shape. They’re darker green and more textured than the smooth, round cotyledons.
Harvest when leaves are 4-6 inches long, usually 3-4 weeks after germination. Pick outer leaves first to encourage continued growth. Avoid waiting too long, as they can turn bitter.
Yes! Young true leaves are tender and mild, perfect for salads or sandwiches. Older leaves may taste bitter, so blanch or sauté them for a milder flavor.
Yellowing often signals overwatering, nutrient deficiency (like nitrogen), or pests. Check soil moisture, fertilize if needed, and inspect for aphids or disease.
Kale, collard greens, or Swiss chard make great alternatives. They offer a similar texture and nutrient profile, though flavors may vary slightly.