
Beautiful Plants For Your Interior
Beautiful Plants For Your Interior
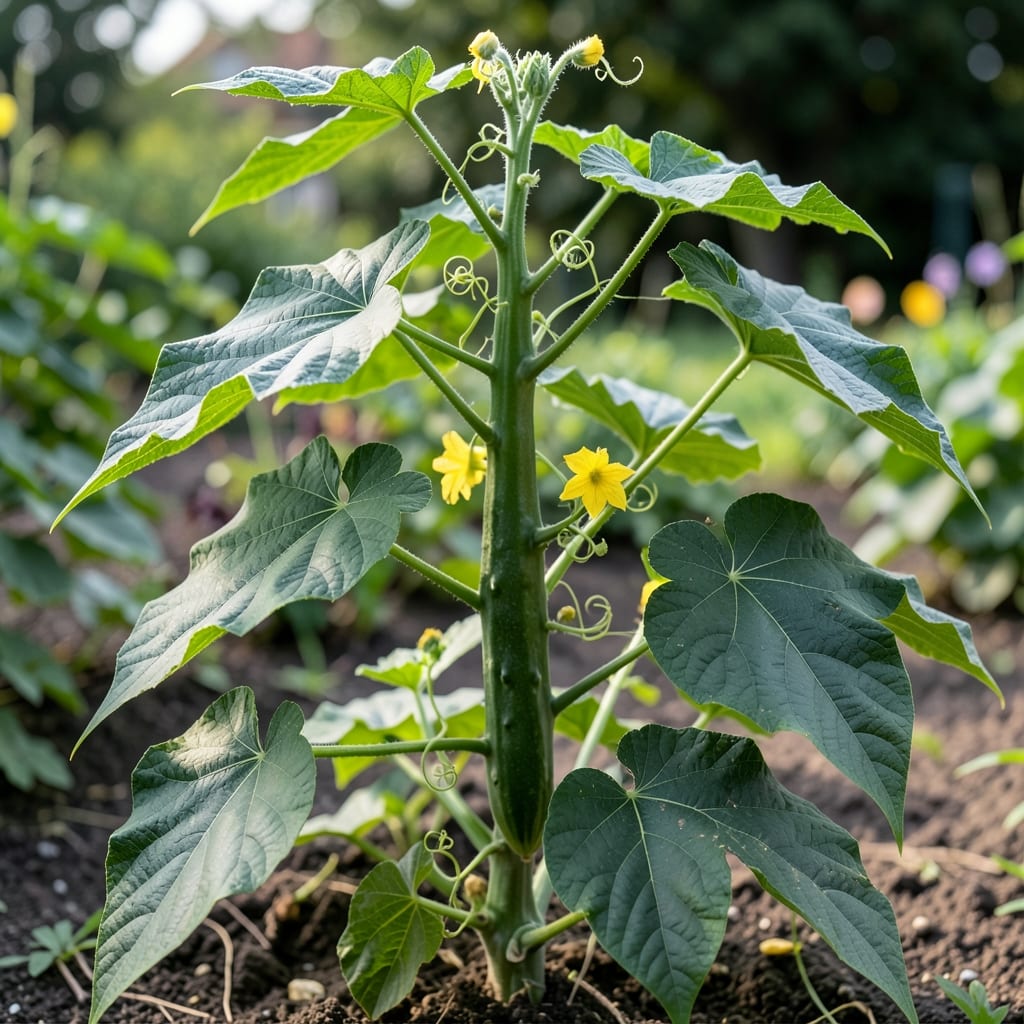
Bitter gourd vines reward you with vigorous growth and healthy foliage when given the right start. I learned the hard way that these plants demand consistent moisture and protection from harsh winds.
With proper care, the leaves develop deep green color and robust texture. The key is watching for early signs of stress—yellowing, curling, or spots—before they spread to the entire vine.
📚 In This Guide
Here’s the method I use to keep bitter gourd plants thriving with lush, healthy leaves.
Bitter gourd plants need full sun (at least 6-8 hours daily) and warm temperatures between 75-85°F to grow strong leaves. I plant mine in a spot where they get direct morning light, as this prevents leaf scorch during the hottest part of the day.
Soil should be well-draining and rich in organic matter. I mix compost into the bed before planting to ensure the roots have access to nutrients. If the soil stays soggy, the leaves will yellow and drop, so avoid waterlogged areas.
Keep the soil evenly moist but not waterlogged. I water deeply at the base of the plant in the early morning, allowing the top 1-2 inches of soil to dry out between waterings. This prevents fungal issues that can damage the leaves.
Overhead watering can lead to powdery mildew, which shows up as white spots on the leaves. If you must use a sprinkler, do it early in the day so the foliage has time to dry before evening.
A balanced fertilizer (10-10-10 or similar) applied every 3-4 weeks keeps the leaves vibrant and disease-resistant. I prefer organic options like fish emulsion or compost tea, as they’re gentler on the plants and won’t burn the foliage.
Watch for signs of deficiency—pale or yellowing leaves often mean the plant needs nitrogen. If this happens, I switch to a higher-nitrogen fertilizer temporarily to correct the issue.
Pruning the vines encourages better airflow, which is critical for healthy leaves. I remove any crowded or crossing branches, especially near the center of the plant, to reduce humidity buildup. This simple step prevents fungal diseases from taking hold.
Use a trellis to keep vines off the ground. This not only saves space but also improves air circulation around the leaves, reducing the risk of pests and diseases.
Check the leaves weekly for signs of trouble—holes, spots, or sticky residue can indicate pests like aphids or spider mites. I spray the leaves with a mild soap solution or neem oil at the first sign of infestation to keep it from spreading.
If you notice powdery mildew or downy mildew, remove the affected leaves immediately and avoid watering late in the day. Consistent airflow and proper spacing between plants are your best defenses.
These practical strategies will help you avoid common pitfalls when growing bitter gourd leaves.
Sunlight Essentials: The 6-8 hours of daily sun mentioned in Step 1 isn’t just a suggestion—it’s critical. I’ve noticed plants getting less than this produce sparse, pale leaves. Morning sun is particularly valuable as it’s less intense, reducing the risk of leaf scorch while still providing the energy needed for robust growth.
Watering Wisdom: In Step 2, the advice to let the top 1-2 inches of soil dry between waterings is your best defense against root rot. I use my finger to test the soil depth—if it feels dry at the 2-inch mark, it’s time to water. This simple check prevents both underwatering and overwatering, which are the most common causes of leaf stress.
Pruning Perfection: When Step 4 mentions removing crowded branches, focus on the plant’s center first. This is where humidity builds up most, creating the perfect environment for fungal diseases. I make it a habit to check for crossing branches weekly, especially during rapid growth periods.
While bitter gourd leaves are edible, it’s safer to cook them first to reduce bitterness and potential toxins. Light steaming or sautéing enhances flavor and digestibility. Always wash them thoroughly before use.
Yellowing leaves often signal overwatering, nutrient deficiency, or pest issues. Check soil moisture, ensure proper drainage, and inspect for pests like aphids. Adjust care routines accordingly.
Harvest young, tender leaves in the morning for peak freshness. Avoid picking older, tougher leaves. Regular harvesting encourages new growth and maintains plant health.
Yes! Bitter gourd leaves are used in traditional medicine for blood sugar regulation and detox. Brew them into tea or blend into juices, but consult a healthcare provider before use.
Holes likely indicate pest damage. Spray with neem oil or insecticidal soap, and remove heavily affected leaves. Keep the area clean to deter pests naturally.