
Beautiful Plants For Your Interior
Beautiful Plants For Your Interior
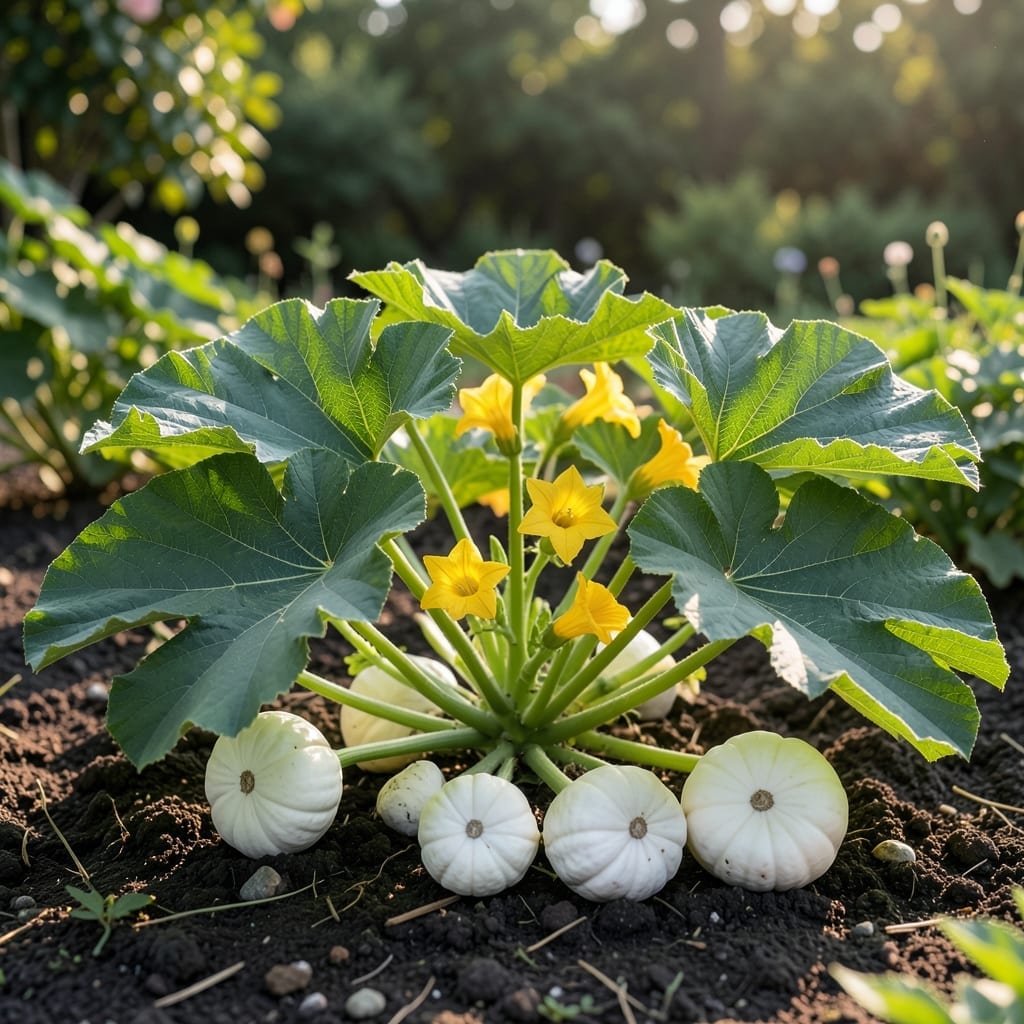
I fell in love with white flat squash the first time I grew it. These unique, disc-shaped beauties thrive with minimal fuss and deliver a surprisingly mild, nutty flavor that’s hard to resist.
With the right soil, consistent watering, and a little attention to pests, you’ll be harvesting bountiful crops all season. They’re perfect for small gardens or containers, and they grow fast once they get going.
📚 In This Guide
Here’s the method I trust to produce perfect, uniform white flat squash every time.
Choose a location with full sun exposure for at least 6-8 hours daily. White flat squash thrives in warm, well-draining soil, so I amend the bed with 2-3 inches of aged compost worked into the top 6-8 inches of native soil. This boosts fertility while maintaining the loose structure roots need to expand.
Test soil pH—aim for 6.0-6.8. If it’s too acidic, work in 1 cup of garden lime per 10 square feet. The soil temperature should be at least 60°F before planting; use a soil thermometer to confirm. Planting in cold soil delays germination and invites rot.
Sow seeds 1 inch deep and 2-3 feet apart in rows spaced 4-5 feet apart. If using transplants, set them at the same depth they were growing in their containers. I plant 2-3 seeds per hole and thin to the strongest seedling once first true leaves appear.
Water immediately after planting with 1-2 inches of water to settle the soil around the seeds or roots. Avoid overhead watering to prevent fungal issues—direct the stream at the base of the plant. You’ll see germination in 7-10 days if soil conditions are optimal.
White flat squash requires consistent moisture, especially during fruit development. I water deeply 1-2 times per week, providing 1-1.5 inches of water total, depending on rainfall. The goal is to keep soil evenly moist but not waterlogged—soil should feel damp but not muddy to the touch.
Begin fertilizing when vines start to run with a balanced, water-soluble fertilizer, applied every 2-3 weeks. I switch to a low-nitrogen formula once flowering begins to encourage fruit production over leafy growth. Watch for yellowing leaves, which often signals a nutrient deficiency.
Inspect plants weekly for signs of squash bugs, cucumber beetles, or powdery mildew. I handpick pests early in the morning when they’re sluggish and drop them into soapy water. For powdery mildew, ensure good air circulation by spacing plants properly and watering at the base to keep foliage dry.
Apply a thin layer of organic mulch around plants to suppress weeds and retain moisture, but keep it 2-3 inches away from stems to prevent rot. This also creates a barrier that deters soil-borne pests from reaching the plant.
White flat squash is ready to harvest when the rind is firm and pale white to ivory, typically 50-60 days after planting. I check maturity by pressing my thumbnail into the rind—if it doesn’t puncture easily, it’s ready. Use a sharp knife to cut the stem, leaving 1-2 inches attached to the fruit.
Harvest frequently—every 2-3 days during peak production—to encourage continued fruiting. Store squash in a cool, dry place and use within 1-2 weeks for the best flavor. Overripe squash develop tough skins and seedy interiors, so timing is everything.
These small adjustments make a surprising difference in your harvest yield and quality.
The Sun Factor: That 6-8 hours of daily full sun exposure in Step 1 isn’t just a suggestion—it’s critical. I’ve tried cutting corners with partial shade, and the result was smaller, less flavorful squash. Use a sun calculator app to track your garden’s light patterns before planting.
Soil Temperature Secret: Don’t rush planting even if air temperatures seem warm. The 60°F soil temperature minimum mentioned in Step 1 is non-negotiable. I learned this the hard way after losing an entire early batch to rot. A simple soil thermometer costs less than a coffee and saves seasons of frustration.
Watering Wisdom: In Step 3, that 1-1.5 inches of weekly water might seem like a lot, but remember: deep, infrequent watering encourages strong root development. I use a rain gauge to track precipitation and supplement only what’s needed. Overwatering is just as damaging as underwatering for this crop.
Harvest Timing: The 50-60 days mentioned in Step 5 is your window—don’t wait for the squash to turn completely white. I start checking at day 45 by gently pressing the rind. When your thumbnail can’t easily puncture it, harvest immediately. That 2-3 day harvesting window during peak production keeps the plants productive all season.
White flat squash is often a sign of a fungal disease like powdery mildew or downy mildew, which can stunt growth and reduce yields. Check for white, powdery spots on leaves and treat promptly with fungicides or neem oil.
Yes, if the squash itself is firm and free of mold or rot. However, avoid eating squash from severely diseased plants, as quality and taste may be affected. Always wash produce thoroughly before consumption.
Prevent white flat squash by spacing plants for airflow, watering at the base (not leaves), and removing infected foliage. Use mulch to reduce soil splash, and apply preventative fungicides in humid conditions.
Yes! Opt for disease-resistant varieties like ‘Disease Resistant Zucchini’ or ‘Powdery Mildew Resistant Butternut.’ These are bred to fend off common fungal issues, including those causing white flat squash.
Remove and destroy infected leaves immediately. Apply a copper-based fungicide or a baking soda spray (1 tbsp baking soda, 1 tsp dish soap, 1 gallon water). Repeat every 7–10 days until the issue resolves.