
Beautiful Plants For Your Interior
Beautiful Plants For Your Interior
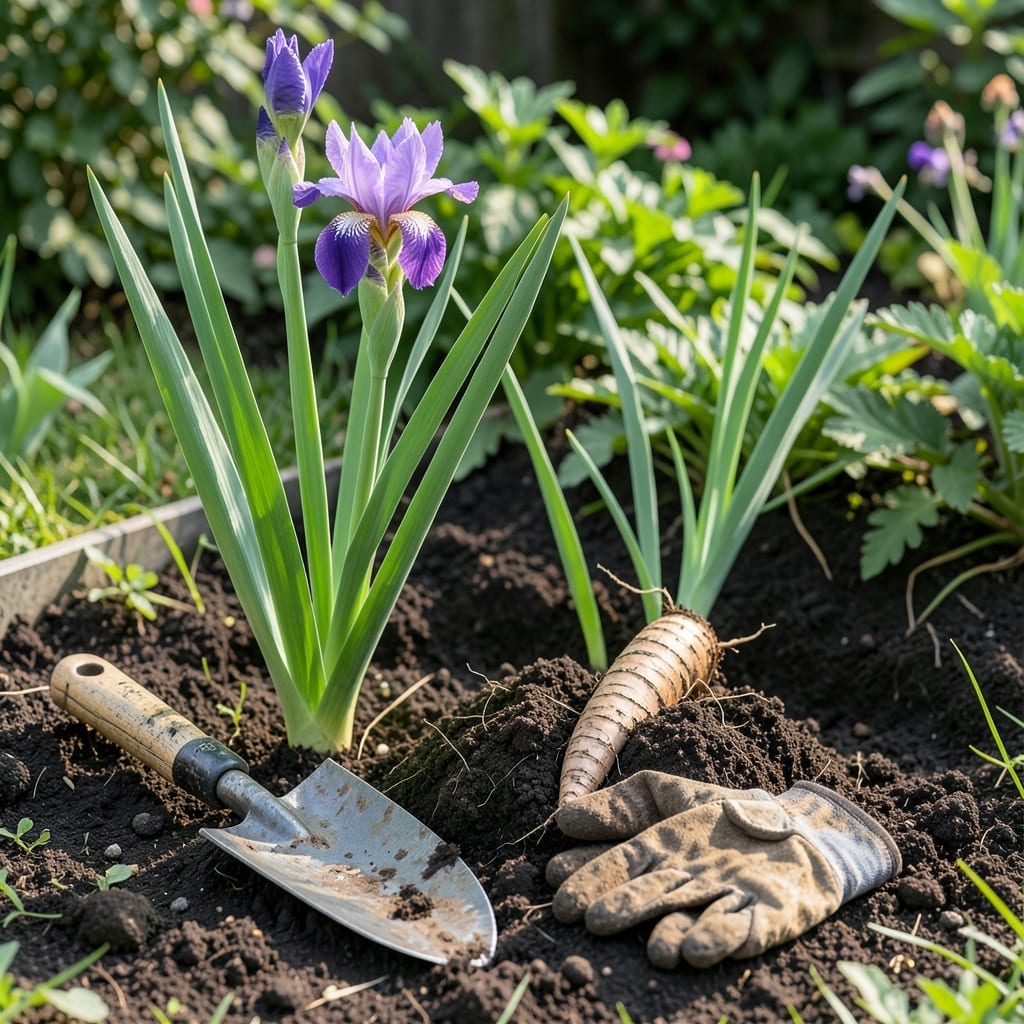
Transferring iris bulbs at the right time is the secret to vibrant blooms and healthy plants year after year. Miss the window, and you risk stunted growth or no flowers at all.
The 🌸 Iris thrives when moved during its natural dormant period. I’ve learned that timing this right means the difference between a garden full of color and one that struggles to grow.
Discover the best seasonal approach to ensure your irises not only survive but flourish after the move.
Timing is everything when moving iris bulbs to ensure they establish well. The best window is late summer to early fall, typically 6-8 weeks after blooming. This allows roots to grow before winter.
I’ve found that July through September works perfectly in most climates. The soil stays warm, which encourages root development, while cooler air prevents stress on the foliage.
| Stage | Action |
|---|---|
| Late Summer | Transplant after foliage yellows |
| Early Fall | Root growth before frost |
| Spring | Avoid unless necessary |
In warmer climates like USDA zones 8-10, you can push transplanting into early October. But in colder zones, aim to finish by mid-September to avoid frost damage.
Watch for signs your irises need dividing: crowded clumps, fewer blooms, or center dieback. These indicate it’s time to lift and separate the rhizomes.
The ideal soil temperature for transplanting is 60-70°F. Use a soil thermometer to check if you’re unsure. Cooler soil slows root growth, while warmer soil can stress the plant.
If you must transplant in spring, do it as early as possible before new growth starts. However, expect fewer blooms that year since the plant focuses on root establishment.
For reblooming iris varieties, late summer remains the safest bet. These types are more sensitive to transplant shock and need extra time to recover.
After moving, water deeply to settle the soil and eliminate air pockets. I recommend mulching lightly to retain moisture but avoid covering the rhizome—it needs sunlight.
Finally, mark your calendar for next year. If your irises bloomed in May, plan to transplant in late July or August for the best results.
With the right timing, your irises will reward you with bigger blooms and healthier growth the following season. ☀️
Transplanting iris bulbs correctly ensures they thrive in their new location. I always start by preparing the new site first, ensuring it has well-draining soil and full sun exposure. 🌿
Use a sharp spade to carefully lift the entire clump from the ground. Gently shake off excess soil to expose the rhizomes, then separate them by hand or with a knife if needed.
One common mistake is planting the rhizomes too deep. They need sunlight exposure to prevent rot. I’ve seen many gardeners bury them completely, which leads to poor growth.
For post-transplant care, water deeply once a week unless rain provides enough moisture. Reduce watering as fall progresses to harden off the plants for winter.
If you notice yellowing leaves after transplanting, don’t panic. This is normal transplant shock. Just trim back foliage by half to reduce stress on the roots. ✂️
Fertilizing isn’t necessary right after transplanting. Wait until early spring to apply a low-nitrogen fertilizer to encourage blooming. This gives the roots time to establish without extra stress.