
Beautiful Plants For Your Interior
Beautiful Plants For Your Interior
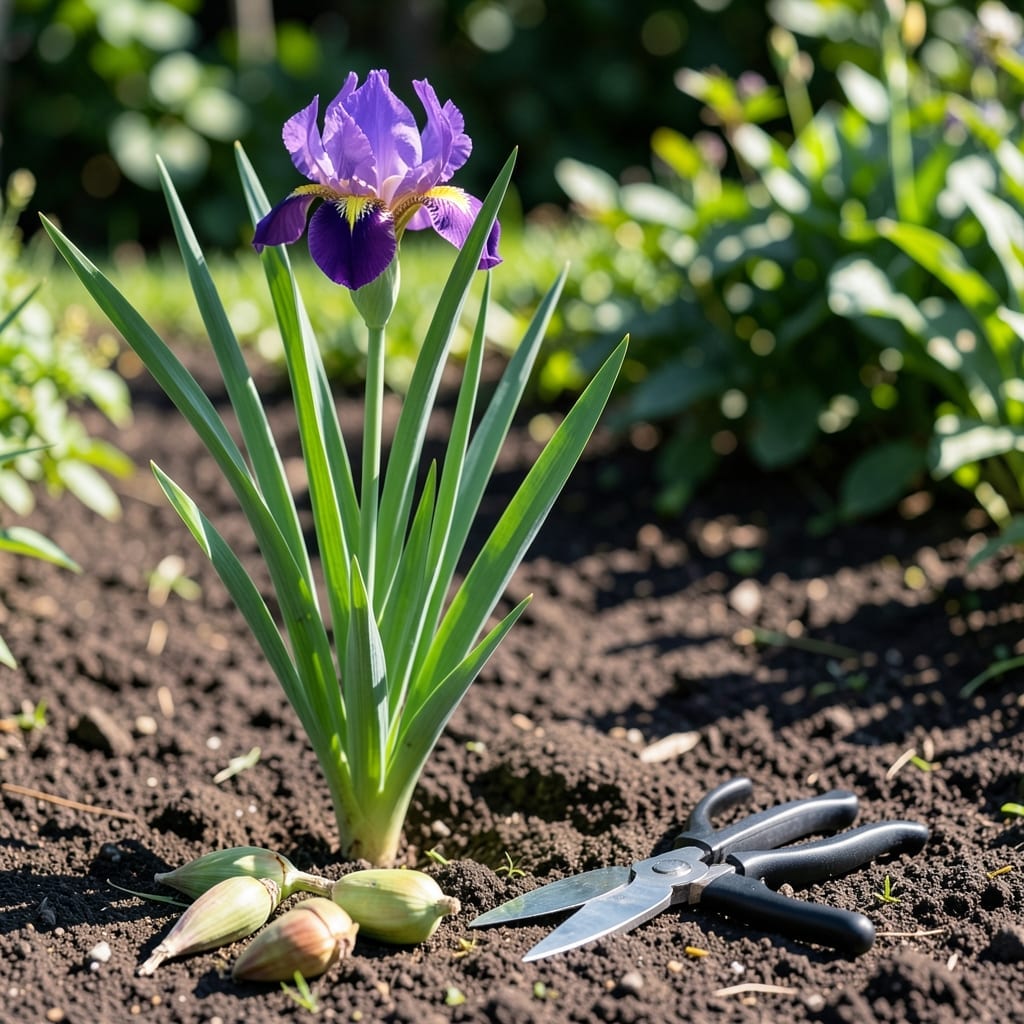
Leaving iris seed pods on your plants might seem harmless, but it could be costing you next year’s vibrant blooms. The key to healthier irises lies in knowing exactly when to act.
I’ve learned that timing makes all the difference with these beautiful 🌸 flowers. Removing seed pods at the right moment redirects the plant’s energy where it matters most.
Instead of wasting resources on seed production, your iris can focus on strengthening its roots. This simple step leads to more spectacular blooms next season.
Discover the optimal timing and technique to keep your irises thriving year after year. Your garden will thank you.
I always tell fellow gardeners that iris seed pods can sap energy from your plants. These pods form after blooming and demand nutrients that could fuel root and rhizome growth instead. Removing them redirects that energy where it matters most.
Timing is everything with irises. I’ve found the ideal moment is right after the flowers fade, before the pods fully develop. This prevents the plant from wasting resources on seed production that won’t benefit your garden.
Left unchecked, self-seeding irises can spread uncontrollably, creating a messy garden. By removing pods early, I maintain control over where my irises grow. This is especially important for hybrid varieties, which may not grow true from seed.
The process also helps prevent disease and pests. Overripe seed pods can attract unwanted visitors or harbor fungal spores. I’ve seen gardens where neglected pods led to rot issues that spread to healthy rhizomes.
Another benefit I’ve noticed is improved bloom quality. Plants that don’t waste energy on seeds produce more vibrant, abundant flowers the following year. My purple irises always perform better when I’m diligent about pod removal.
For the best results, I check my irises weekly after blooming. The pods start as small green capsules and gradually swell. I remove them when they’re still green but clearly forming, using clean, sharp tools to avoid damaging the plant.
Some gardeners wait until pods turn brown, but I prefer acting earlier. This approach minimizes stress on the plant and gives it more time to recover. I’ve found my irises establish stronger root systems with this method.
Remember that energy redirection is the key principle here. Every resource not spent on seeds goes toward rhizome growth and next year’s flowers. It’s a simple step that makes a noticeable difference in my garden’s overall health.
Finally, proper disposal matters. I never compost iris seed pods, as they might survive and sprout. Instead, I place them in my yard waste bin to ensure they’re fully destroyed.
This small but consistent practice has transformed my iris beds, giving me more vibrant blooms each season with less effort overall ✂️
Timing is everything when it comes to iris seed pod removal. I always wait until the flowers fade and the pods start to form. This is when the plant begins diverting energy to seed production instead of growth.
You’ll notice the seed pods turning from green to brown. That’s your signal. Removing them at this stage ensures the iris focuses on root and rhizome development, setting the stage for next year’s blooms.
🌱 Key Takeaway
Remove iris seed pods immediately after flowering to redirect energy to root growth and prevent self-seeding. Use clean pruners for a precise cut.
Start by identifying the seed pods at the base of the spent flowers. They’ll look like small, green capsules that grow larger over time. I use sharp pruning shears or scissors to avoid tearing the plant.
Cut the pod off at the base of the stem, just above where it meets the main plant. Be careful not to damage the surrounding foliage or flowers. This keeps the plant healthy and looking tidy.
After removal, I dispose of the pods in the compost bin or yard waste. Avoid leaving them on the ground, as this can encourage pests or diseases to take hold. A clean garden is a happy garden.
Finally, give your irises a little post-removal care. Water them lightly and check for any signs of stress. With the right timing and technique, you’ll be rewarded with stronger plants and more vibrant blooms next season ✂️