
Beautiful Plants For Your Interior
Beautiful Plants For Your Interior
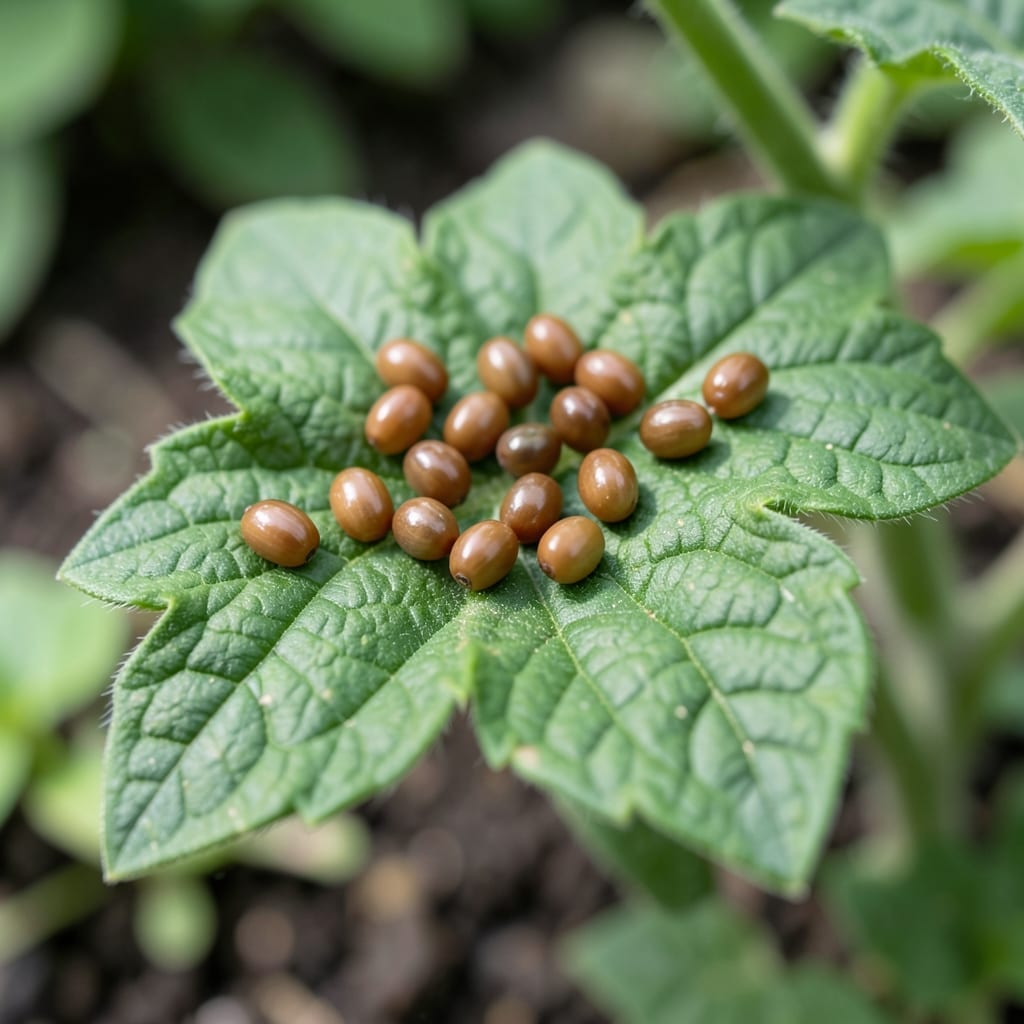
Spotted tiny brown eggs on your plant leaves or stems? I’ve been there—staring at my garden, wondering if these are friend or foe. The truth is, most tiny brown insect eggs mean trouble for your plants.
Left unchecked, they hatch into pests that munch on leaves, stunt growth, and spread disease. But here’s the good news: catching them early makes removal simple. A close look with a magnifying glass often reveals their true identity.
Organic solutions like neem oil or soapy water sprays work wonders without harsh chemicals. I’ve saved countless plants by acting fast and staying consistent with treatments.
Prevention is just as key—keep your garden clean and inspect plants regularly. This way, you’ll spot and stop pests before they take over.
Tiny brown insect eggs in your garden or home often signal an underlying environmental or biological trigger. Understanding these causes helps you address the root issue and prevent future infestations. Below are the most common reasons these eggs show up, along with clear explanations.
Many insects, like aphids or stink bugs, lay brown eggs in warm, humid environments. Temperatures between 70–85°F (21–29°C) and high moisture levels create perfect hatching conditions. Overwatered soil, dense foliage, or poorly ventilated areas (e.g., under mulch or in greenhouses) are prime spots. Action: Improve airflow and reduce excess moisture to disrupt their life cycle.
Insects target plants with soft tissues or decaying organic matter to lay eggs. Sap-sucking pests (e.g., scale insects) favor new growth, while decomposers like fruit flies seek rotting fruit or compost. Over-fertilized plants with tender leaves are especially vulnerable. Action: Remove plant debris, harvest ripe produce promptly, and avoid over-fertilizing.
Cracks in walls, gaps in wood, or undisturbed soil provide safe havens for egg-laying. Insects like cockroaches or carpet beetles deposit brown eggs in hidden crevices to protect them from predators and weather. Cluttered storage areas (e.g., sheds, basements) worsen the problem. Action: Seal entry points with caulk and declutter storage spaces regularly.
A current pest population often leads to more eggs. Female insects lay hundreds of eggs in their lifetime, and untreated infestations explode quickly. For example, brown marmorated stink bugs cluster eggs on leaf undersides, while termite colonies hide them in wood. Action: Inspect plants and structures weekly for early signs (e.g., egg masses, shed skins) and intervene with organic controls like neem oil or diatomaceous earth.
Dealing with tiny brown insect eggs in your garden or home can be frustrating, but these targeted solutions will help you eliminate them effectively while keeping your space safe and organic.
Use a neem oil solution (1 tbsp neem oil + 1 tsp dish soap + 1 quart water) to disrupt the eggs’ development. Spray directly on affected areas every 3–5 days until the eggs disappear. For a stronger approach, insecticidal soap works on contact—apply it in the early morning or late evening for best results.
If the eggs are clustered on leaves or surfaces, wipe them off with a damp cloth or prune infested plant parts and dispose of them in sealed bags. This prevents hatching and stops the cycle early. For hard-to-reach spots, use a soft-bristle brush to gently scrub them away.
Prevent future outbreaks with these habits:
💡 Pro tip: Always test sprays on a small area first to avoid damaging plants, and reapply after rain for lasting protection.
Insect eggs are typically uniform in size and shape, often clustered together. Use a magnifying glass to check for a smooth, slightly shiny surface. Dirt particles will be irregular and crumbly.
Check under leaves, along stems, and in soil near the base of plants. Hidden spots like leaf axils or bark crevices are common. Inspect both sides of leaves carefully.
Yes! Introduce beneficial insects like ladybugs, maintain garden hygiene, and use row covers. Regular inspections and removing plant debris also help prevent infestations naturally.
Repeat treatments every 3–5 days to catch newly laid eggs. Consistency is key—most eggs hatch within 1–2 weeks, so multiple applications ensure full removal.