
Beautiful Plants For Your Interior
Beautiful Plants For Your Interior
Dusty leaves don’t just look sad—they suffocate your plants. After watching my prized calathea struggle with spider mites last winter, I discovered that neem oil does double duty: it cleans foliage and protects against pests. The difference was shocking—new growth emerged cleaner, greener, and completely pest-free within two weeks. Here’s the thing—most people either drown […]
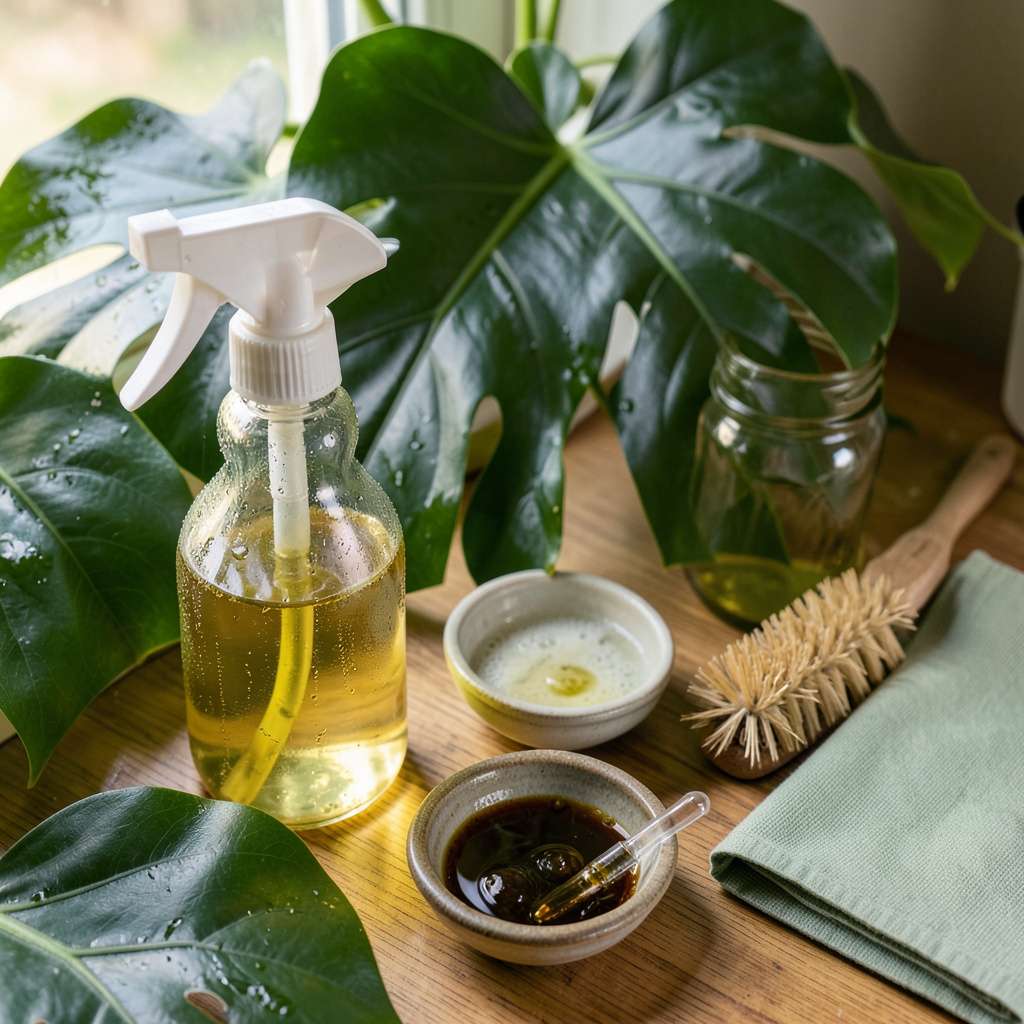
Dusty leaves don’t just look sad—they suffocate your plants. After watching my prized calathea struggle with spider mites last winter, I discovered that neem oil does double duty: it cleans foliage and protects against pests. The difference was shocking—new growth emerged cleaner, greener, and completely pest-free within two weeks.
Here’s the thing—most people either drown their plants in undiluted oil or use harsh soaps that burn leaves. My method uses a precise 1:100 ratio of neem oil to water with a drop of castile soap. Applied with a soft microfiber cloth, it lifts dust, dissolves sticky residue, and leaves a protective layer that deters mites and fungus gnats.
You’ll notice the difference immediately: leaves absorb more light, photosynthesis improves, and that healthy “just-watered” sheen returns. Unlike commercial leaf shine products, this won’t clog stomata or leave chemical residue. I’ve used it safely on everything from delicate ferns to waxy monsteras.
Fair warning: timing matters. Clean leaves in early morning or evening to avoid sunburn, and never apply to stressed plants. The whole process takes 15 minutes but pays dividends in plant health. Here’s exactly how to do it right.
📚 In This Guide
This method keeps foliage spotless while protecting against pests—no streaks, no residue, just healthy plants.
Mix 1 teaspoon cold-pressed neem oil with ½ teaspoon mild liquid soap (as an emulsifier) in 1 quart of lukewarm water. The soap helps disperse the oil evenly, preventing it from separating and leaving greasy patches. I use a glass jar with a tight lid and shake vigorously until the mixture turns milky—this ensures proper emulsification.
Test the solution on a single leaf first. Wait 24 hours to check for any adverse reactions like discoloration or wilting. Some sensitive plants (like ferns or calatheas) may react poorly, so this step isn’t optional. If the test leaf looks normal, you’re safe to proceed.
Use a soft, damp microfiber cloth to gently wipe each leaf’s surface, removing dust and debris. Dust blocks the neem oil’s contact with the leaf, reducing its effectiveness. For plants with delicate foliage (like African violets), support the leaf from underneath with your fingers to prevent tearing.
Pay special attention to the undersides of leaves—this is where pests like spider mites and aphids hide. A dry, soft-bristled paintbrush works well for dislodging stubborn dust in textured leaves (like those on ficus or monsteras). Never skip this step; neem oil won’t adhere properly to dirty surfaces.
Dip a clean microfiber cloth into the solution, wring it out until just damp (not dripping), and wipe each leaf individually. Start at the base of the leaf and stroke toward the tip, following the natural vein pattern. This technique ensures even coverage without damaging the leaf’s surface.
For plants with glossy leaves (like rubber plants or philodendrons), buff gently with a dry cloth after application to restore shine. Avoid oversaturating the soil—excess neem oil can accumulate in the potting mix and harm roots. Focus on the foliage only.
Place treated plants in indirect light for 24–48 hours to allow the neem oil to absorb fully. Direct sunlight during this period can cause leaf burn, especially on thin-leaved species. Keep the plant away from drafts or heating vents, which can dry the solution too quickly.
Check the leaves after 48 hours for any signs of stress: yellowing, spotting, or wilting. If you notice issues, rinse the leaves immediately with plain water. Healthy leaves will appear vibrant and slightly glossy, with no sticky residue. Repeat this process every 4–6 weeks for maintenance.
The difference between healthy, vibrant plants and stressed foliage often comes down to these key details when using neem oil.
The Emulsification Factor: In Step 1, when mixing the 1 teaspoon cold-pressed neem oil with ½ teaspoon mild liquid soap, shake the mixture for at least 30 seconds until it turns uniformly milky. I’ve found that using a glass jar with a tight-fitting lid creates better emulsification than stirring with a spoon. If the solution separates after a few minutes, shake it again before application—this ensures even coverage without greasy residue.
Application Technique: During Step 3, always wipe leaves in the direction of their natural veins, starting from the stem outward. This mimics how water naturally flows off the leaf surface and prevents damage to delicate tissues. For fuzzy-leaved plants like African violets, use a barely damp cloth—excess moisture can cause spotting. Between us, I ruined a few leaves before learning this the hard way.
Post-Application Monitoring: The 24–48 hours of indirect light in Step 4 isn’t just about absorption—it’s about observing. Check plants at the 24-hour mark for early signs of stress like slight wilting. If you notice any issues, rinse immediately with plain water. I keep a spray bottle handy for quick intervention. This window is critical because neem oil can cause irreversible damage if left on sensitive plants too long.
Maintenance Strategy: While the instructions suggest repeating every 4–6 weeks, I’ve found that plants in high-humidity environments or those prone to pests (like my calatheas) benefit from a 3-week schedule. However, always do the 24-hour test on a single leaf first—some plants develop sensitivity with frequent applications. Real talk: consistency matters more than frequency.
For general maintenance, clean leaves every 4-6 weeks with a diluted neem oil solution. Overuse can clog stomata (leaf pores), so stick to this schedule unless treating pests—then apply weekly until the issue resolves. Always spot-test first!
Most plants tolerate neem oil well, but avoid using it on succulents, ferns, or plants with fuzzy leaves (like African violets). These may absorb too much oil or develop leaf burn. When in doubt, test a small area and wait 24 hours.
For gentle cleaning, try a mild soap solution (1 tsp castile soap + 1 quart water) or plain distilled water with a soft cloth. For pest control, insecticidal soap or horticultural oil (like mineral oil) works—but neem oil’s antifungal properties make it uniquely effective!
Streaks usually mean residue buildup from undiluted oil or improper rinsing. Wipe leaves with a damp cloth after application, and always mix neem oil with water + a drop of dish soap (as an emulsifier) to prevent this. Buff gently with a microfiber cloth for shine!
Yes, but stop applications 1-2 weeks before harvest. Neem oil is non-toxic to humans once dry, but its bitter taste lingers. Stick to food-grade neem oil and avoid spraying flowers/fruits directly. Wash produce thoroughly before eating.
Cleaning your plant leaves with neem oil isn’t just about aesthetics—it’s a simple, chemical-free way to boost their health and vitality! 🌿 By following the right steps, you’ll remove dust, deter pests, and give your greenery that natural shine they deserve. Plus, it’s an easy habit to add to your plant care routine.
Ready to see the difference? Start with a small test patch on one plant, then treat the rest once you’re confident. Your plants will thank you with lusher, happier growth! Happy cleaning!
