
Beautiful Plants For Your Interior
Beautiful Plants For Your Interior
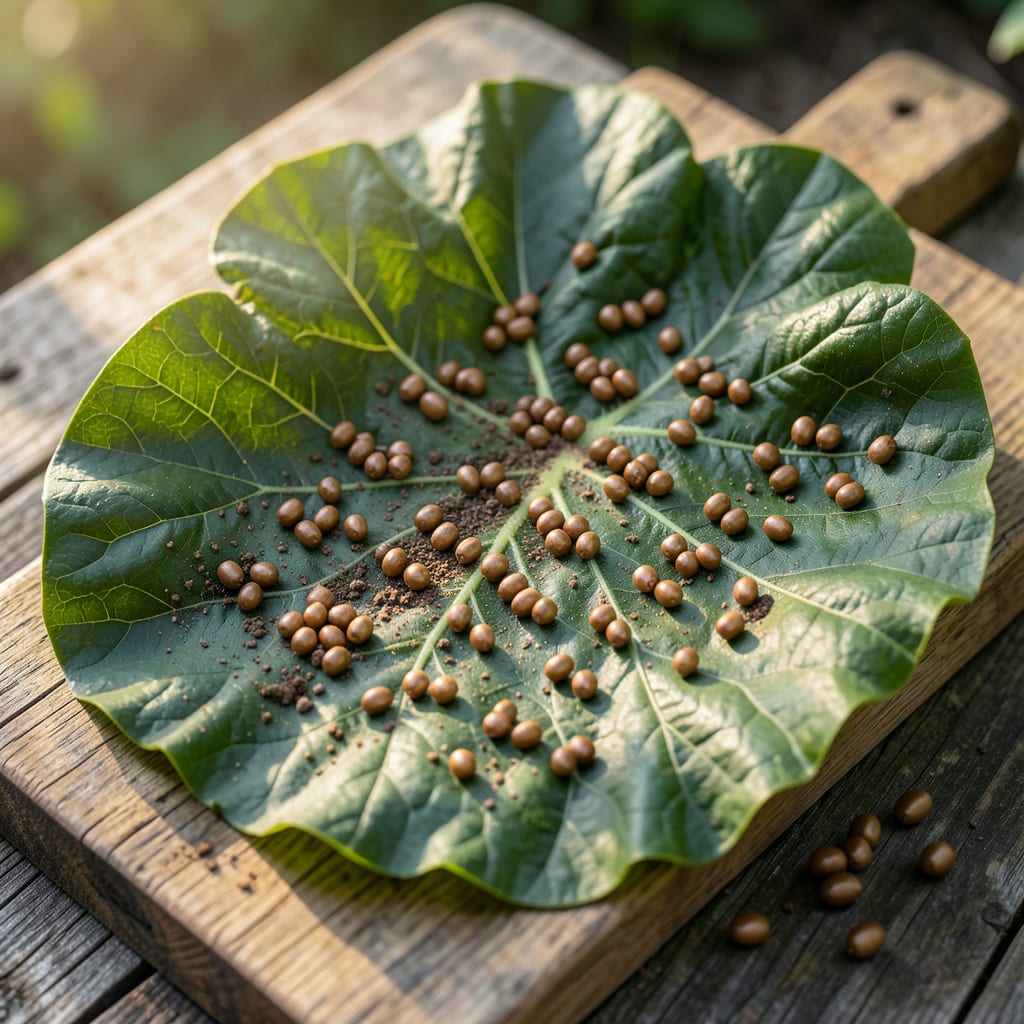
Spotted brown eggs on your squash leaves? I found clusters last week and knew trouble was coming. These tiny invaders often belong to squash bugs, ready to hatch and attack your plants.
Left unchecked, they’ll drain plant juices and spread disease. The good news: early removal stops the cycle. Check leaf undersides daily and remove eggs by hand or with soapy water. Your squash will thank you.
📚 In This Guide
Here’s the method I use to identify and handle squash leaf eggs without chemicals.
First, examine the undersides of squash leaves where eggs often hide. Squash bug eggs appear as tiny bronze or brown clusters, usually in groups of 20-40, neatly arranged in rows. I use a magnifying glass to spot them—they’re only about 1/16 inch wide, like grains of rice.
Don’t confuse them with ladybug eggs, which are orange and spindle-shaped. Squash bug eggs darken as they mature, turning from pale bronze to deep brown. If you see hatched eggs with empty shells, the nymphs are already feeding on your plants and you’ll need to act fast.
Gently scrape the eggs into a bucket of soapy water using a dull knife, credit card, or even your fingernail. I prefer working in the early morning when bugs are less active. Make sure to check every leaf—squash bugs favor the undersides and the leaf veins where they’re most protected.
Dispose of the eggs immediately. If you drop them on the ground, they can still hatch. Repeat this process every 2-3 days since squash bugs lay eggs continuously throughout the growing season.
After removing the eggs, inspect the plants daily for new clusters. Squash bugs are persistent, and missing even a few eggs can lead to a new generation hatching within 7-10 days. I mark the dates I check on a calendar to stay consistent.
Encourage natural predators like birds and beneficial insects by maintaining a diverse garden. Planting companion flowers such as nasturtiums or marigolds nearby can deter squash bugs from laying eggs on your squash in the first place.
Lay down a floating row cover over young squash plants to prevent adult squash bugs from reaching the leaves to lay eggs. Secure the edges with soil or weights to keep pests out. Remove the covers once flowers appear to allow for pollination.
I’ve found that rotating squash crops to different areas of the garden each year also reduces egg-laying opportunities. Squash bugs overwinter in garden debris, so clean up plant residue at the end of the season to break their life cycle.
Here’s how to make this method even more effective with a few key refinements.
Identification Precision: In Step 1, use a magnifying glass to distinguish squash bug eggs from look-alikes. The 1/16 inch size and bronze-to-brown color change as they mature are dead giveaways. Ladybug eggs are orange and spindle-shaped, so color and shape are your best clues.
Timing Strategy: The 2-3 day repeat cycle in Step 2 is crucial because squash bugs lay eggs continuously. I set a calendar reminder to stay consistent—missing even one cycle can allow a new generation to hatch within 7-10 days, as mentioned in Step 3.
Barrier Effectiveness: For Step 4, secure the floating row cover tightly at the edges with soil or weights. Gaps as small as an inch can let adult squash bugs slip through. Remove covers as soon as flowers appear to ensure pollination isn’t blocked.
Brown eggs (like those from parasitic wasps) hatch into larvae that feed on garden pests like squash bugs, naturally reducing their numbers without chemicals.
Most beneficial insect eggs hatch in 3–7 days, depending on temperature and humidity. Warmer conditions speed up the process.
Yes! Many companion plants like nasturtiums or marigolds also attract pest-predating insects. Squash leaves are just a common, effective choice.
Ensure your garden has diverse flowering plants to attract beneficial insects. Avoid pesticides, which can deter or harm them.
No—they’re a sign of a healthy, balanced ecosystem! The eggs belong to helpful insects that protect your garden naturally.
