
Beautiful Plants For Your Interior
Beautiful Plants For Your Interior
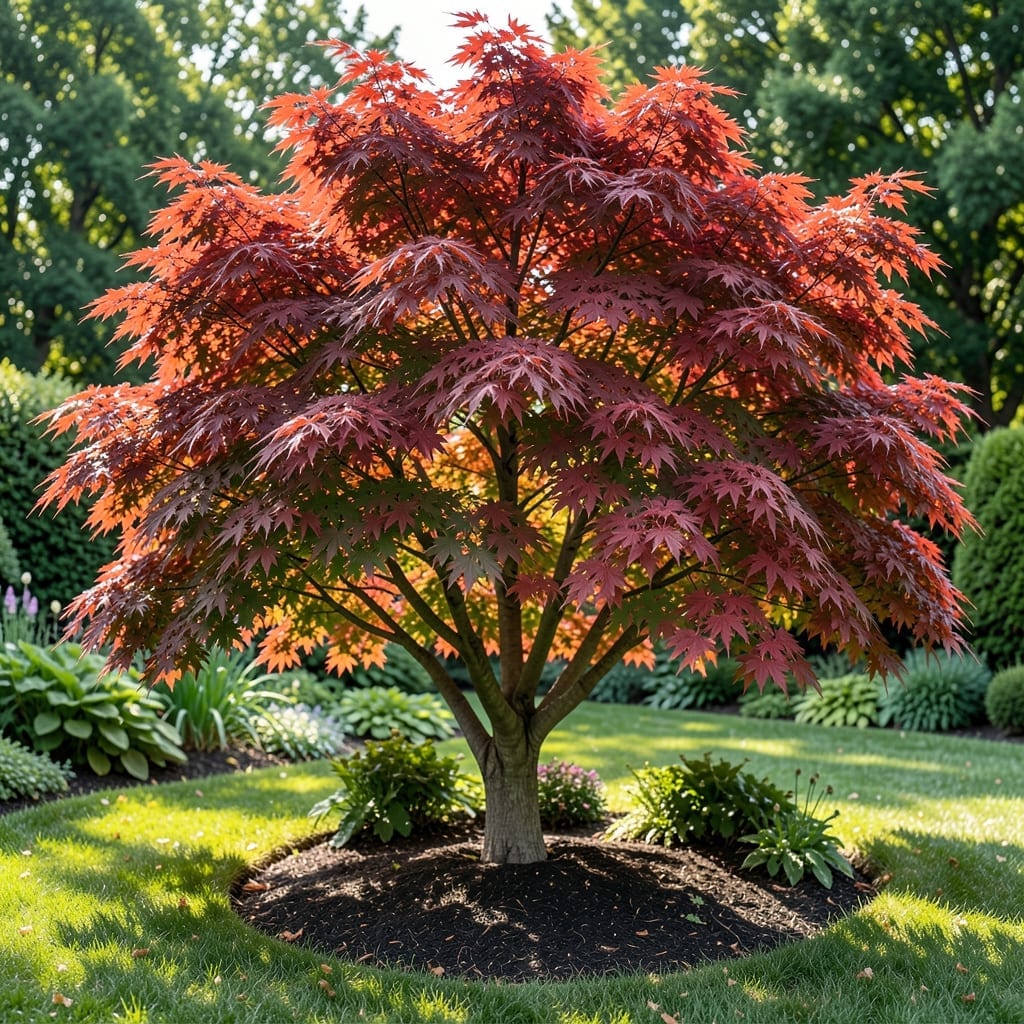
Red maple leaves light up the yard every fall. I’ve watched them shift from green to fiery red, and the secret to that show-stopping color is consistent care through the seasons.
Start with well-drained soil and full sun, then adjust watering as the weather changes. Come autumn, you’ll be rewarded with leaves so vibrant they look like they’re on fire.
📚 In This Guide
Here’s my reliable approach to keeping your maple vibrant through every season.
Start by examining the branches for any dead or damaged wood after winter. I look for brittle, dry limbs that snap easily when bent. Remove these first—they won’t recover and can attract pests that spread to healthy parts.
Check the soil around the base for compaction. If water pools on the surface after rain instead of absorbing, the roots are suffocating. Use a garden fork to gently aerate the top 2-3 inches without damaging shallow feeder roots.
Mature red maples need 1-1.5 inches of water weekly, including rainfall. I use a simple rain gauge to track precipitation. When natural rain falls short, I water deeply at the drip line—that’s where feeder roots extend outward.
Water in the early morning so leaves dry quickly, preventing fungal issues. A slow trickle from a soaker hose for 30-45 minutes ensures moisture reaches 12 inches deep. If the top 1 inch of soil feels dry, it’s time to water again.
Newly planted red maples need protection from intense afternoon sun, especially in hot climates. I use 30% shade cloth on the west side during the first growing season. This prevents leaf scorch—those ugly brown edges that appear when transpiration outpaces water uptake.
Established trees thrive in full sun to partial shade. Watch for yellowing leaves, which often signal too much shade. If this happens, gradually remove lower branches from competing trees to increase light penetration.
Late winter is ideal for structural pruning while the tree is dormant. I focus on removing crossing branches and any that grow inward. This improves airflow, reducing humidity that invites disease.
Avoid heavy pruning in spring when sap is rising—it can cause excessive bleeding. For summer pruning, only remove dead wood or watersprouts (those fast-growing vertical shoots). Always make cuts just outside the branch collar to promote proper healing.
Apply a balanced slow-release fertilizer (10-10-10) in early spring, just as buds begin to swell. I sprinkle it evenly over the root zone, which extends 1.5 times the canopy width. Water thoroughly after application to activate the nutrients.
Refresh mulch annually with 2-3 inches of organic material, keeping it 6 inches away from the trunk to prevent rot. As it decomposes, it feeds the soil and helps maintain consistent moisture—critical for that stunning red fall display you’re working toward.
Small details make a big difference in keeping your tree healthy and vibrant.
Spring Assessment: In Step 1, when checking for dead wood, remember that healthy branches bend slightly without snapping. The top 2-3 inches of soil compaction check is crucial—shallow roots can’t be disturbed. I use a wooden dowel to test soil density without risking damage.
Watering Wisdom: For Step 2, that 30-45 minute soaking time is perfect for reaching the 12-inch depth. I set a timer to ensure I don’t overwater. The drip line trick works because that’s where roots actively seek moisture. Morning watering prevents those fungal issues that evening dampness can cause.
Light Protection: The 30% shade cloth mentioned in Step 3 is ideal—it filters just enough light without stunting growth. For established trees, if you notice yellowing leaves, start by removing just a few lower branches rather than making dramatic changes all at once.
Pruning Precision: Step 4’s late winter timing is key for structural cuts, but summer pruning for dead wood is safe. Always keep your tools sharp—clean cuts heal faster. That branch collar is your guide; cutting too close or too far away can invite disease.
Red maple leaves typically start changing color in late September to early October, with peak vibrancy in mid-October. The exact timing depends on climate, latitude, and weather conditions like temperature and daylight shifts. Cooler nights and sunny days enhance the red hues!
Brown leaves often signal stress from drought, extreme heat, or nutrient deficiencies. Ensure consistent watering, especially in late summer, and test soil for imbalances. Fungal diseases can also cause browning—prune affected areas and improve airflow.
Yes! Shredded red maple leaves make excellent, nutrient-rich mulch. They decompose quickly, improving soil structure and retaining moisture. Avoid thick layers to prevent matting, and mix with other organic materials for best results.
Black spots are often caused by fungal infections like tar spot. Remove and destroy infected leaves, apply a fungicide if severe, and ensure good air circulation. Water at the base of the tree to keep foliage dry and reduce disease spread.