
Beautiful Plants For Your Interior
Beautiful Plants For Your Interior
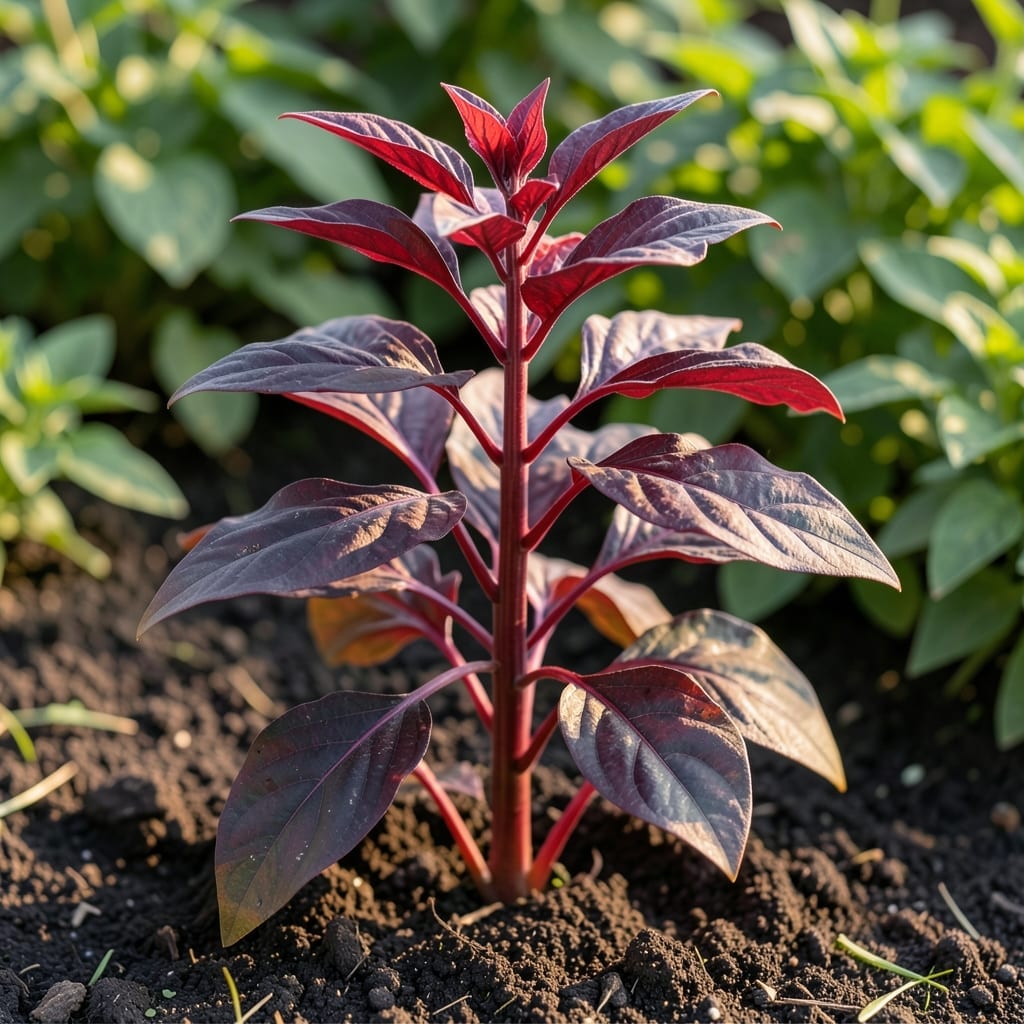
Red amaranth leaves changed how I think about garden greens. These plants grow fast, taste amazing, and pack more nutrients than most store-bought veggies.
You’ll get harvestable leaves in about 30 days, with plants that keep producing all season. The deep red foliage looks stunning in the garden and tastes even better in salads.
📚 In This Guide
Here’s how I harvest tender, nutrient-packed leaves without harming the plant’s growth cycle.
Begin by examining the plant for mature leaves—these are typically 4-6 inches long and deep red or purple in color. I focus on the outer leaves first, as they’re the oldest and most flavorful. Avoid the small, inner leaves at the growing tip, as these are still developing and vital for the plant’s future growth.
You’ll notice the leaves have a slightly fuzzy texture, which is normal for amaranth. The stems should be firm but snap easily when bent. If the leaves look wilted or yellowed, skip those and check for pests or disease instead.
With a pair of sharp, clean scissors or pruning shears, snip the leaves at the base where they meet the stem. I make the cut at a 45-degree angle to prevent water from pooling on the remaining stem, which can lead to rot. Always cut just above a leaf node to encourage new growth from that point.
Never tear the leaves by hand, as this can damage the plant tissue and invite disease. If you’re harvesting multiple leaves, work from the outside in, removing no more than one-third of the plant’s foliage at a time to avoid stressing it.
Red amaranth responds well to frequent harvesting. I aim to collect leaves every 7-10 days during the growing season, which stimulates the plant to produce more lateral shoots. This keeps the plant compact and bushy rather than leggy and sparse.
After the first harvest, you’ll see new shoots emerging from the leaf nodes within 3-5 days. These will mature quickly, especially in full sun and warm temperatures between 70-85°F. The more you harvest, the more the plant will branch out.
The best time to harvest is in the early morning after the dew has dried but before the heat of the day sets in. At this time, the leaves are at their most hydrated and flavorful. I avoid harvesting in the afternoon, as the leaves can be limp and less vibrant.
For the most tender leaves, harvest when the plant is 6-8 weeks old. At this stage, the leaves are still young and free of the bitterness that can develop as the plant matures. If you’re growing amaranth for its seeds, stop harvesting leaves once the flower buds begin to form.
These insights will help you harvest the most flavorful leaves while keeping your plants thriving.
Leaf Selection: In Step 1, focus on the outer leaves that are 4-6 inches long—they’re the most mature and flavorful. The slightly fuzzy texture is normal, but avoid any wilted or yellowed leaves, as these indicate stress or disease. Healthy stems should snap cleanly when bent.
Cutting Technique: In Step 2, always use sharp, clean tools and cut at a 45-degree angle just above a leaf node. This prevents water pooling and encourages new growth. Never tear leaves by hand, as it damages the plant and can invite disease. Removing no more than one-third of the foliage at a time keeps the plant healthy.
Timing Matters: For peak flavor and nutrition, harvest in the early morning after dew dries but before the heat sets in. This is when leaves are most hydrated. Also, aim to harvest every 7-10 days during the growing season to promote bushier growth, as outlined in Step 3.
Plant Age and Conditions: The most tender leaves come from plants that are 6-8 weeks old. Harvest in full sun and temperatures between 70-85°F for best results. Stop harvesting leaves once flower buds form if you’re growing for seeds, as noted in Step 4.
Harvest leaves when they’re young and tender, usually 4-6 weeks after planting. Look for vibrant color and a height of 6-8 inches. Older leaves can turn tough.
Yes! Young leaves are great raw in salads, offering a mild, spinach-like flavor. Older leaves may taste bitter, so cook them like spinach or Swiss chard.
Watch for flea beetles, aphids, and leaf miners. Root rot can occur in soggy soil. Use row covers for pests and ensure good drainage to prevent disease.
Absolutely! They’re a fantastic spinach alternative, packed with iron and vitamins. Cook them similarly—sauté, steam, or add to soups and stir-fries.