
Beautiful Plants For Your Interior
Beautiful Plants For Your Interior
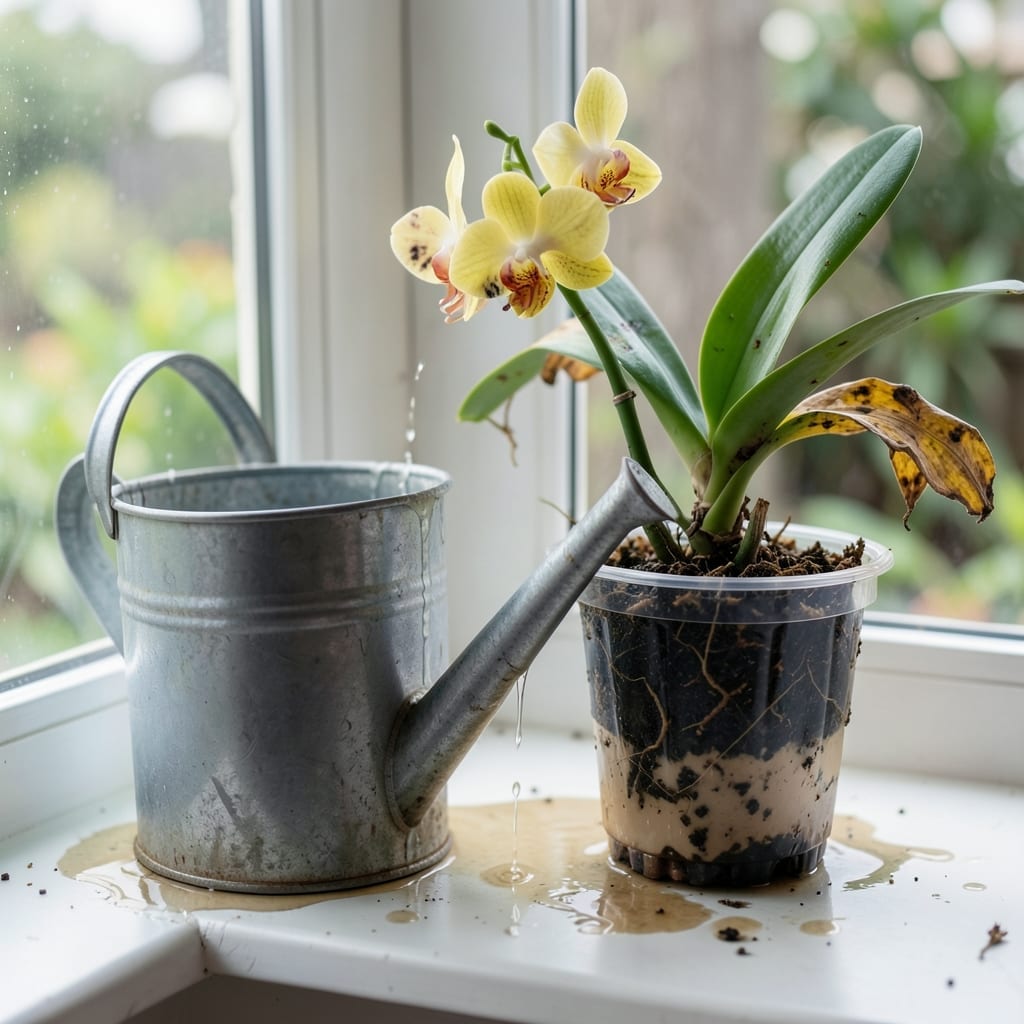
Yellow leaves and mushy roots spelled disaster for my first orchid. I nearly gave up until I discovered these revival steps that brought it back from the brink.
Overwatering suffocates orchids because their roots need air, not constant moisture. The fix isn’t just about cutting back on water—it’s about resetting the entire care routine.
Within 2-3 weeks of proper treatment, new roots emerge and leaves regain their firmness. The plant stops looking like it’s on its last legs and starts thriving again.
Simple adjustments prevent future problems, and your orchid will reward you with stronger growth and more blooms than ever.
Overwatering orchids often stems from a few common but preventable habits. Understanding the root causes helps you adjust your care routine and keep your plant thriving. Here’s why it happens:
Orchids, especially Phalaenopsis or moth orchids, are epiphytes—naturally growing on trees in humid but well-aerated environments. Their roots absorb moisture quickly but also need time to dry. Watering too often (e.g., daily or every other day) saturates the potting medium, suffocating the roots and preventing oxygen uptake. This leads to root rot, a primary sign of an overwatered orchid.
Using pots without drainage holes or compact, moisture-retaining mediums (like dense soil or sphagnum moss) traps water around the roots. Orchids require fast-draining materials like bark chips or perlite to mimic their natural habitat. Without proper drainage, water pools at the bottom, creating a stagnant, anaerobic environment that fosters bacterial and fungal growth.
Orchids prefer snug containers. A pot that’s too large holds excess moisture in the unused medium, increasing the risk of overwatering. The roots can’t absorb all the water, leading to prolonged dampness and eventual rot. Always choose a pot just slightly larger than the root ball.
Orchids in low-light conditions or cooler temperatures (below 60°F/15°C) use water more slowly. If you water on a fixed schedule without accounting for these factors, the medium stays wet for extended periods. Adjust your watering frequency based on the plant’s environment—less in winter or dim settings, more in bright, warm conditions.
Don’t panic—your orchid isn’t doomed! 🌿 With the right steps, you can nurse it back to health. Below are targeted fixes for common overwatering issues, paired with prevention tips to keep your plant thriving long-term.
Fix: Stop watering immediately and let the potting mix dry out completely. Remove the orchid from its pot and inspect the roots—trim any mushy, black, or foul-smelling roots with sterilized scissors. Repot in fresh, well-draining orchid mix (bark-based is ideal).
Prevention: Water only when the top inch of the mix feels dry. Use a clear pot to monitor root moisture, and ensure the container has drainage holes.
Fix: If the leaves are limp but still green, your orchid may just be thirsty and suffocating. Unpot it, gently rinse the roots to remove old mix, and let it air-dry for a few hours before repotting. Reduce watering to once a week until it recovers.
Prevention: Stick to a consistent watering schedule—most orchids need water every 7–10 days. Always check moisture levels with your finger before watering.
Fix: This is a serious sign of overwatering. Remove the orchid from its pot, rinse the roots, and cut away all brown, soft, or hollow roots with a sterilized tool. Soak the remaining healthy roots in a diluted hydrogen peroxide solution (1 part 3% peroxide to 3 parts water) for 10 minutes to disinfect. Repot in fresh mix and a clean pot.
Prevention: 💡 Pro tip: Use a pot with slits or holes for airflow. Avoid letting the orchid sit in a saucer of water—drain excess immediately.
Fix: If your orchid is stagnant, it may be waterlogged. Let the mix dry out fully, then resume a light watering routine. Move it to bright, indirect light to encourage recovery. A dose of balanced orchid fertilizer (diluted to half strength) can give it a gentle boost.
Prevention: Fertilize lightly every 2–4 weeks during active growth, and always water before fertilizing to prevent root burn.
Most orchids thrive with watering every 7-10 days. Always check the top 1 inch of mix first—if it’s dry, it’s time to water.
Yes! Trim dead roots, repot in fresh bark mix, and keep the humidity high. New roots often appear in 4-6 weeks with proper care.
Use a bark-based orchid mix with perlite for drainage. Avoid dense materials like soil that retain too much moisture.
Yellow leaves often signal overwatering or poor drainage. Stop watering, let it dry out, and check for root rot.