
Beautiful Plants For Your Interior
Beautiful Plants For Your Interior
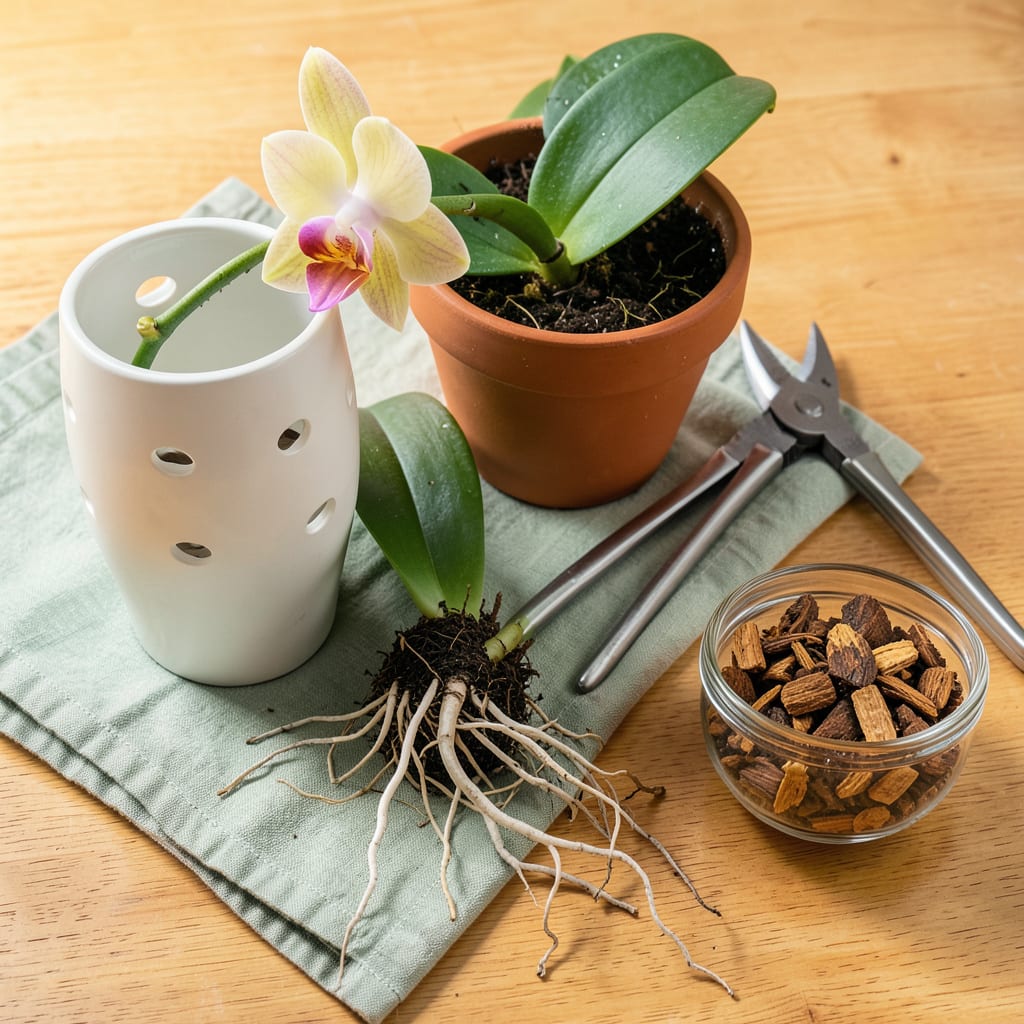
That moment when roots start climbing out of the pot isn’t panic—it’s progress. I’ve repotted dozens of orchids, and the ones that thrive after transplanting all follow the same careful process. The difference between a stressed plant and one that takes off comes down to timing, root handling, and the right medium.
You’ll need just 4 supplies: a pot 1-2 inches larger, fresh orchid mix, sterile pruners, and patience. The whole process takes 20 minutes but pays off for years. What you’re really doing is giving roots room to breathe while keeping the transition gentle enough to avoid shock. Let’s do this right.
📚 In This Guide
Moving your orchid to a larger home doesn’t have to be stressful—follow this gentle process to keep roots happy.
Gather everything before starting: a clean 1-2 inch larger pot with drainage holes, fresh orchid bark mix, sterile scissors or pruners, and lukewarm water. I like to work on a clean towel to prevent rolling orchids and catch any loose bark. Soak the new bark mix in water for 10 minutes—this prevents it from absorbing moisture from the roots later.
Fill a bowl with room-temperature water to soak the orchid’s roots after transplanting. This helps them recover from handling. Make sure your workspace is at comfortable room temperature—orchids hate cold drafts during this vulnerable time.
Squeeze the sides of the plastic pot gently to loosen the root ball. If it resists, run a butter knife around the inner edge to separate roots from the pot walls. Turn the pot sideways and tap the bottom—most orchids will slide out with minimal resistance. Never pull on leaves or stems; they separate easily from the crown.
Once free, cradle the plant in one hand while using your other hand to carefully remove old bark debris from between roots. Healthy roots should feel firm and appear silvery-green when wet. Don’t worry if a few outer roots break—orchids grow new ones readily.
Rinse the roots under lukewarm water to remove all old medium. This lets you see what you’re working with. Use sterile scissors to trim any mushy brown roots or completely dried roots—these won’t recover. Cut just above where the root turns healthy, usually leaving about 1/4 inch of good tissue.
Look for signs of pests while you’re at it—tiny white bugs or sticky residue means you’ll need to treat before repotting. I always check the crown (where leaves meet) for hidden rot. If you find any, remove affected tissue with a sterile blade and let it air dry for 15 minutes before proceeding.
Place a 1-inch layer of pre-soaked bark in the bottom of the new pot. Position the orchid so the base of the lowest leaf sits just above the pot rim—this prevents crown rot. Spread the roots evenly over the bark mound. They should fill the pot naturally without forcing.
Hold the plant steady while adding more bark mix around the roots. Gently tap the pot on the table every few inches to help bark settle between roots. Don’t pack it tightly—orchid roots need air circulation. The plant should sit firmly when you let go, but still allow for slight movement when you tug gently.
Soak the entire pot in room-temperature water for 10-15 minutes to fully hydrate the new medium. Let it drain completely before returning to its growing spot. Place the orchid in bright, indirect light—no direct sun for 5-7 days while it adjusts.
Wait 7-10 days before watering again, even if the bark looks dry. This gives any minor root damage time to callous over. You’ll know your orchid has recovered when you see new root tips emerging—usually within 2-3 weeks. Resume normal care once you spot this growth.
Transplanting orchids becomes much easier once you know these key details that make all the difference in your plant’s recovery.
Root Handling Technique: When removing old bark in Step 2, I’ve found that working with slightly damp roots makes the process gentler. The instructions mention healthy roots should feel firm and appear silvery-green when wet – this is your perfect working condition. Keep a spray bottle of lukewarm water handy to mist roots if they start drying out during the process. The moisture helps prevent those accidental breaks while you’re cleaning between roots.
Trimming Precision: In Step 3, that 1/4 inch of good tissue you’re instructed to leave when trimming damaged roots is crucial. I learned this the hard way after cutting too close on my first attempt. That small buffer gives the root something healthy to regenerate from. When you’re examining roots, healthy ones should feel plump and firm – almost like a well-hydrated celery stalk. Any that feel hollow or squishy need to go, no matter how long they are.
Pot Positioning Secret: The instruction in Step 4 about placing the orchid so the base of the lowest leaf sits just above the pot rim is your best defense against crown rot. I like to visualize where the water level would be if the pot were full – you want that leaf base to stay dry. After positioning, give the pot a quarter turn and check from all sides to ensure the plant isn’t leaning. A perfectly centered orchid will establish itself much faster in its new home.
Aftercare Timing: Those 7-10 days you’re instructed to wait before watering in Step 5 might seem long, but they’re critical. Here’s what nobody tells you – during this time, check the bark’s moisture by inserting a wooden skewer about an inch deep. If it comes out completely dry after 7 days, you can water then. If there’s any moisture at all, wait the full 10 days. This simple test prevents overwatering during that vulnerable recovery period.
Orchids typically need repotting every 1–2 years or when roots overflow the pot. Fast-growing types (like Phalaenopsis) may need it annually, while slower growers (like Cattleya) can wait 2–3 years. Check for crowded roots or degraded potting mix as signs it’s time!
It’s best to avoid repotting during blooming—stress may cause flowers to drop. Wait until blooms fade, or if urgent (e.g., root rot), trim the flower spike post-transplant to redirect energy to recovery.
In a pinch, use a DIY mix of:
Yellowing leaves post-transplant usually mean stress or overwatering. Check:
Yes! Plastic pots retain moisture longer (great for dry climates), while clay pots offer better airflow (ideal for humid areas). Just ensure any pot has drainage holes and is only 1–2 inches larger than the old one to prevent root rot.
