
Beautiful Plants For Your Interior
Beautiful Plants For Your Interior
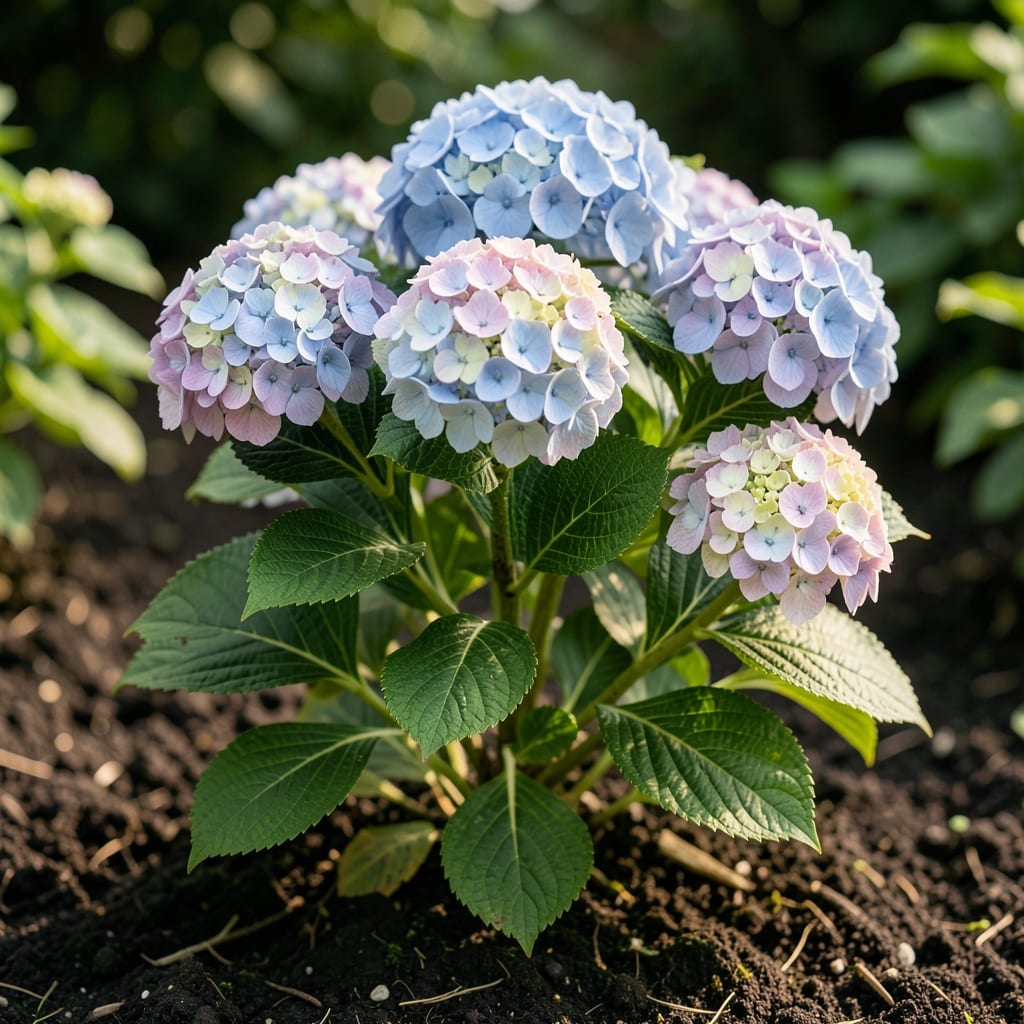
Yellow leaves on your mophead hydrangea aren’t just unsightly—they’re the plant’s way of asking for help. I’ve seen this happen when the soil pH is off, watering is inconsistent, or nutrients are missing.
Here’s the thing—fixing it starts with identifying the real cause. With a few simple adjustments to soil and care, those leaves can return to their deep green glory within 2-3 weeks.
📚 In This Guide
Use this systematic approach to identify the root cause and restore your plant’s vibrant green foliage.
Examine whether yellowing appears between leaf veins (interveinal chlorosis) or across entire leaves. Interveinal yellowing typically signals iron deficiency, especially in alkaline soils where mopheads struggle to access this nutrient. Check older leaves first—nutrient deficiencies usually manifest in mature foliage before reaching new growth.
Note the location on the plant. Yellowing at the top suggests nitrogen deficiency, while uniform yellowing across the plant often points to waterlogged roots or compacted soil. I always start with this visual diagnosis before testing the soil, as it saves time and prevents unnecessary treatments.
Mophead hydrangeas thrive in acidic soil (pH 5.2-5.5) for optimal iron uptake. Use a soil test kit to check your pH—any reading above 6.5 locks out iron and other micronutrients. In my experience, most yellowing issues in mopheads trace back to alkaline conditions, particularly in limestone-rich regions.
If pH is too high, apply elemental sulfur or aluminum sulfate according to package instructions. For immediate relief, use chelated iron (iron EDTA) as a foliar spray or soil drench. This bypasses the pH blockage and delivers iron directly to the leaves, with visible improvement often within 7-10 days.
Overwatering causes root suffocation, which manifests as yellowing leaves with brown edges. Check soil moisture by inserting your finger 2-3 inches deep—if it feels soggy, reduce watering frequency. Mopheads prefer consistently moist but well-drained soil, so ensure your planting area has proper drainage.
Conversely, underwatering can also cause yellowing, though it typically starts at leaf edges and works inward. I water deeply once weekly during dry spells, allowing the top inch of soil to dry slightly between waterings. Mulching with pine bark helps maintain consistent moisture while gradually acidifying the soil.
Excessive sun exposure can scorch leaves, causing yellow or brown patches, particularly on the sides facing direct afternoon light. Mopheads prefer partial shade, especially in hotter climates. If your plant receives 6+ hours of direct sun, consider adding afternoon shade or relocating it to a brighter but indirect light area.
Temperature extremes also stress the plant. Yellowing may appear after late frosts or during heatwaves above 90°F. In my garden, I’ve found that plants in protected locations with morning sun and afternoon shade maintain the healthiest foliage throughout the growing season.
Apply a balanced, acid-forming fertilizer (like 10-10-10 for acid-loving plants) in early spring and again after flowering. Avoid high-nitrogen fertilizers, which can promote leafy growth at the expense of blooms and may contribute to yellowing if overapplied.
Regularly remove fallen leaves and debris around the base to prevent fungal diseases that can cause yellowing. I also recommend a yearly application of organic compost to improve soil structure and provide slow-release nutrients that support overall plant health and vibrant green foliage.
These insights will help you accurately diagnose and treat yellowing leaves.
Diagnostic Precision: In Step 1, don’t overlook subtle pattern differences—interveinal chlorosis with green veins is the hallmark of iron deficiency, while uniform yellowing of older leaves points to nitrogen issues. I’ve found that early morning light makes these patterns more visible, so examine plants when dew has dried but before the sun gets too bright.
Soil Testing Accuracy: For Step 2, when testing soil pH, collect samples from multiple locations around the plant’s root zone (the top 6 inches as specified) rather than just one spot. Urban soils can vary significantly even within a small area due to construction debris or uneven watering patterns. This comprehensive approach gives you a more reliable baseline for amendment decisions.
Watering Technique: The 2-inch soil check in Step 3 is most accurate when done consistently in the same spot each time. I recommend testing near the drip line (where water naturally falls from the leaves) rather than right at the stem. Also, be sure to check soil moisture at the same time of day for consistent results—early morning is ideal before watering.
Gradual Adjustments: When addressing light conditions in Step 5, remember that the 2-3 week acclimation period is crucial. Sudden exposure to more light can cause additional stress and leaf scorch. If transplanting, do it in early spring or fall when temperatures are milder, and consider using shade cloth to gradually increase light exposure.
Yellowing leaves often signal overwatering, poor drainage, or nutrient deficiencies (like iron or nitrogen). Test soil moisture and pH—hydrangeas prefer slightly acidic, well-draining soil.
Act at the first sign of yellowing, ideally in early spring or summer when the plant is actively growing. Delaying treatment can stress the plant and reduce blooming potential.
Yes! Coffee grounds add acidity and organic matter, helping correct iron deficiency (a common cause of yellowing). Sprinkle lightly around the base and water in.
Brown leaves may indicate advanced stress, like drought or root rot. Prune affected leaves, improve drainage, and adjust watering. Check for pests or disease if the issue persists.
Absolutely! Compost, worm castings, or a banana peel tea (rich in potassium) can restore nutrients. Epsom salt (magnesium sulfate) also helps with yellowing between veins.